A step by step neck graft
We thought it'd be interesting to detail the process of a neck graft, it's a repair which is done infrequently but when done expertly should produce an invisible join and an instrument as good as new.
The most common reason for needing a neck graft is that the existing neck has snapped down at the heel (nearest the body). Occasionally it is also carried out to correct the dimensions of aninstrument with a neck too narrow or the wrong length. This repair is by far the most common on a cello, proportionally the neck is thinner than on a violin or viola and there is more tension. The break often happens when an instrument falls over, again more likely with a cello.

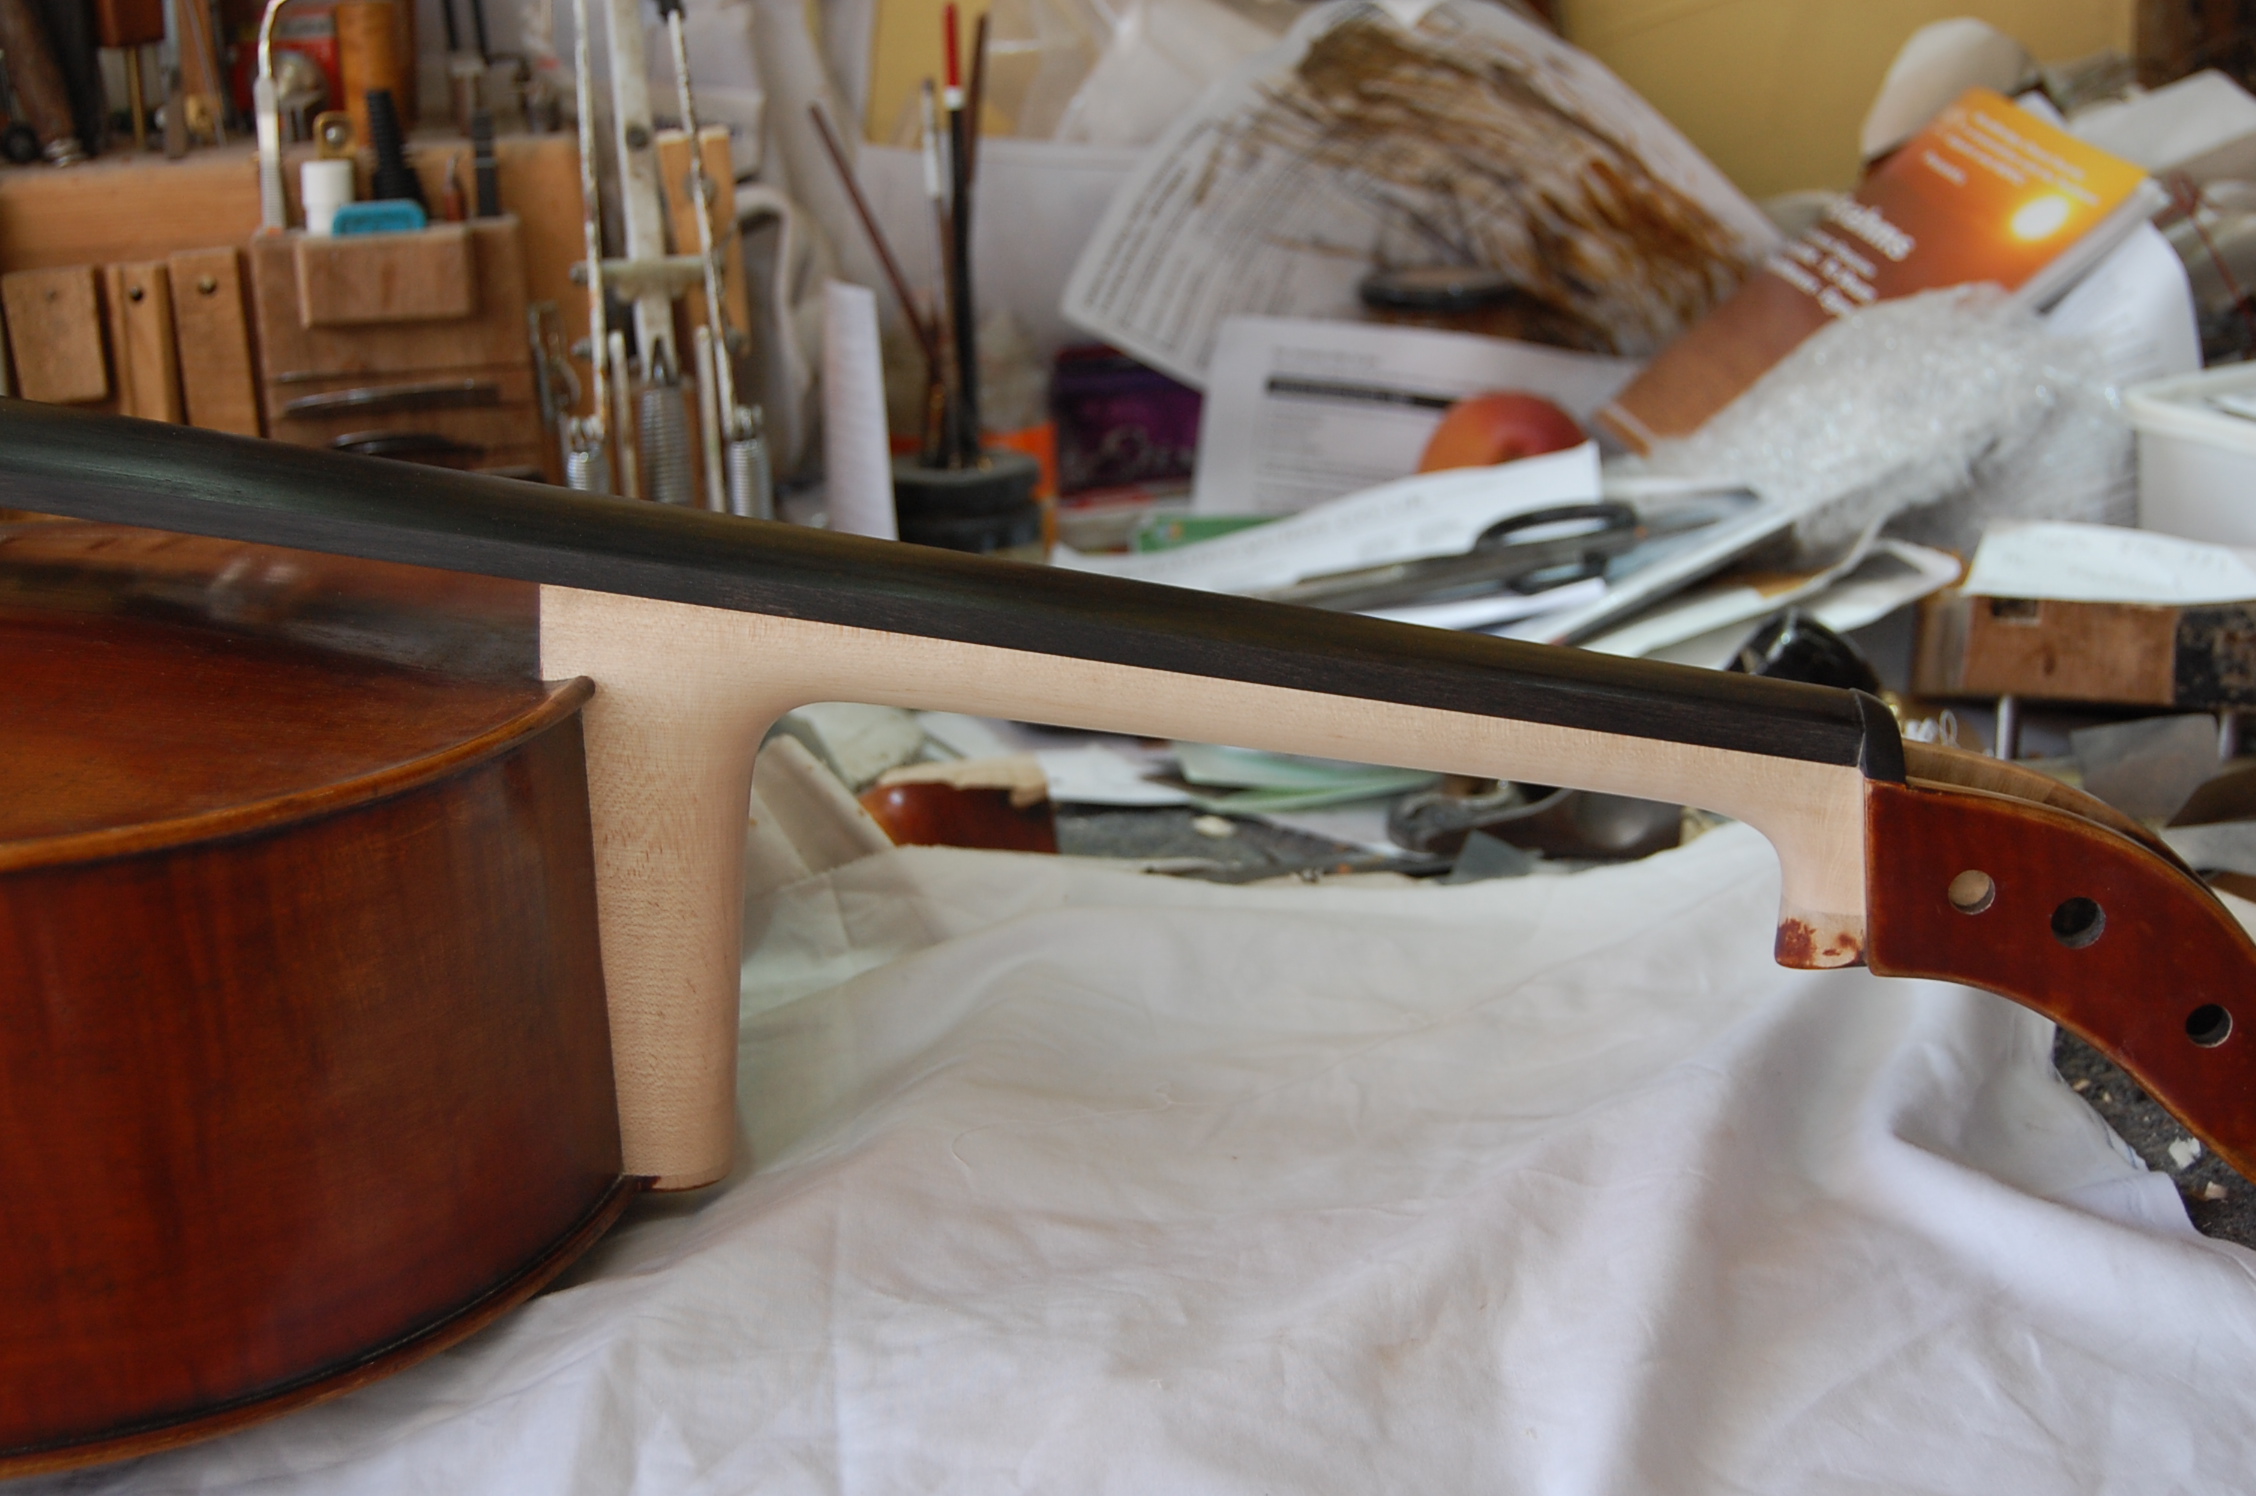
Above is a cello with a snapped neck, below a step by step repair.

The first step is to cut away the the scroll from the old neck. We always retain as much of the existing scroll as possible, the new wood will be grafted on to form a new neck.

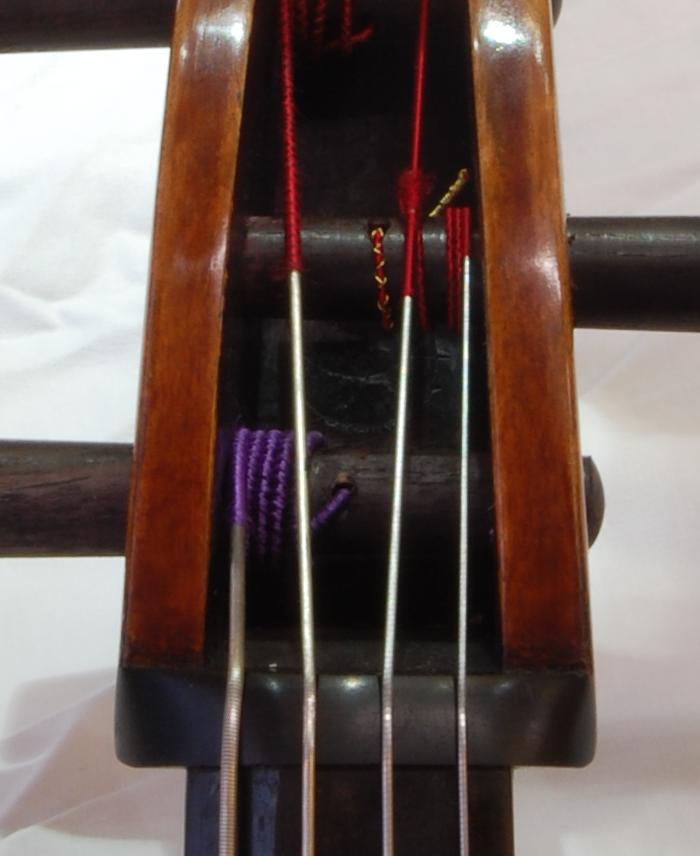
We then carve away the inside cheeks of the peg box to prepare the joint for the new neck.

This is the new neck block, we buy these as blank blocks of wood and usually can make two necks out of each block. As much wood as possible is taken from the block to create a rough shape.

Using precise measurements, the scroll is glued to the neck. The angle of the scroll must be correct, it of course needs to be totally central.

Carve away excess wood from peg box.

The next step is to prepare the neck root and get rid of remains of the old neck.

Prepare new fingerboard, we use this as a guide to check elevation and straightness of the neck. The neck is then glued into the body having removed as much excess wood as possible beforehand.

Glue on the fingerboard and top nut, then shape the new wood using chisels for the heel, rasps, file and finally wet and dry sandpaper.
Stain the neck using a water stain then touch in varnish at the heel of the neck and at the peg box and graft point.

This precise and skilled job takes Jonanthan around 25 hours, can you spot the join?!