Step by step peg bushing
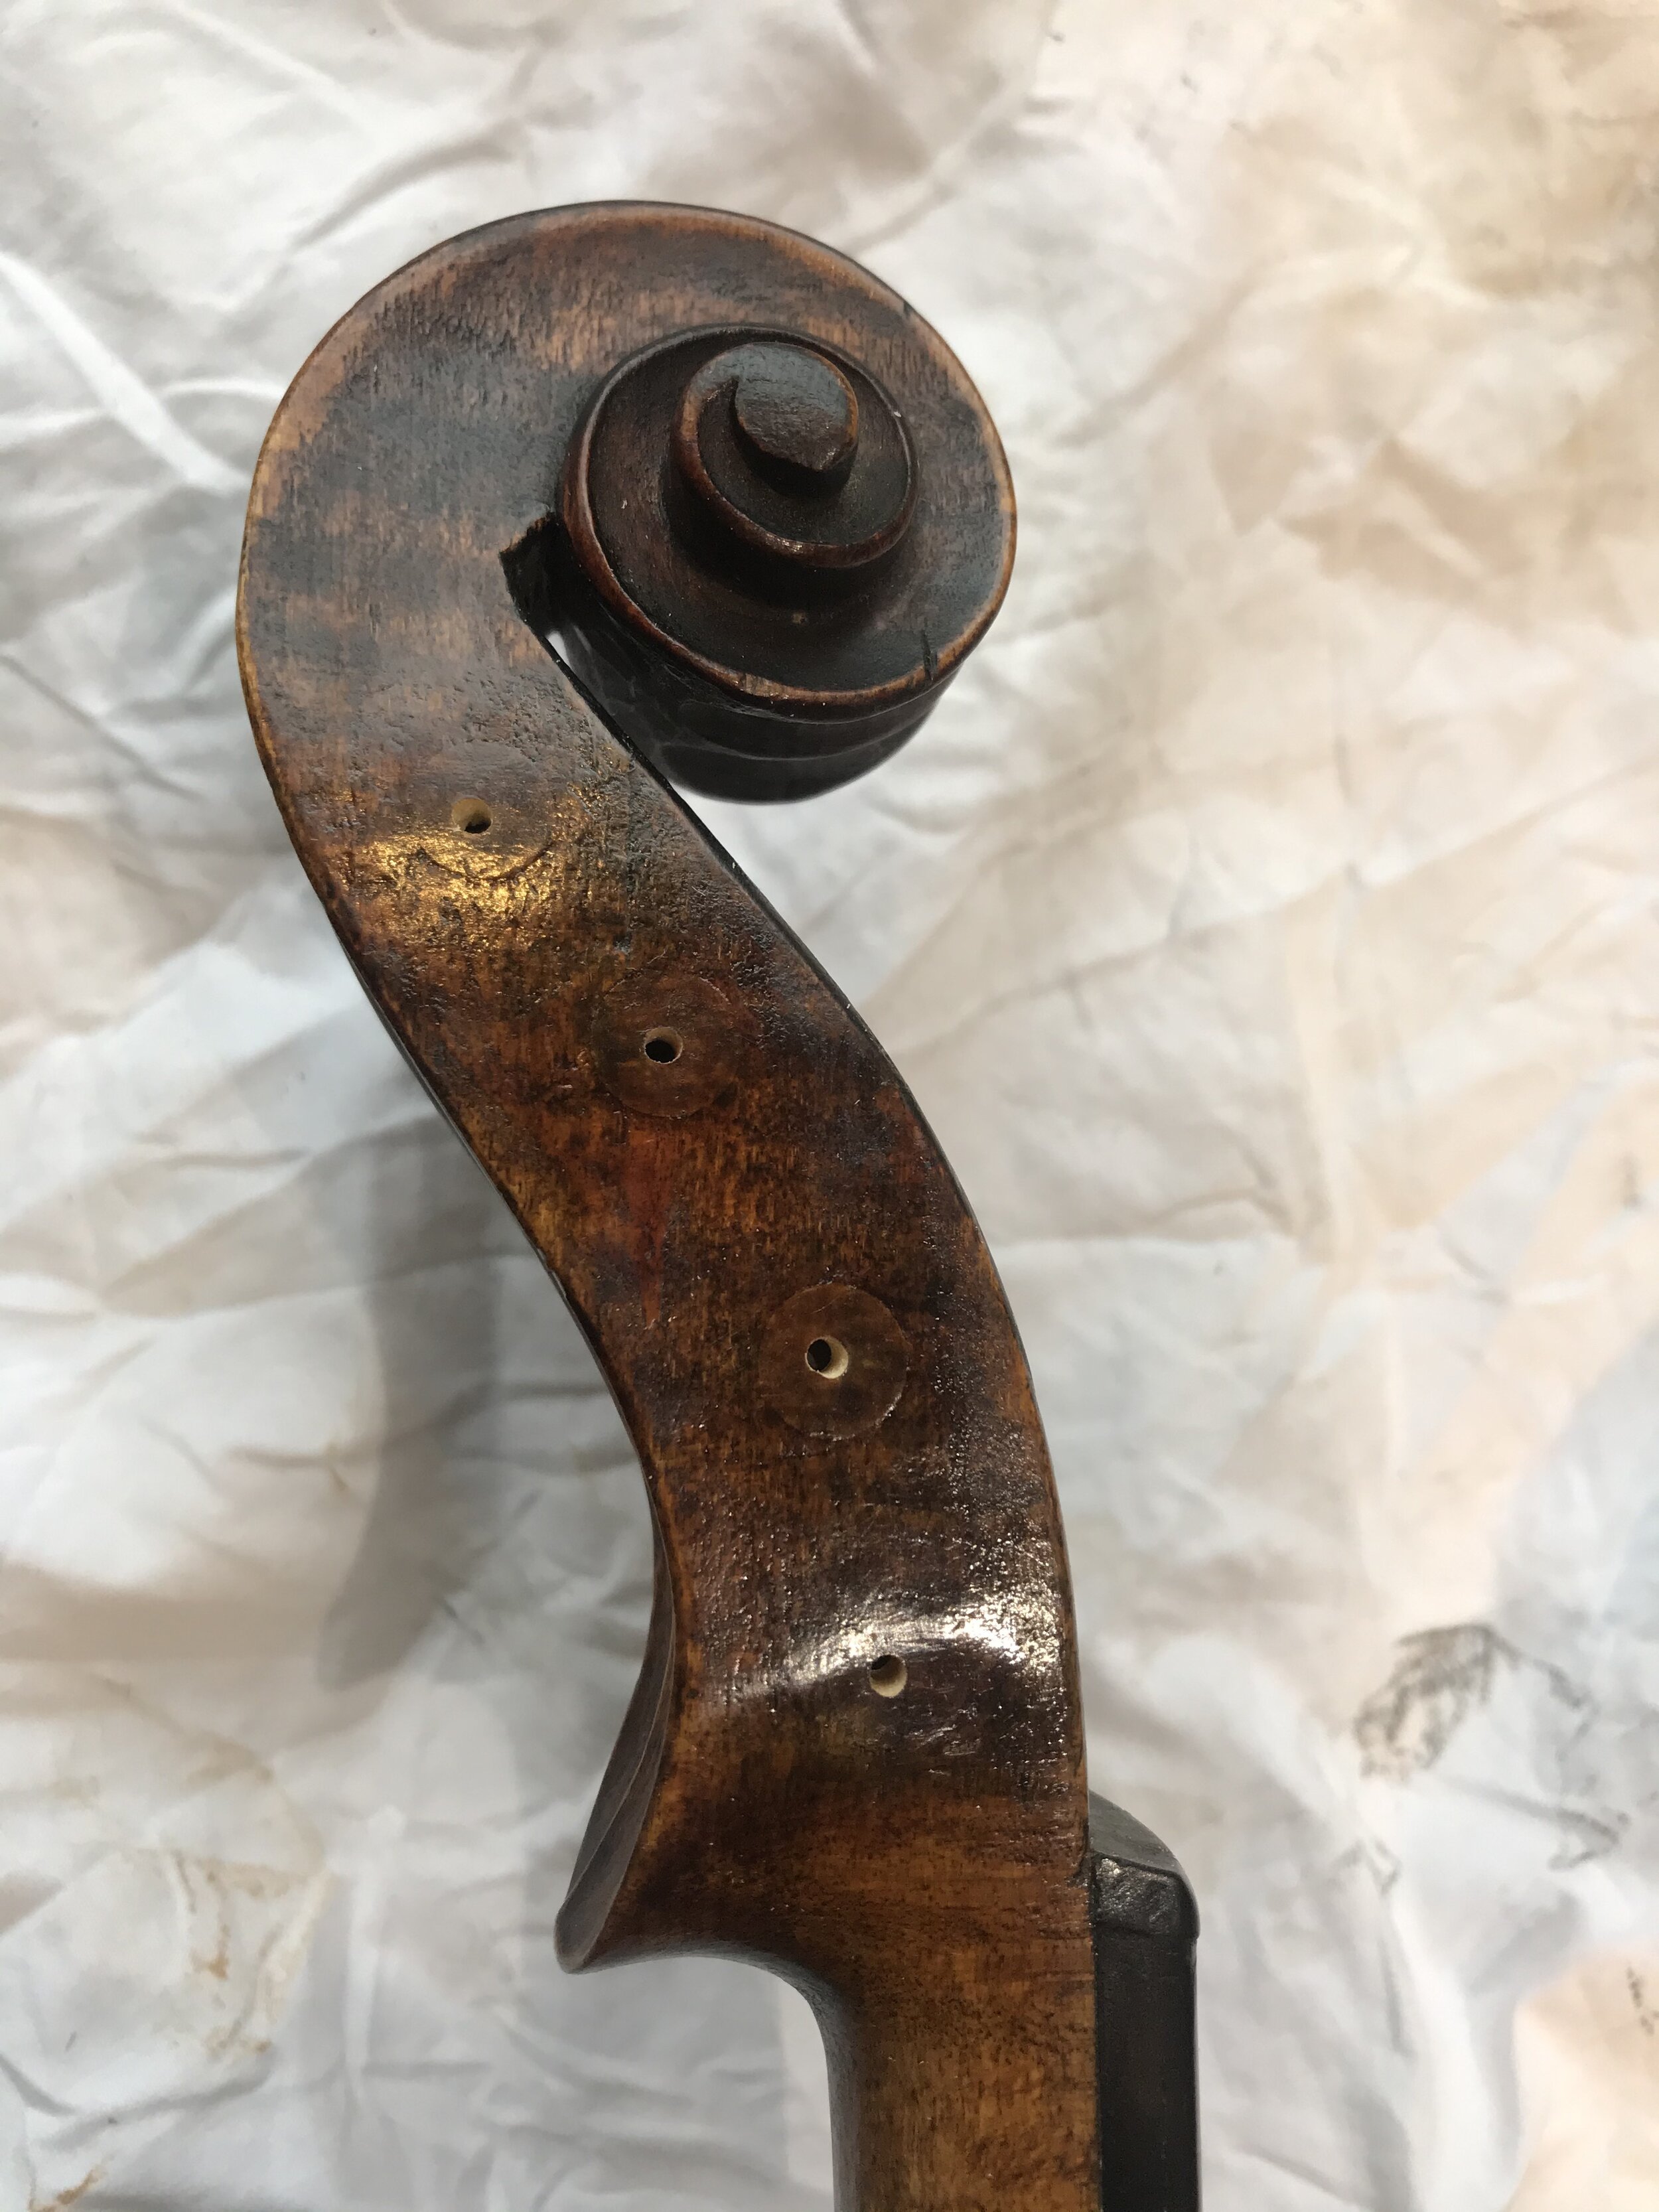
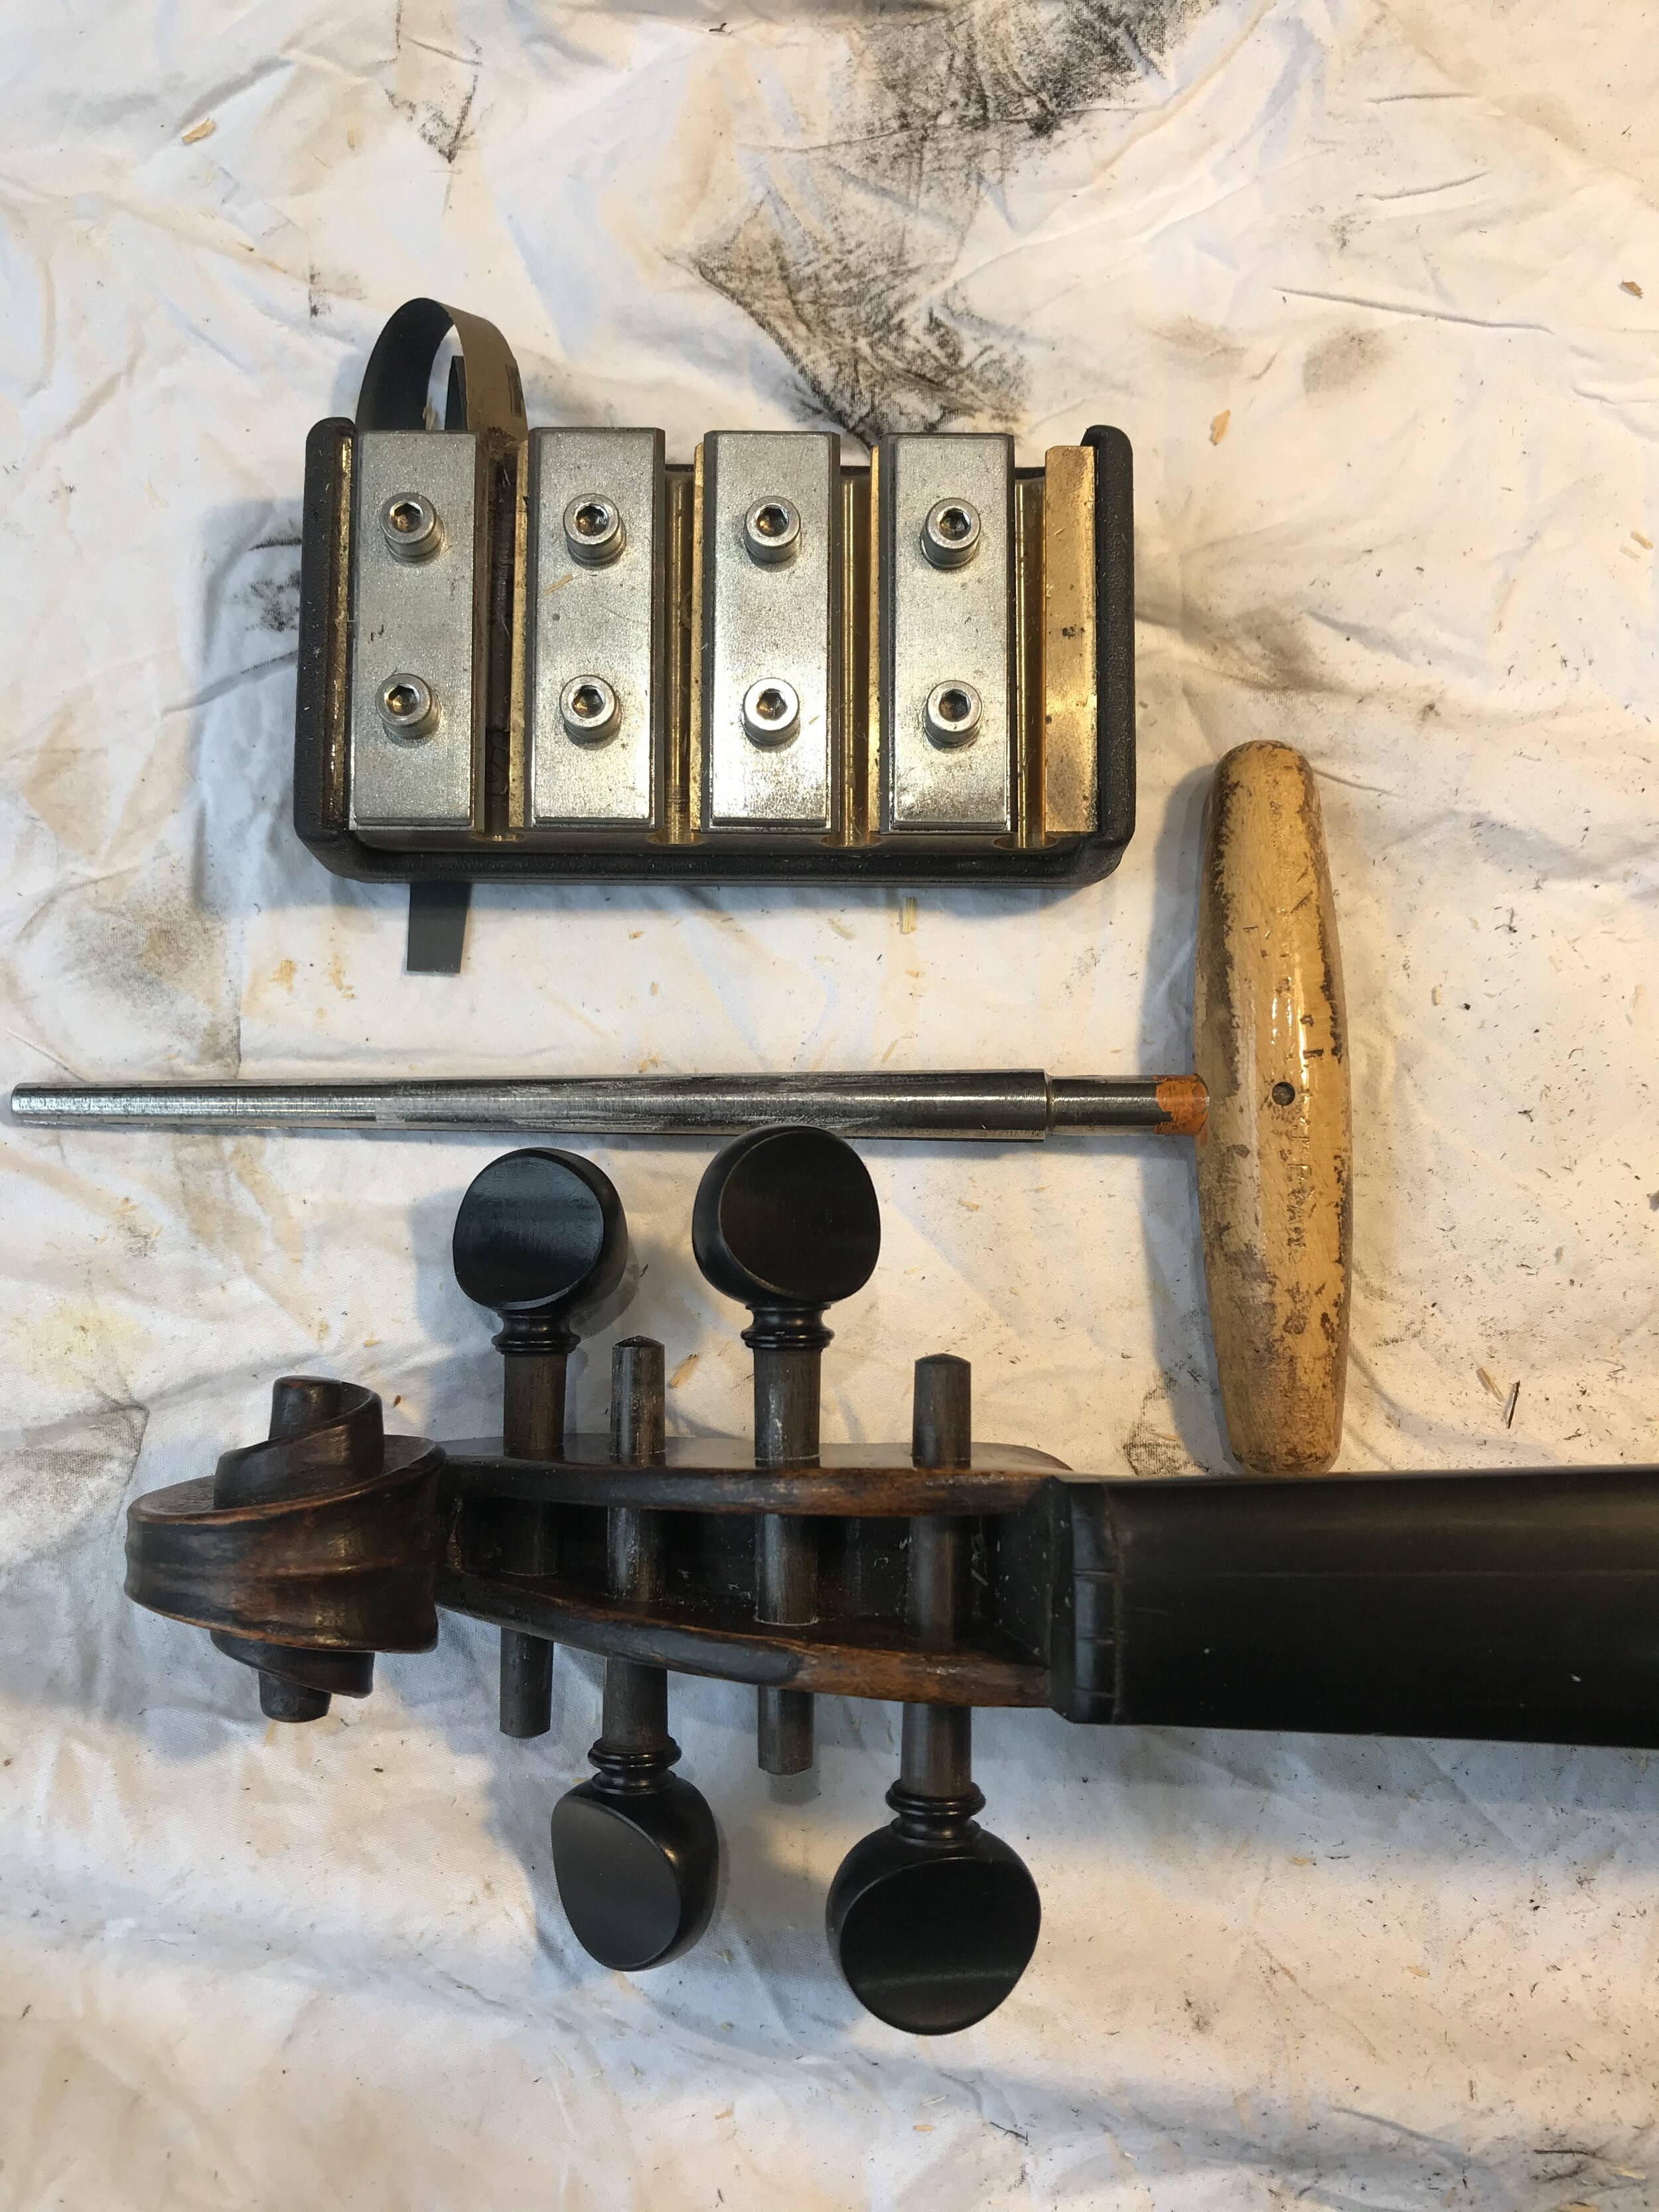
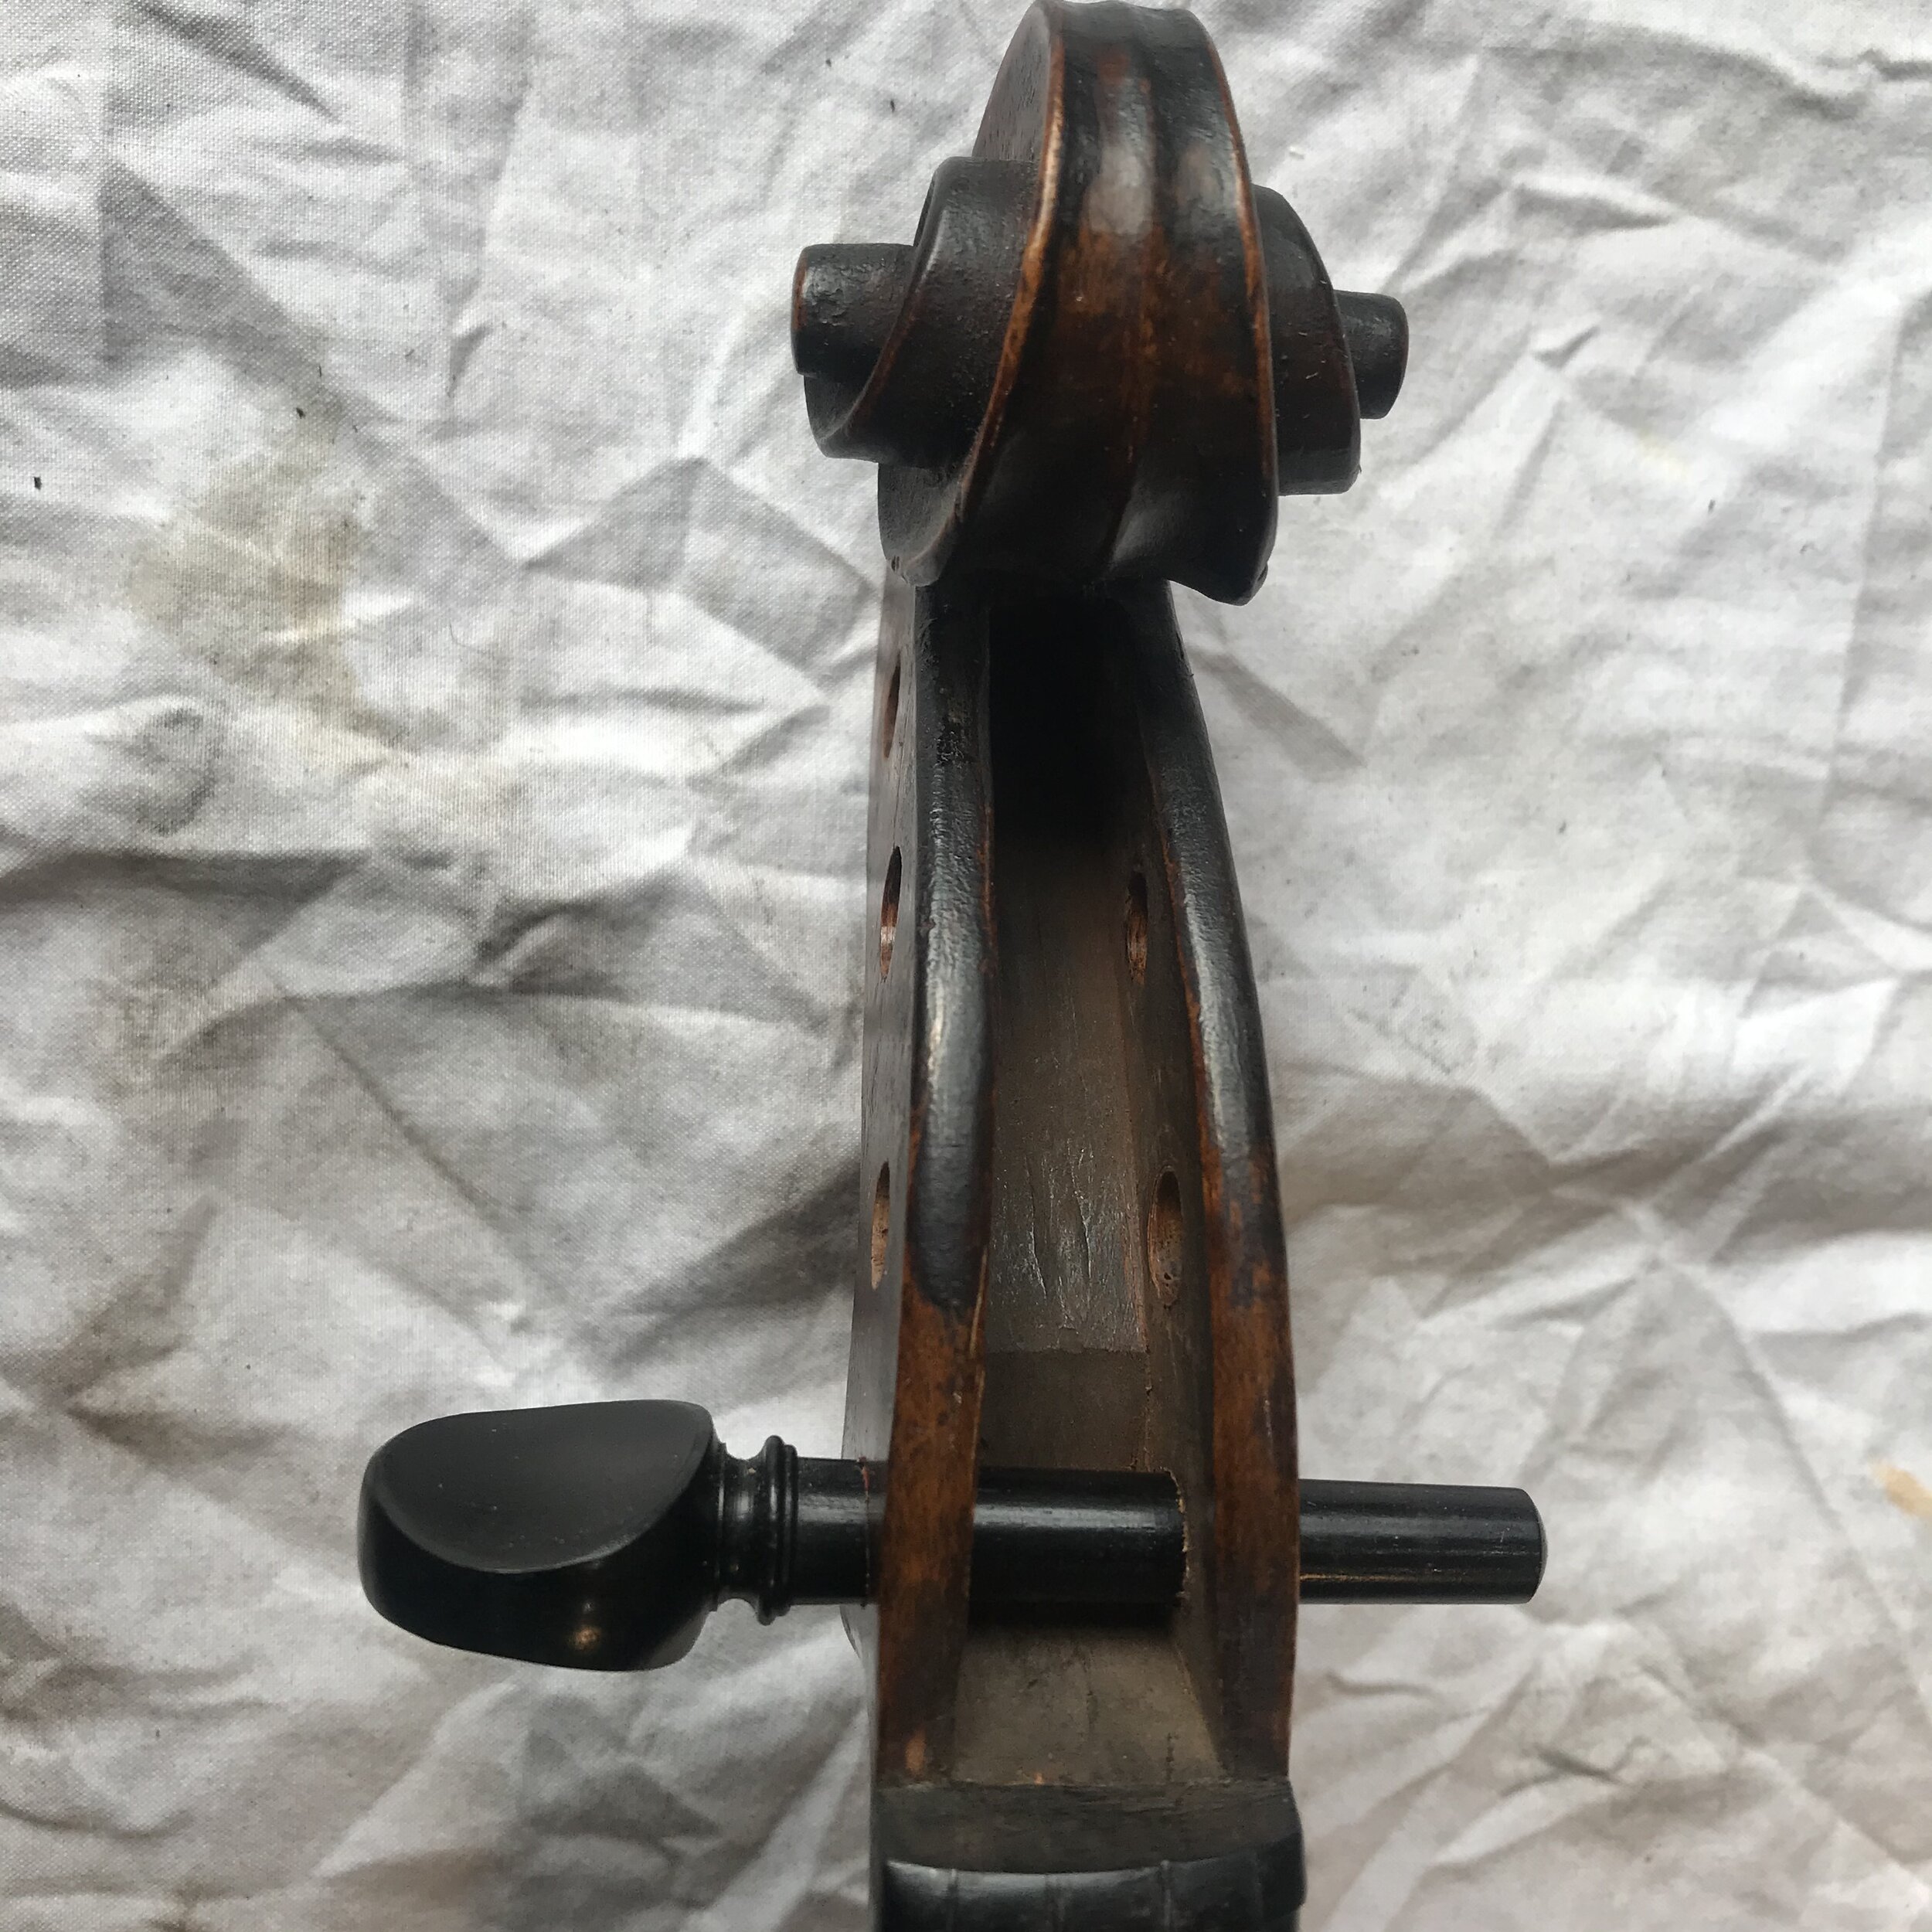
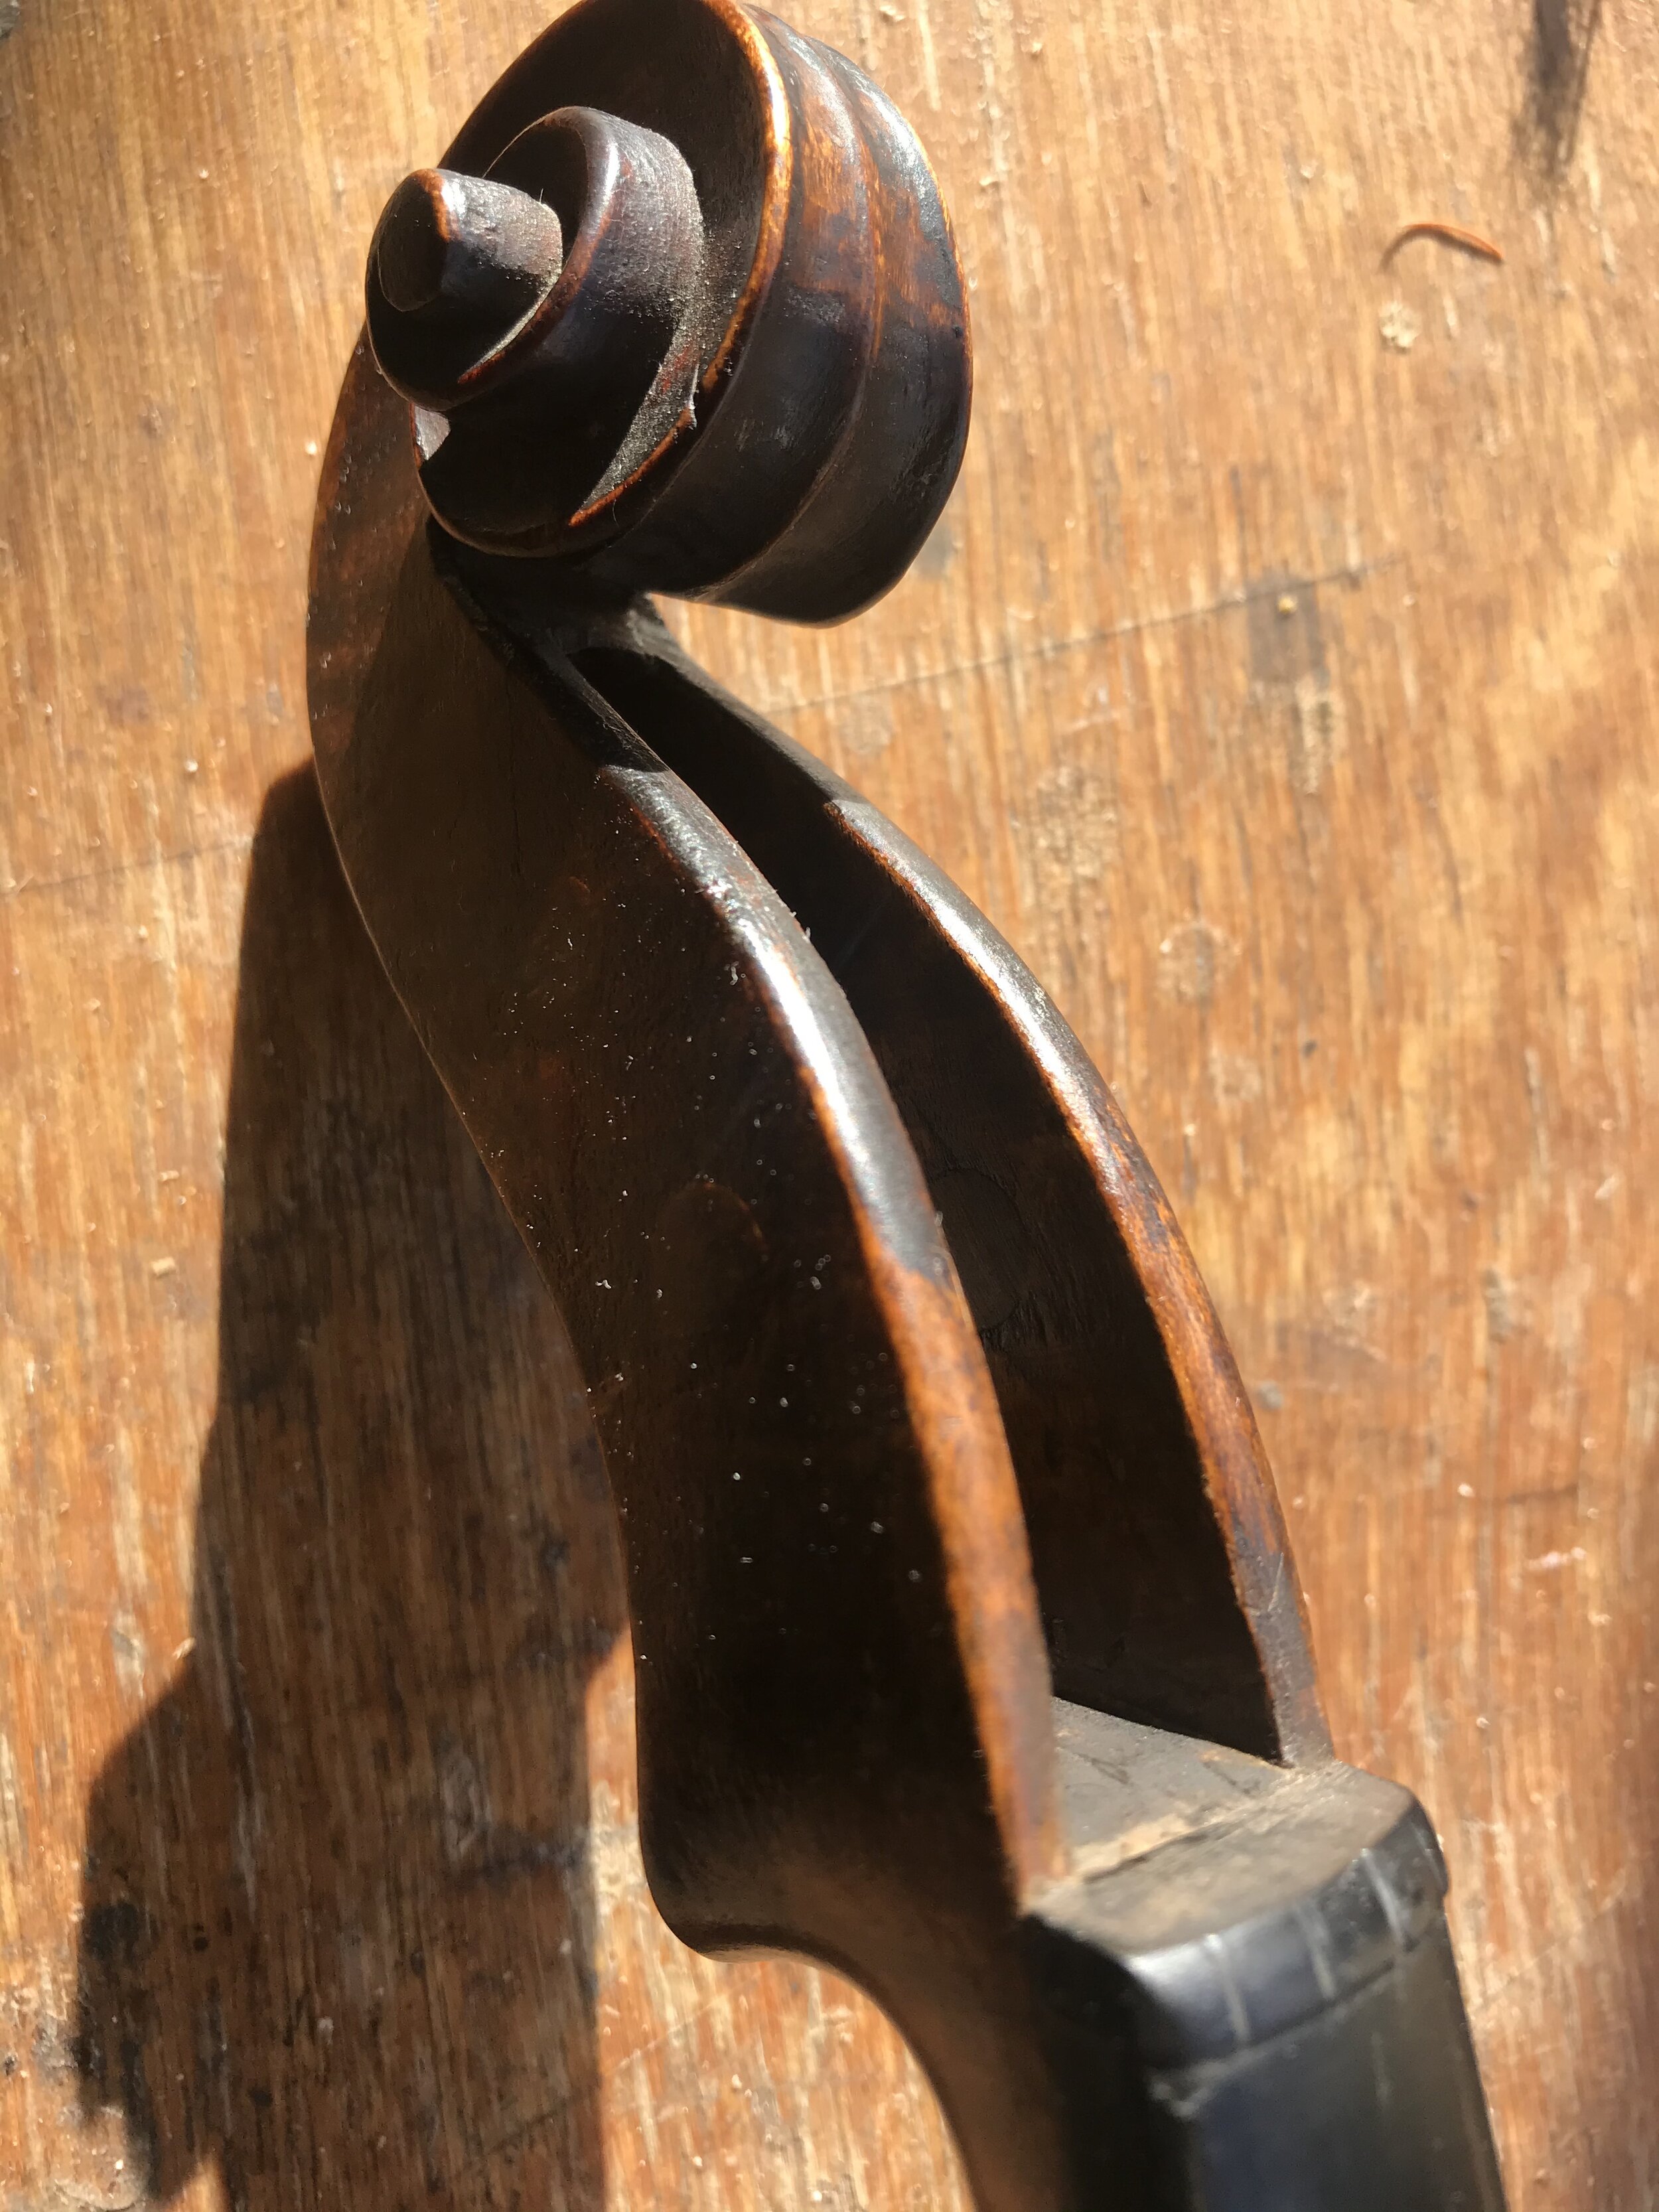
Peg bushing is needed when the peg hole becomes too big to fit a regular size peg. This happens due to age of the instrument and regular use of the tuning pegs. Often the peg hole is unevenly worn due to the varying grain of the wood of the scroll. Seen below is a peg box with a standard size peg before bushing to demonstrate the hole size.
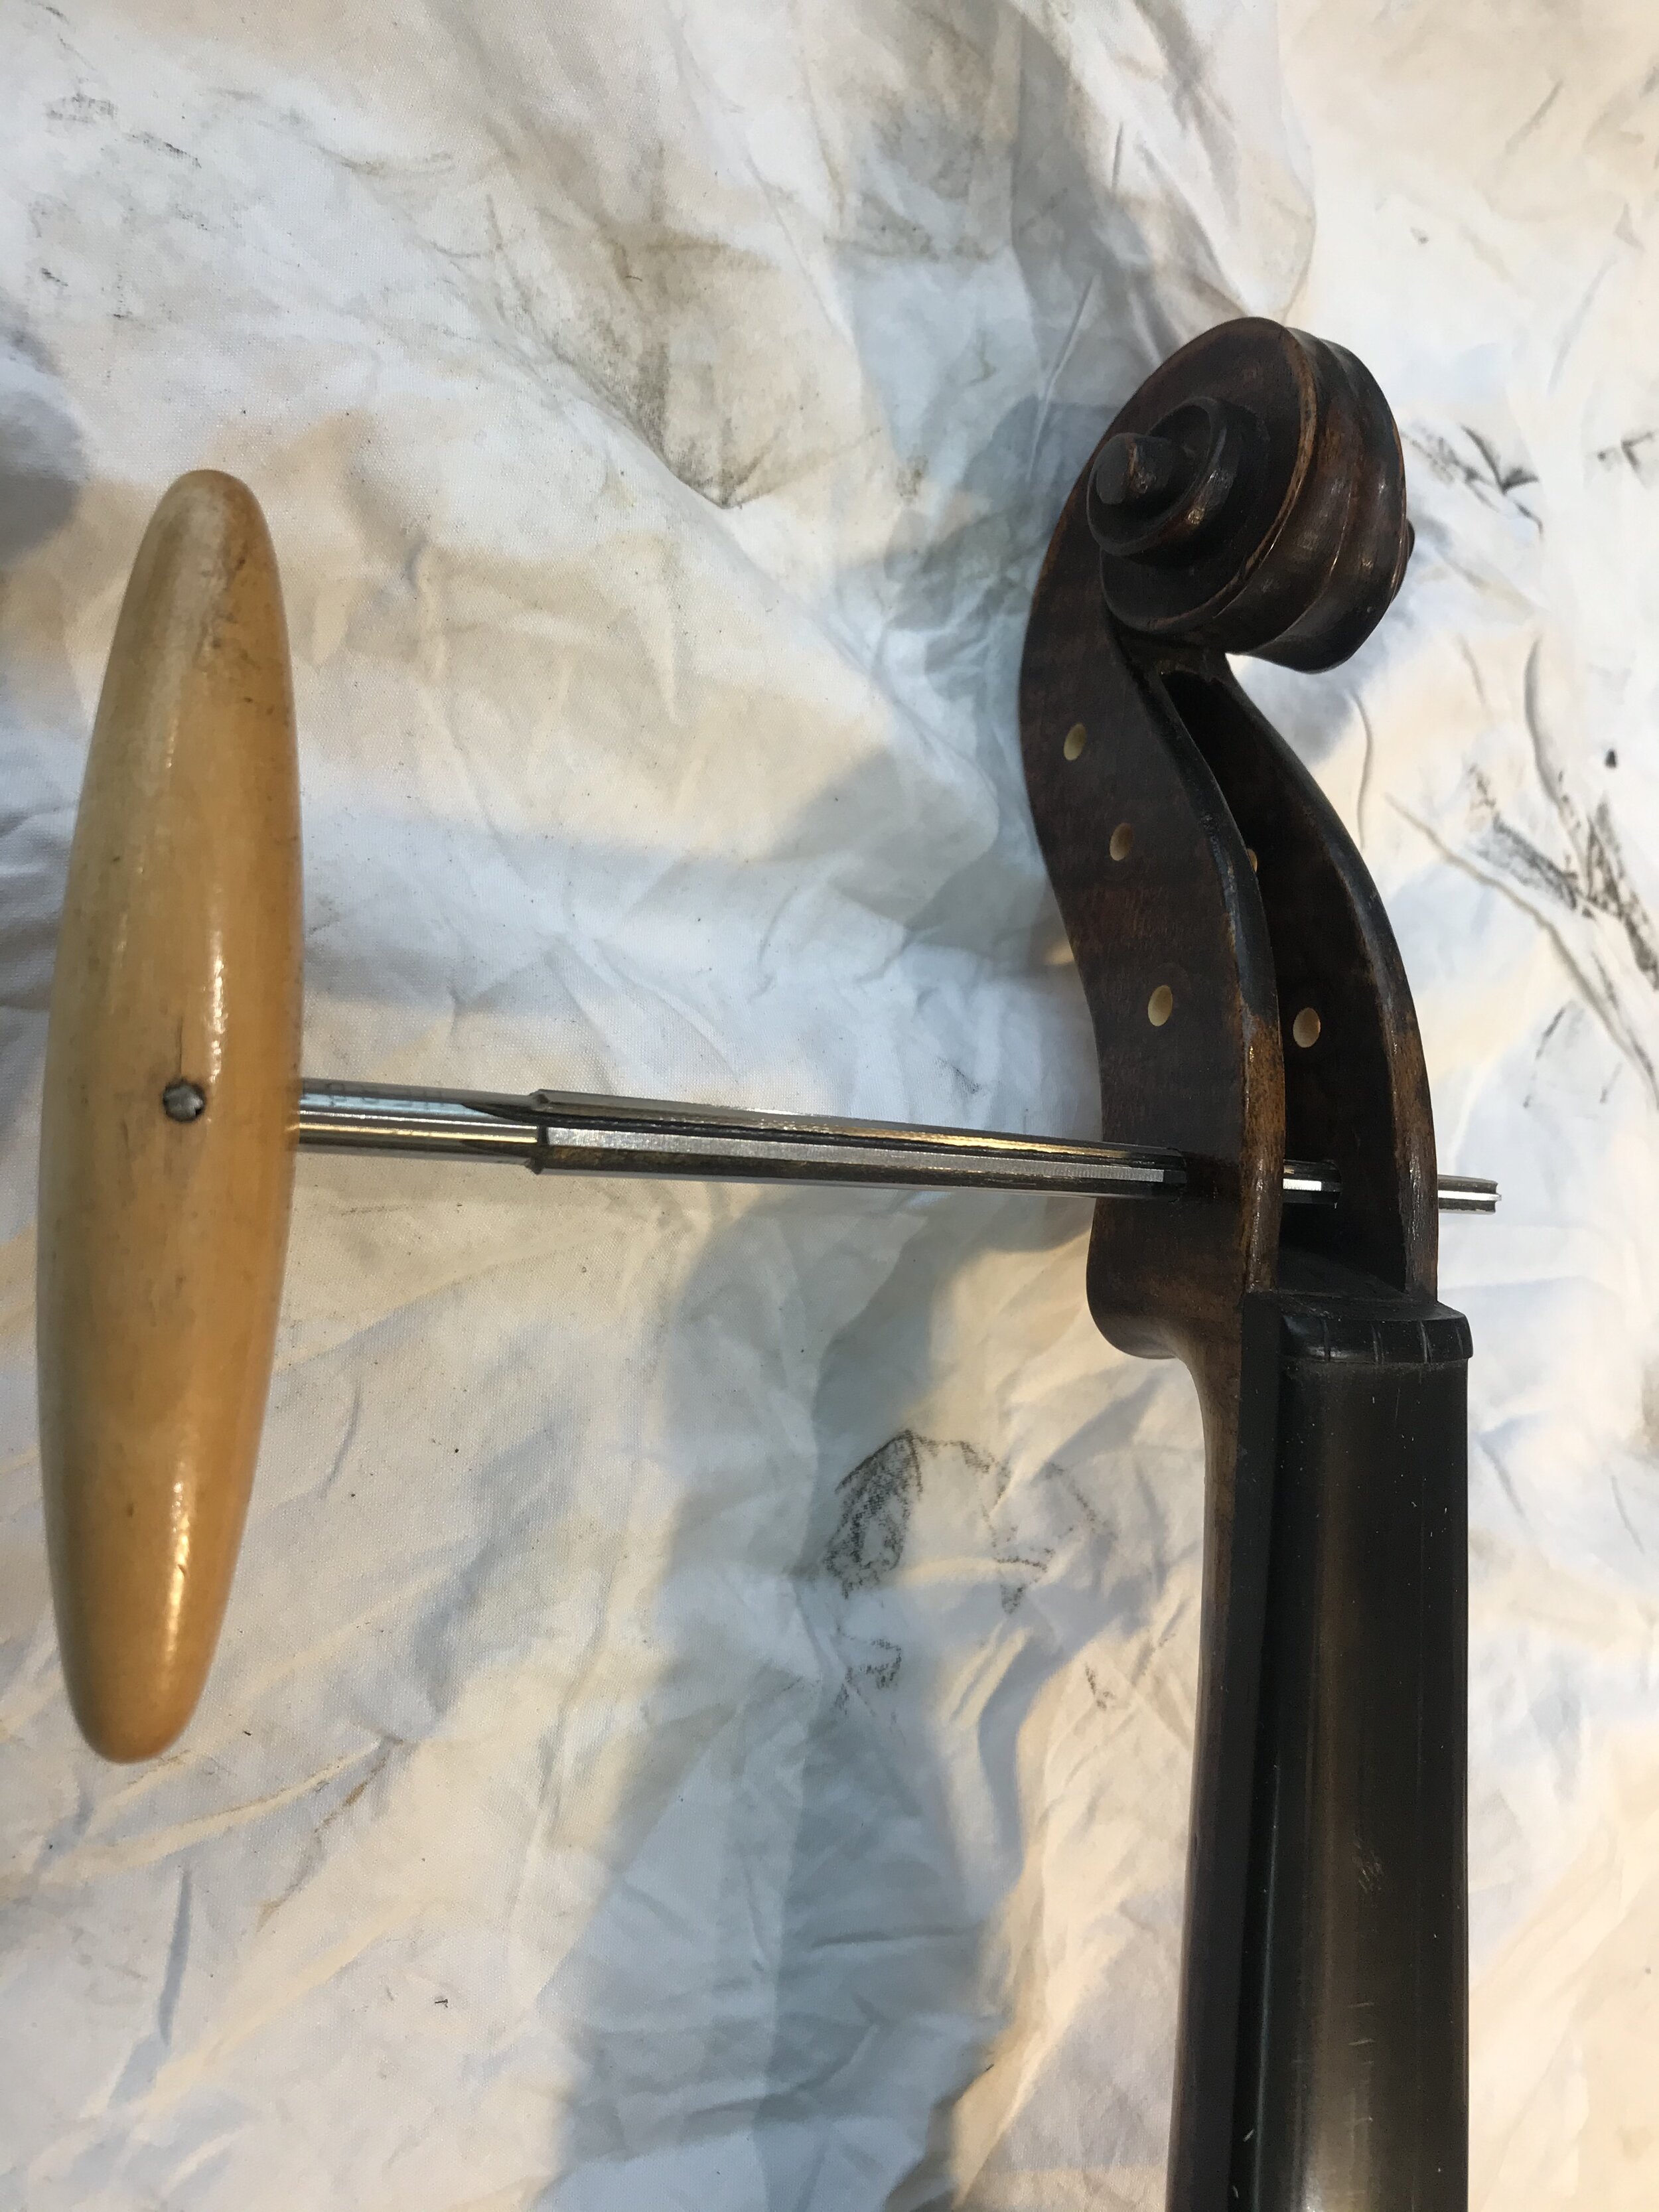
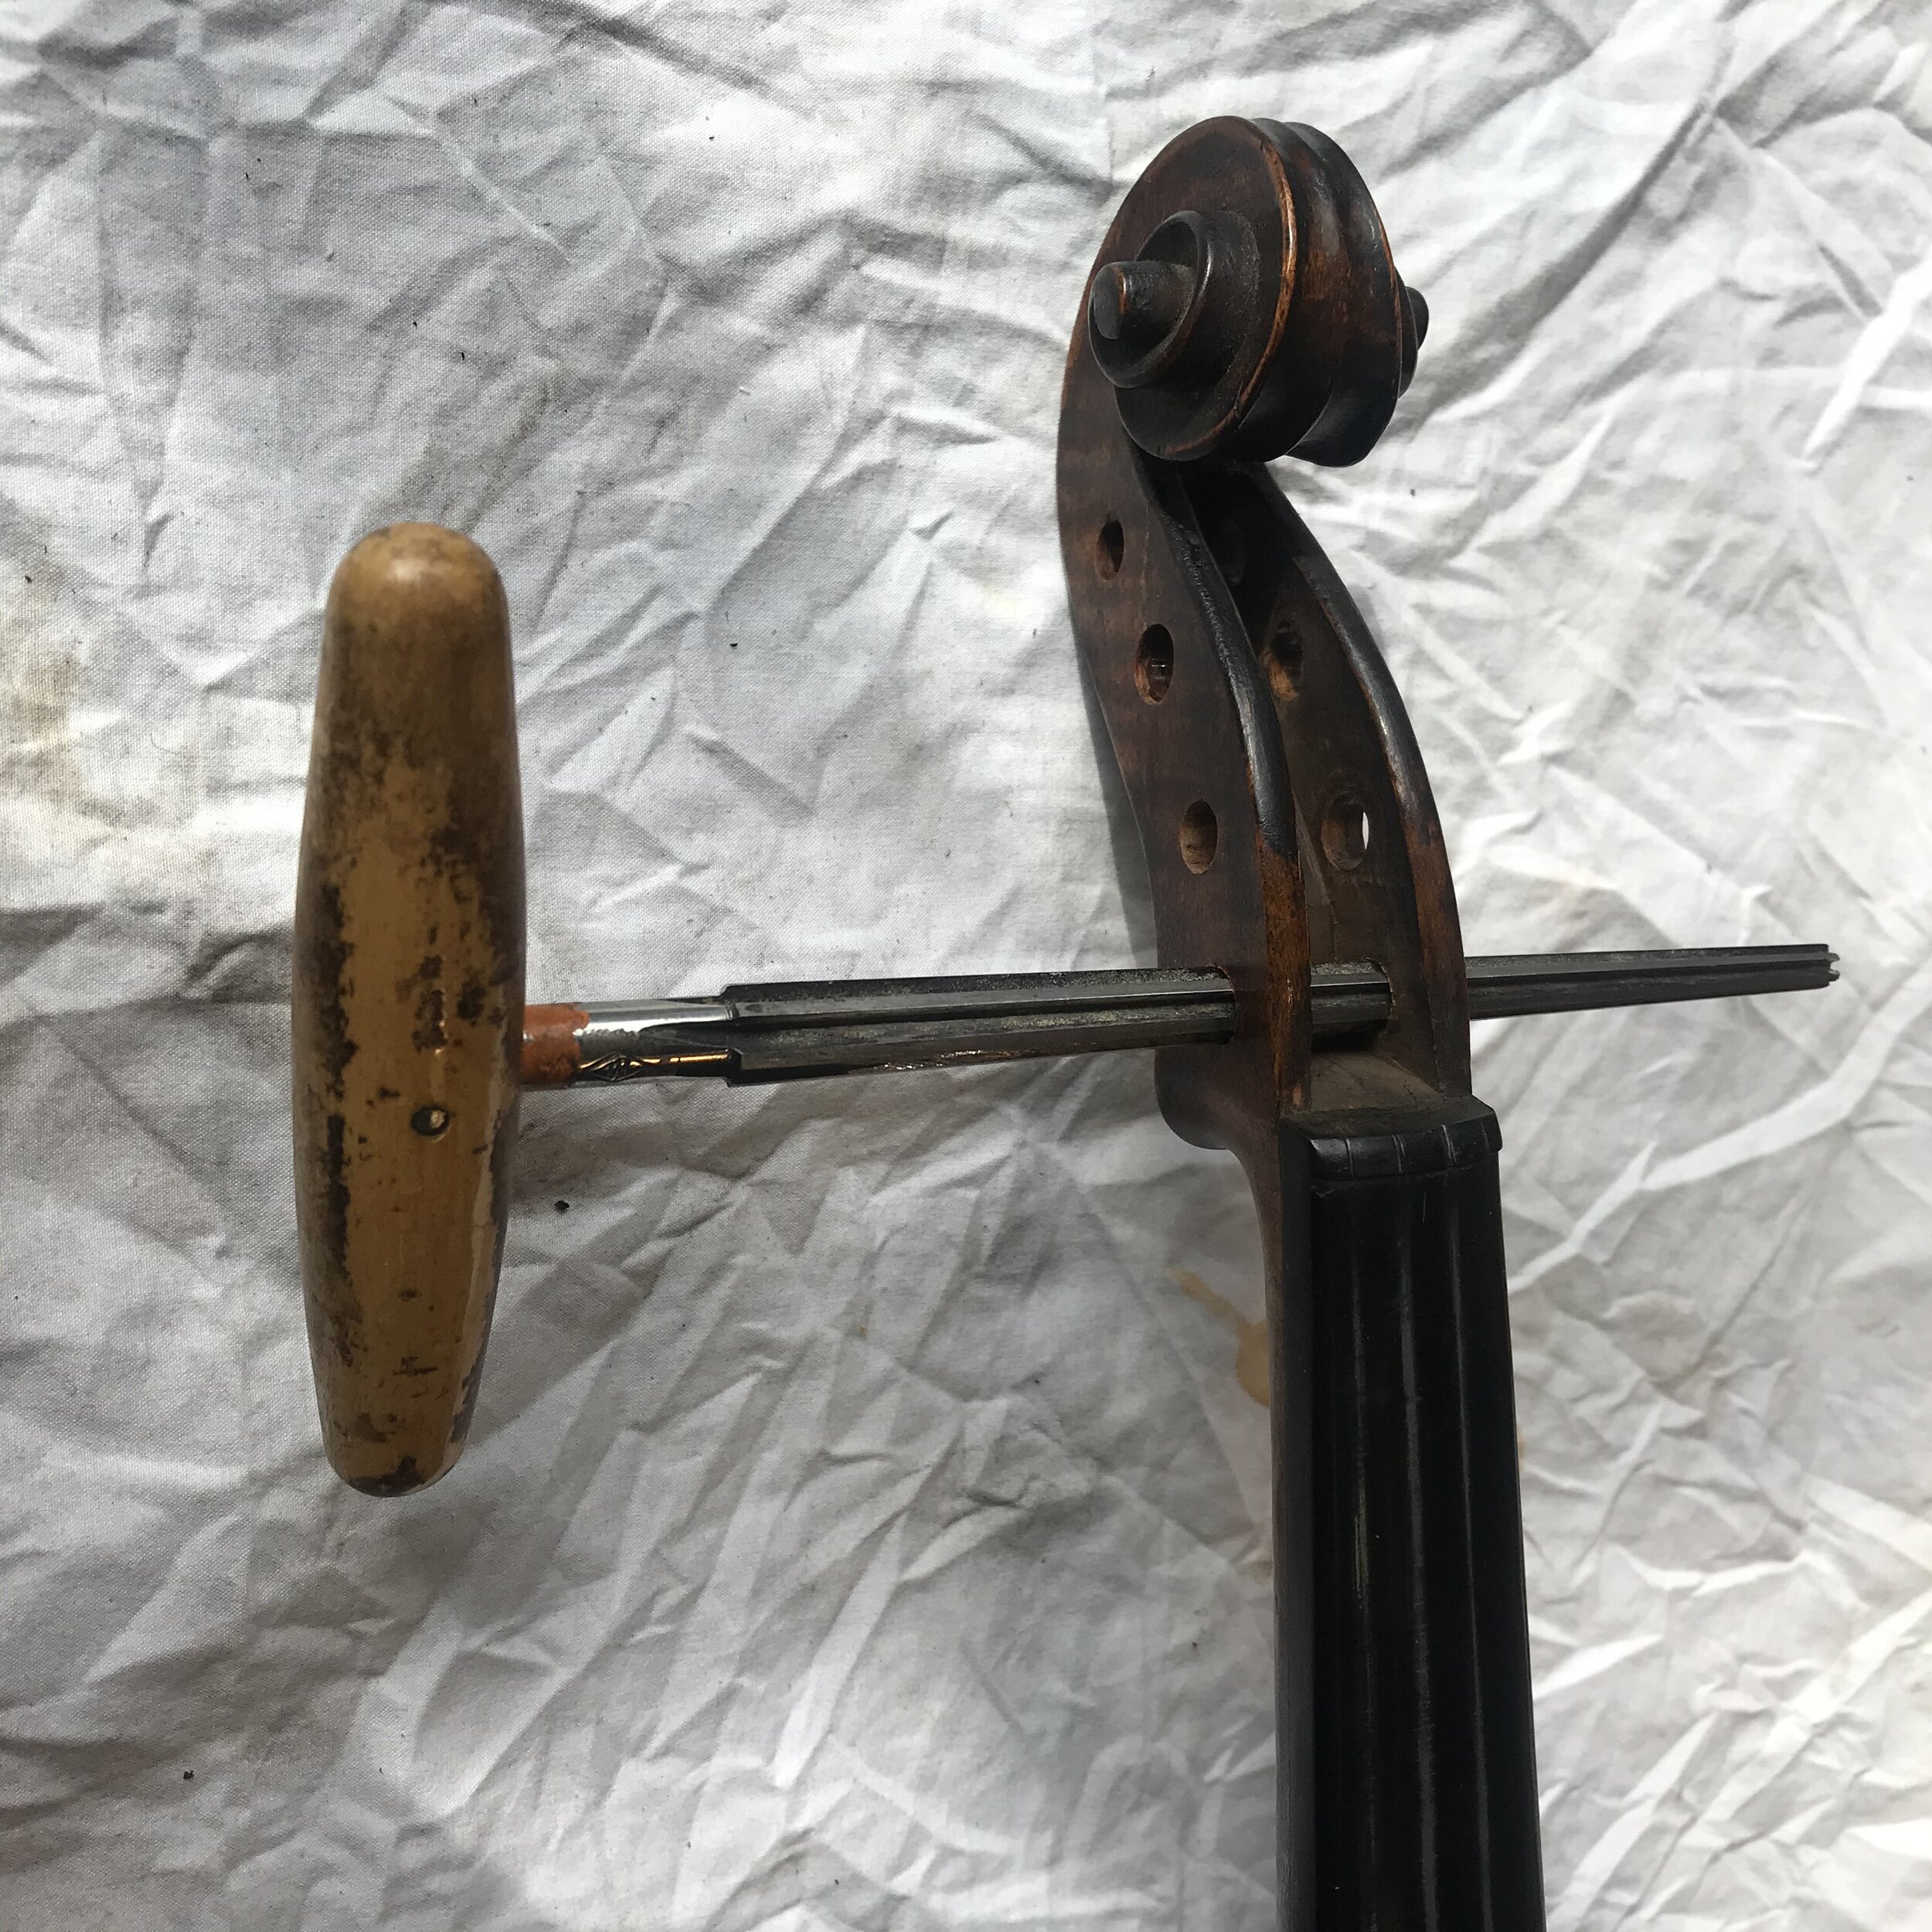
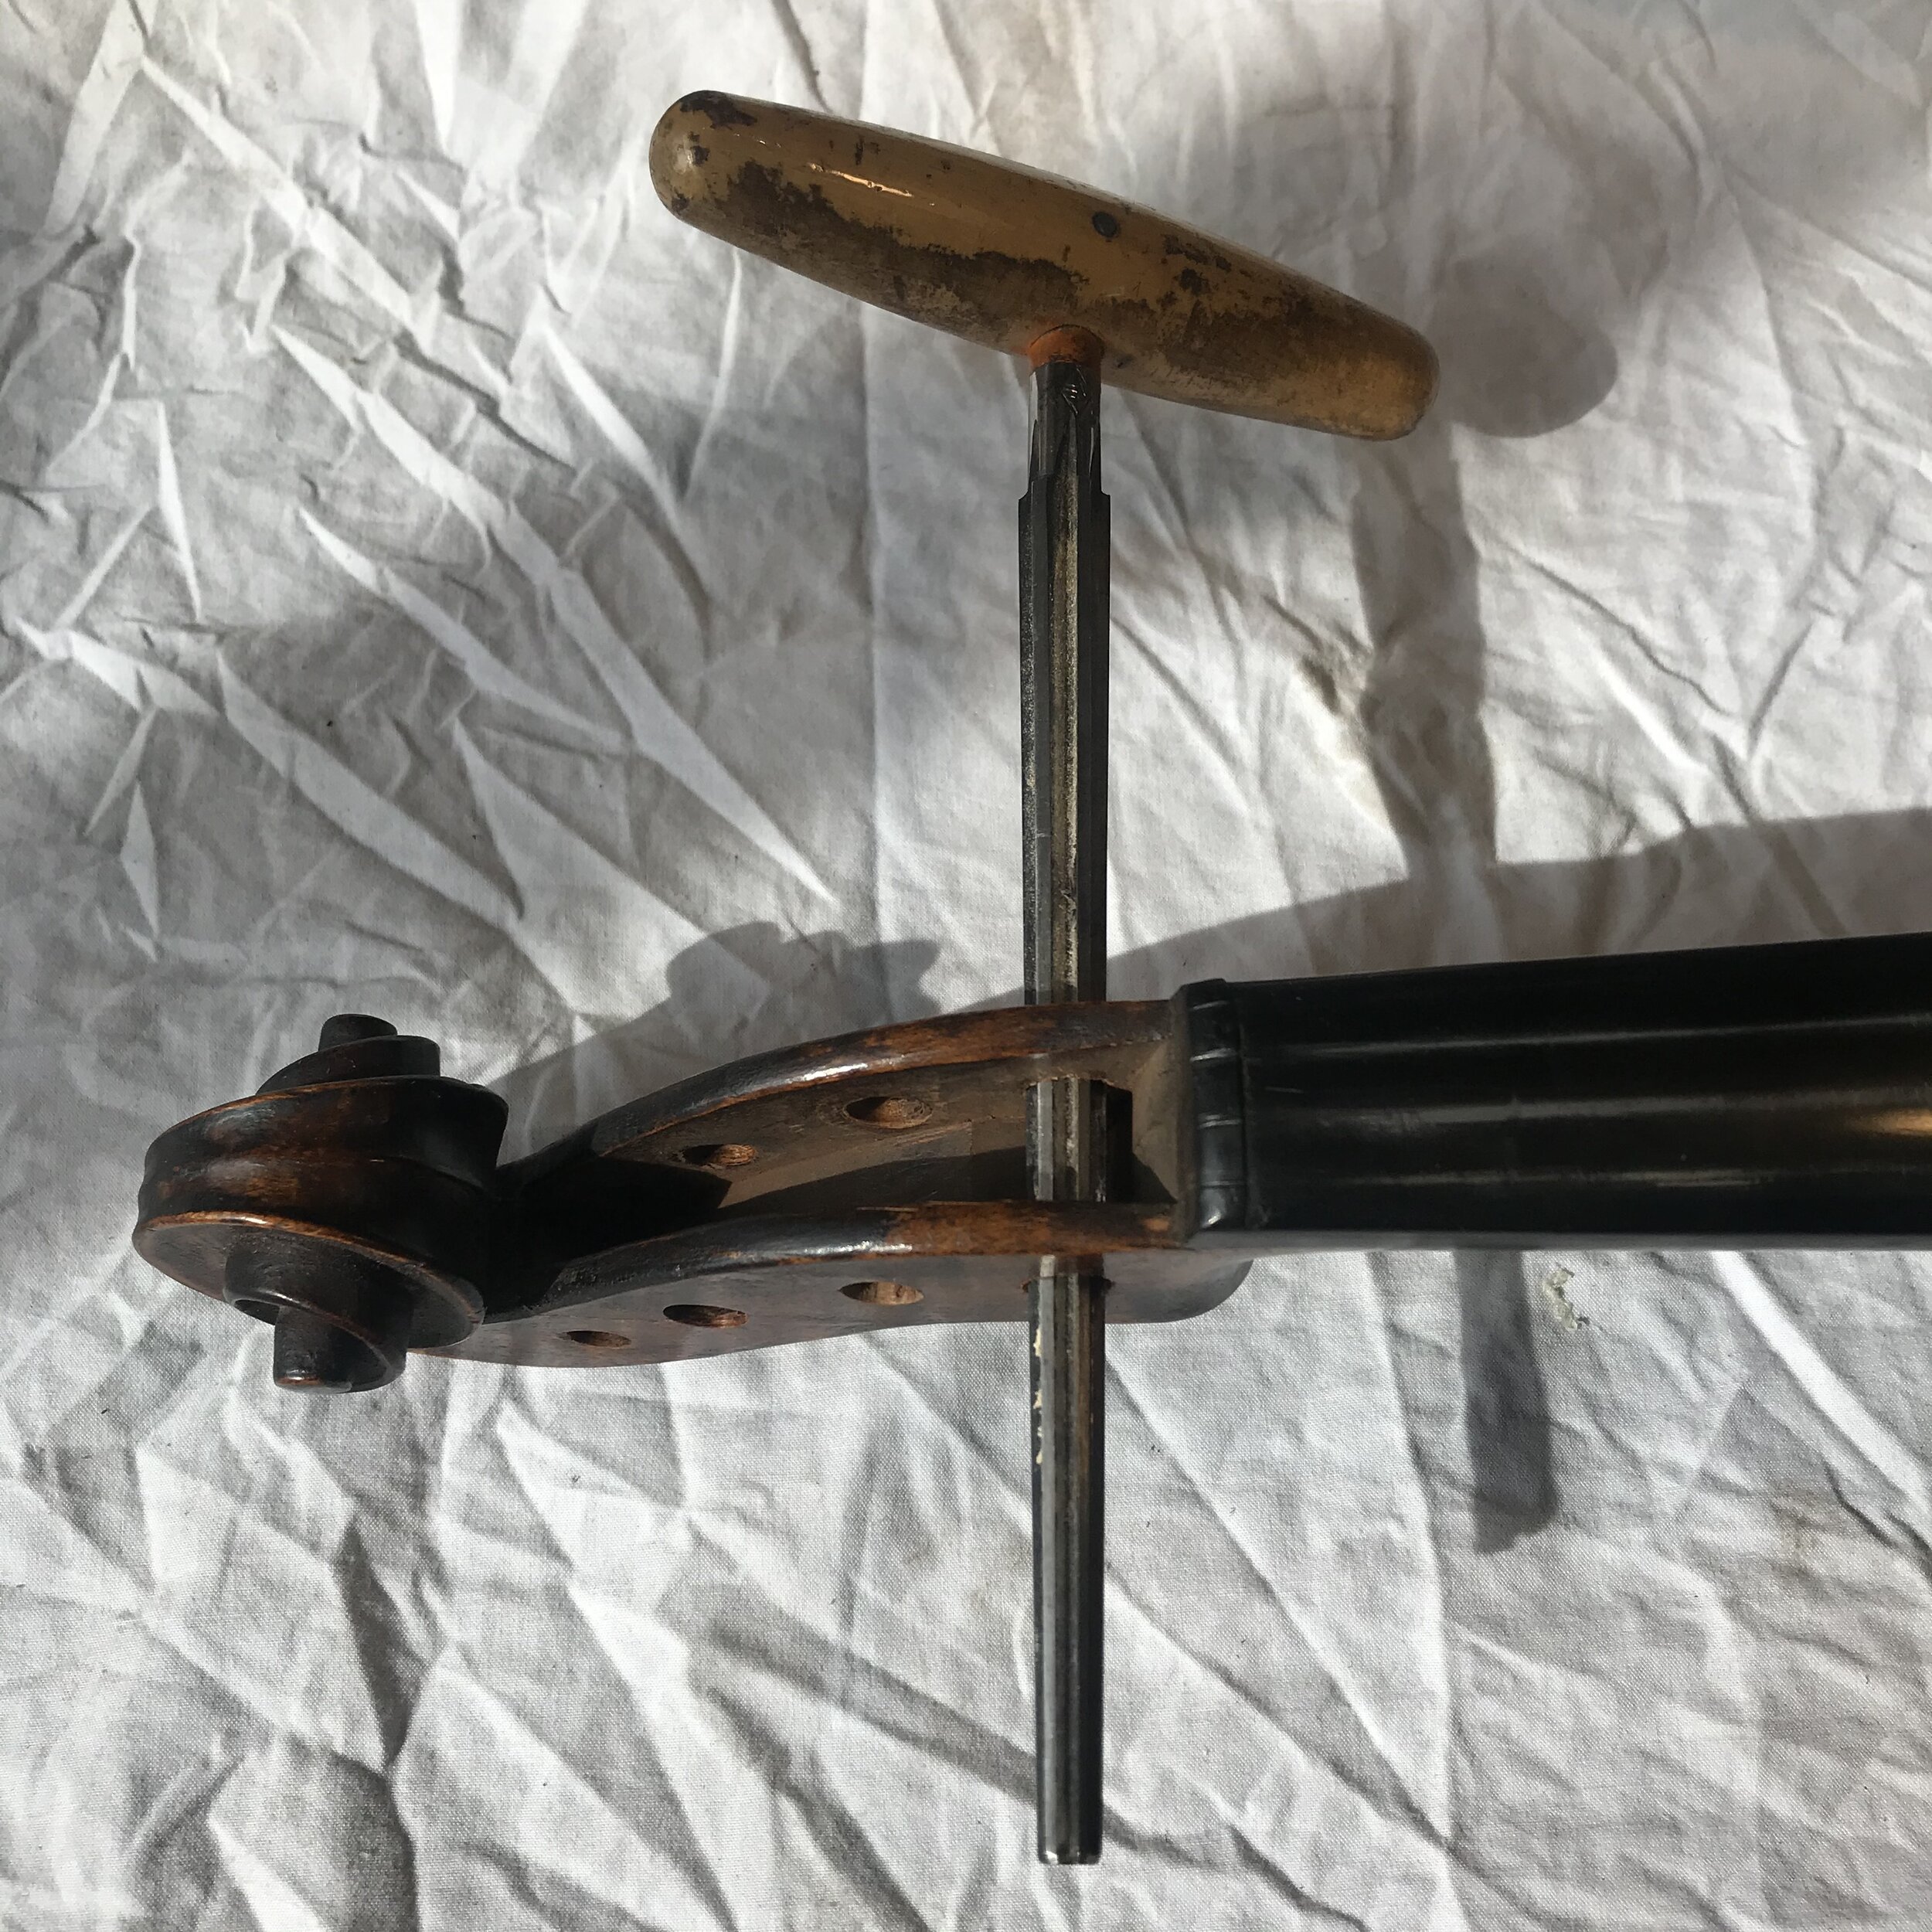
First step is to ream out the hole from both sides until all the visible wood inside the hole is fresh, this will help the glue to adhere.
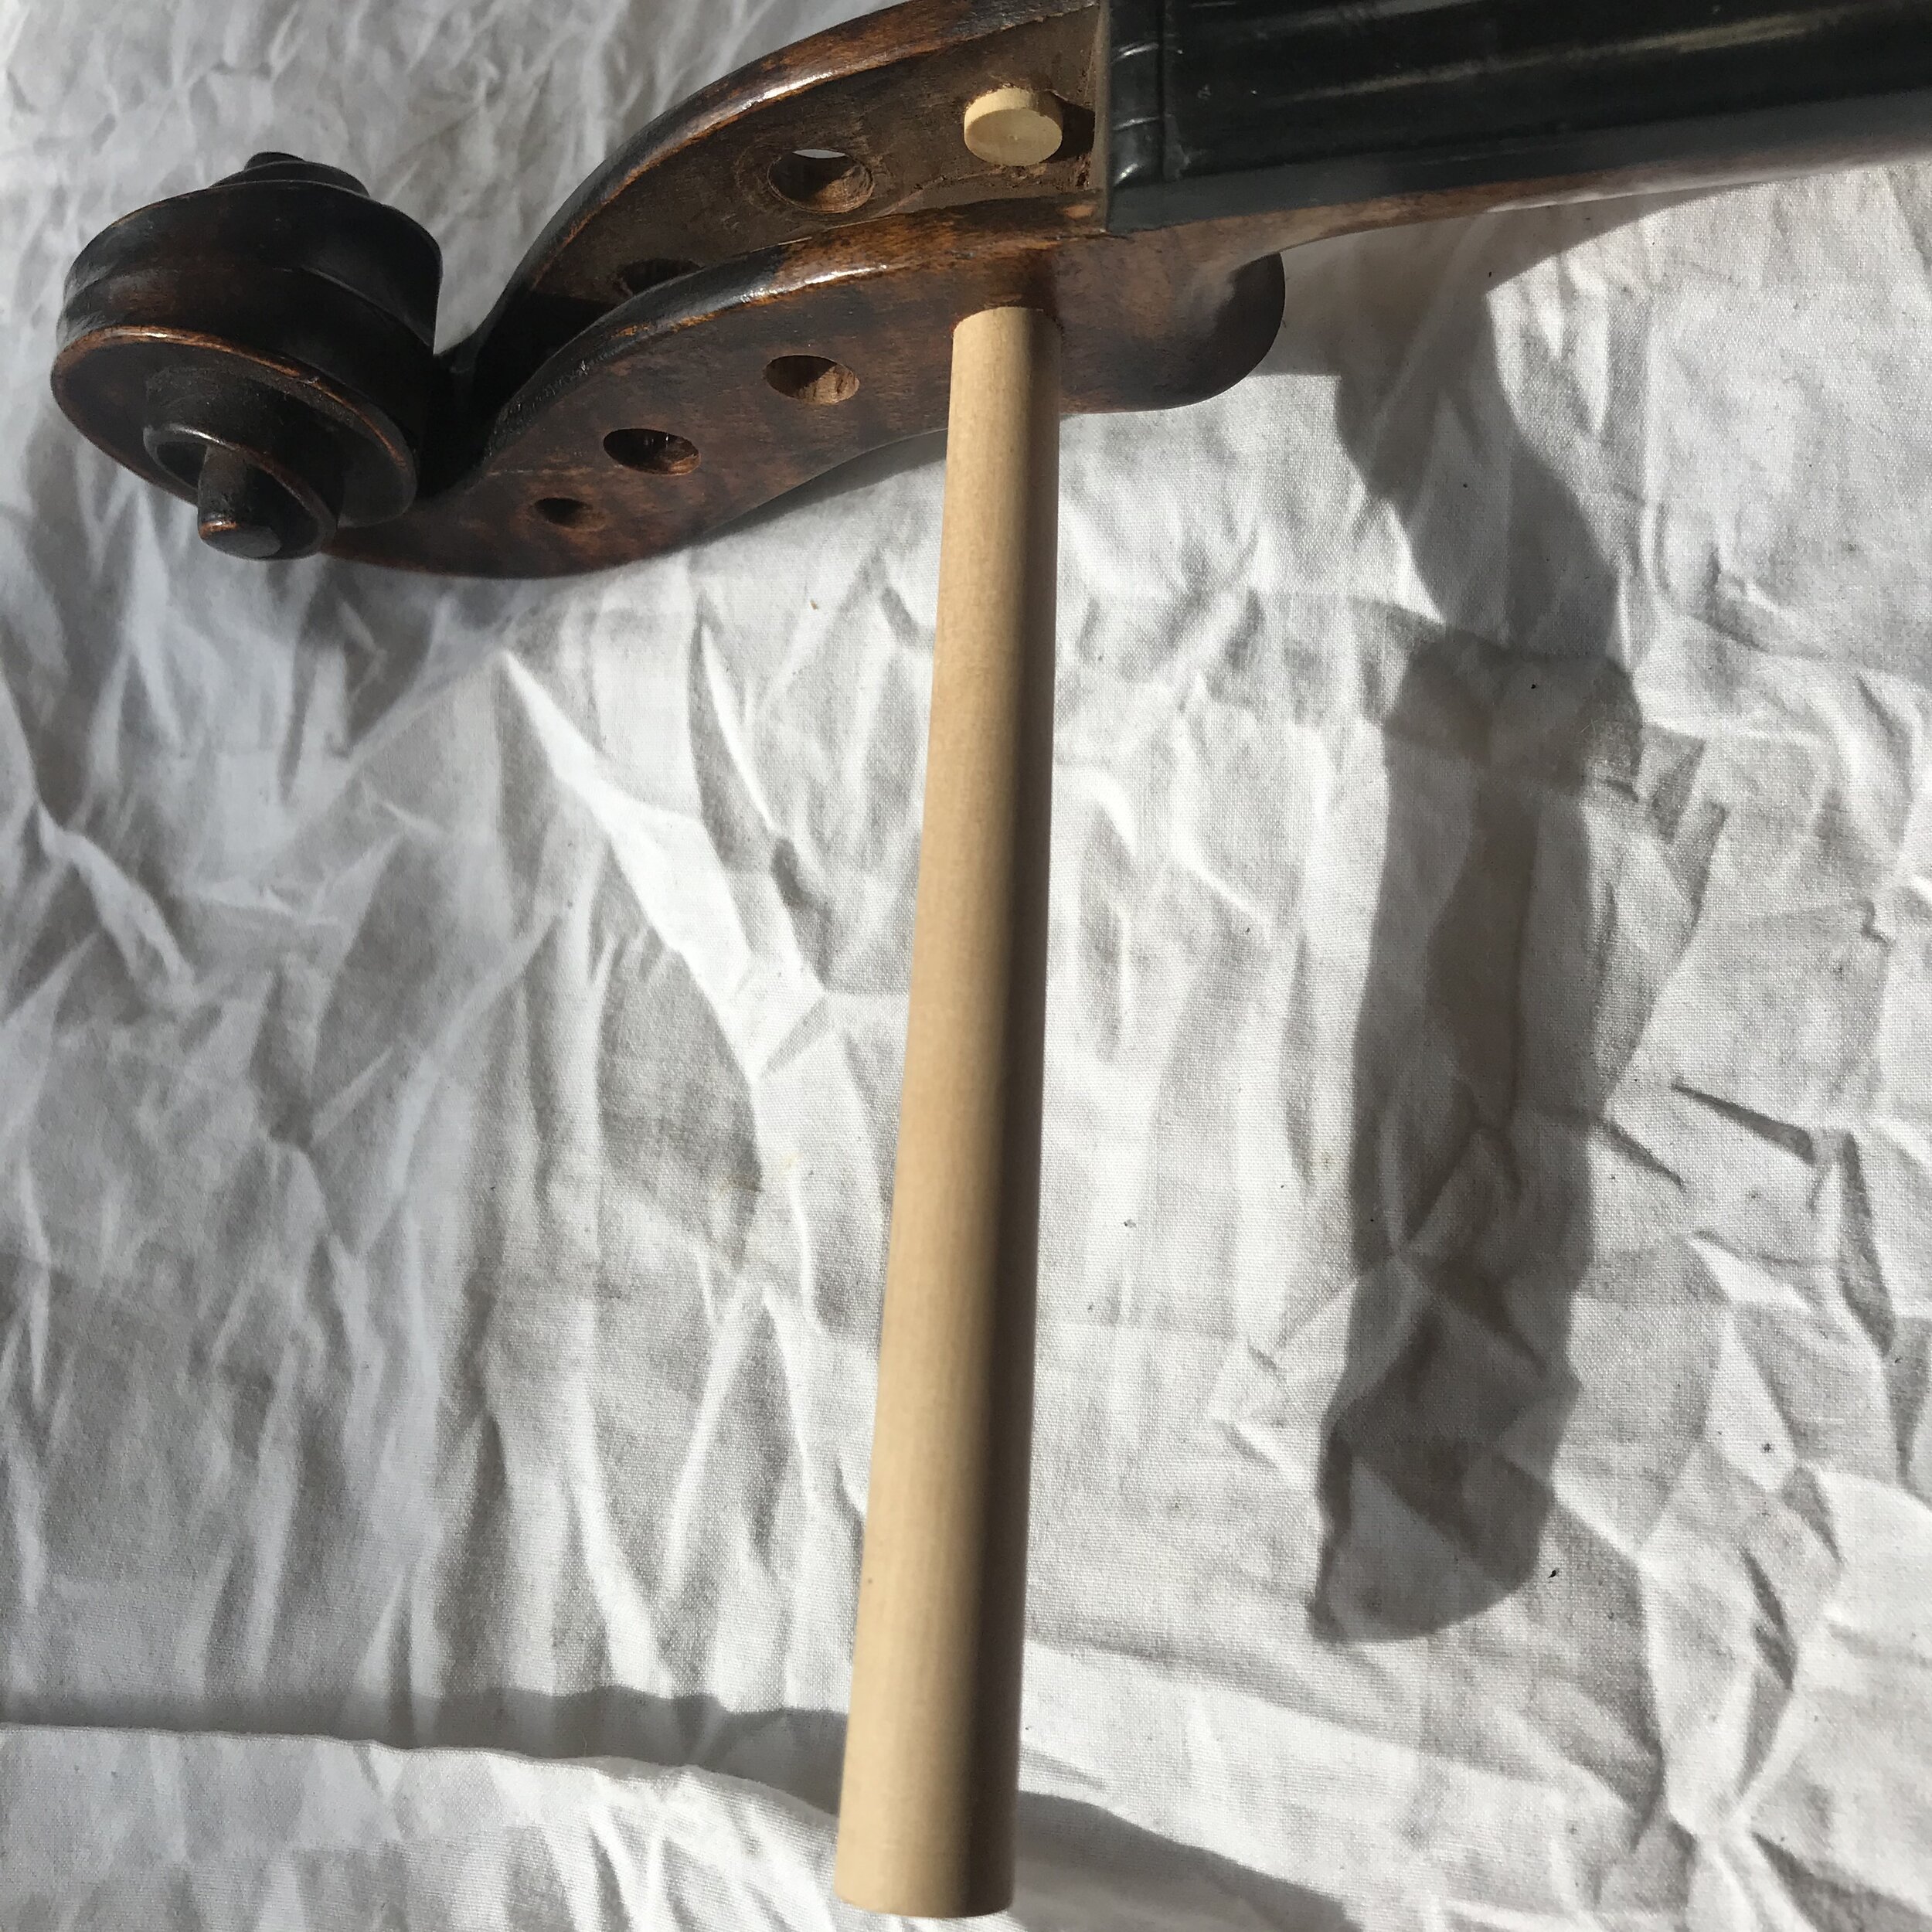
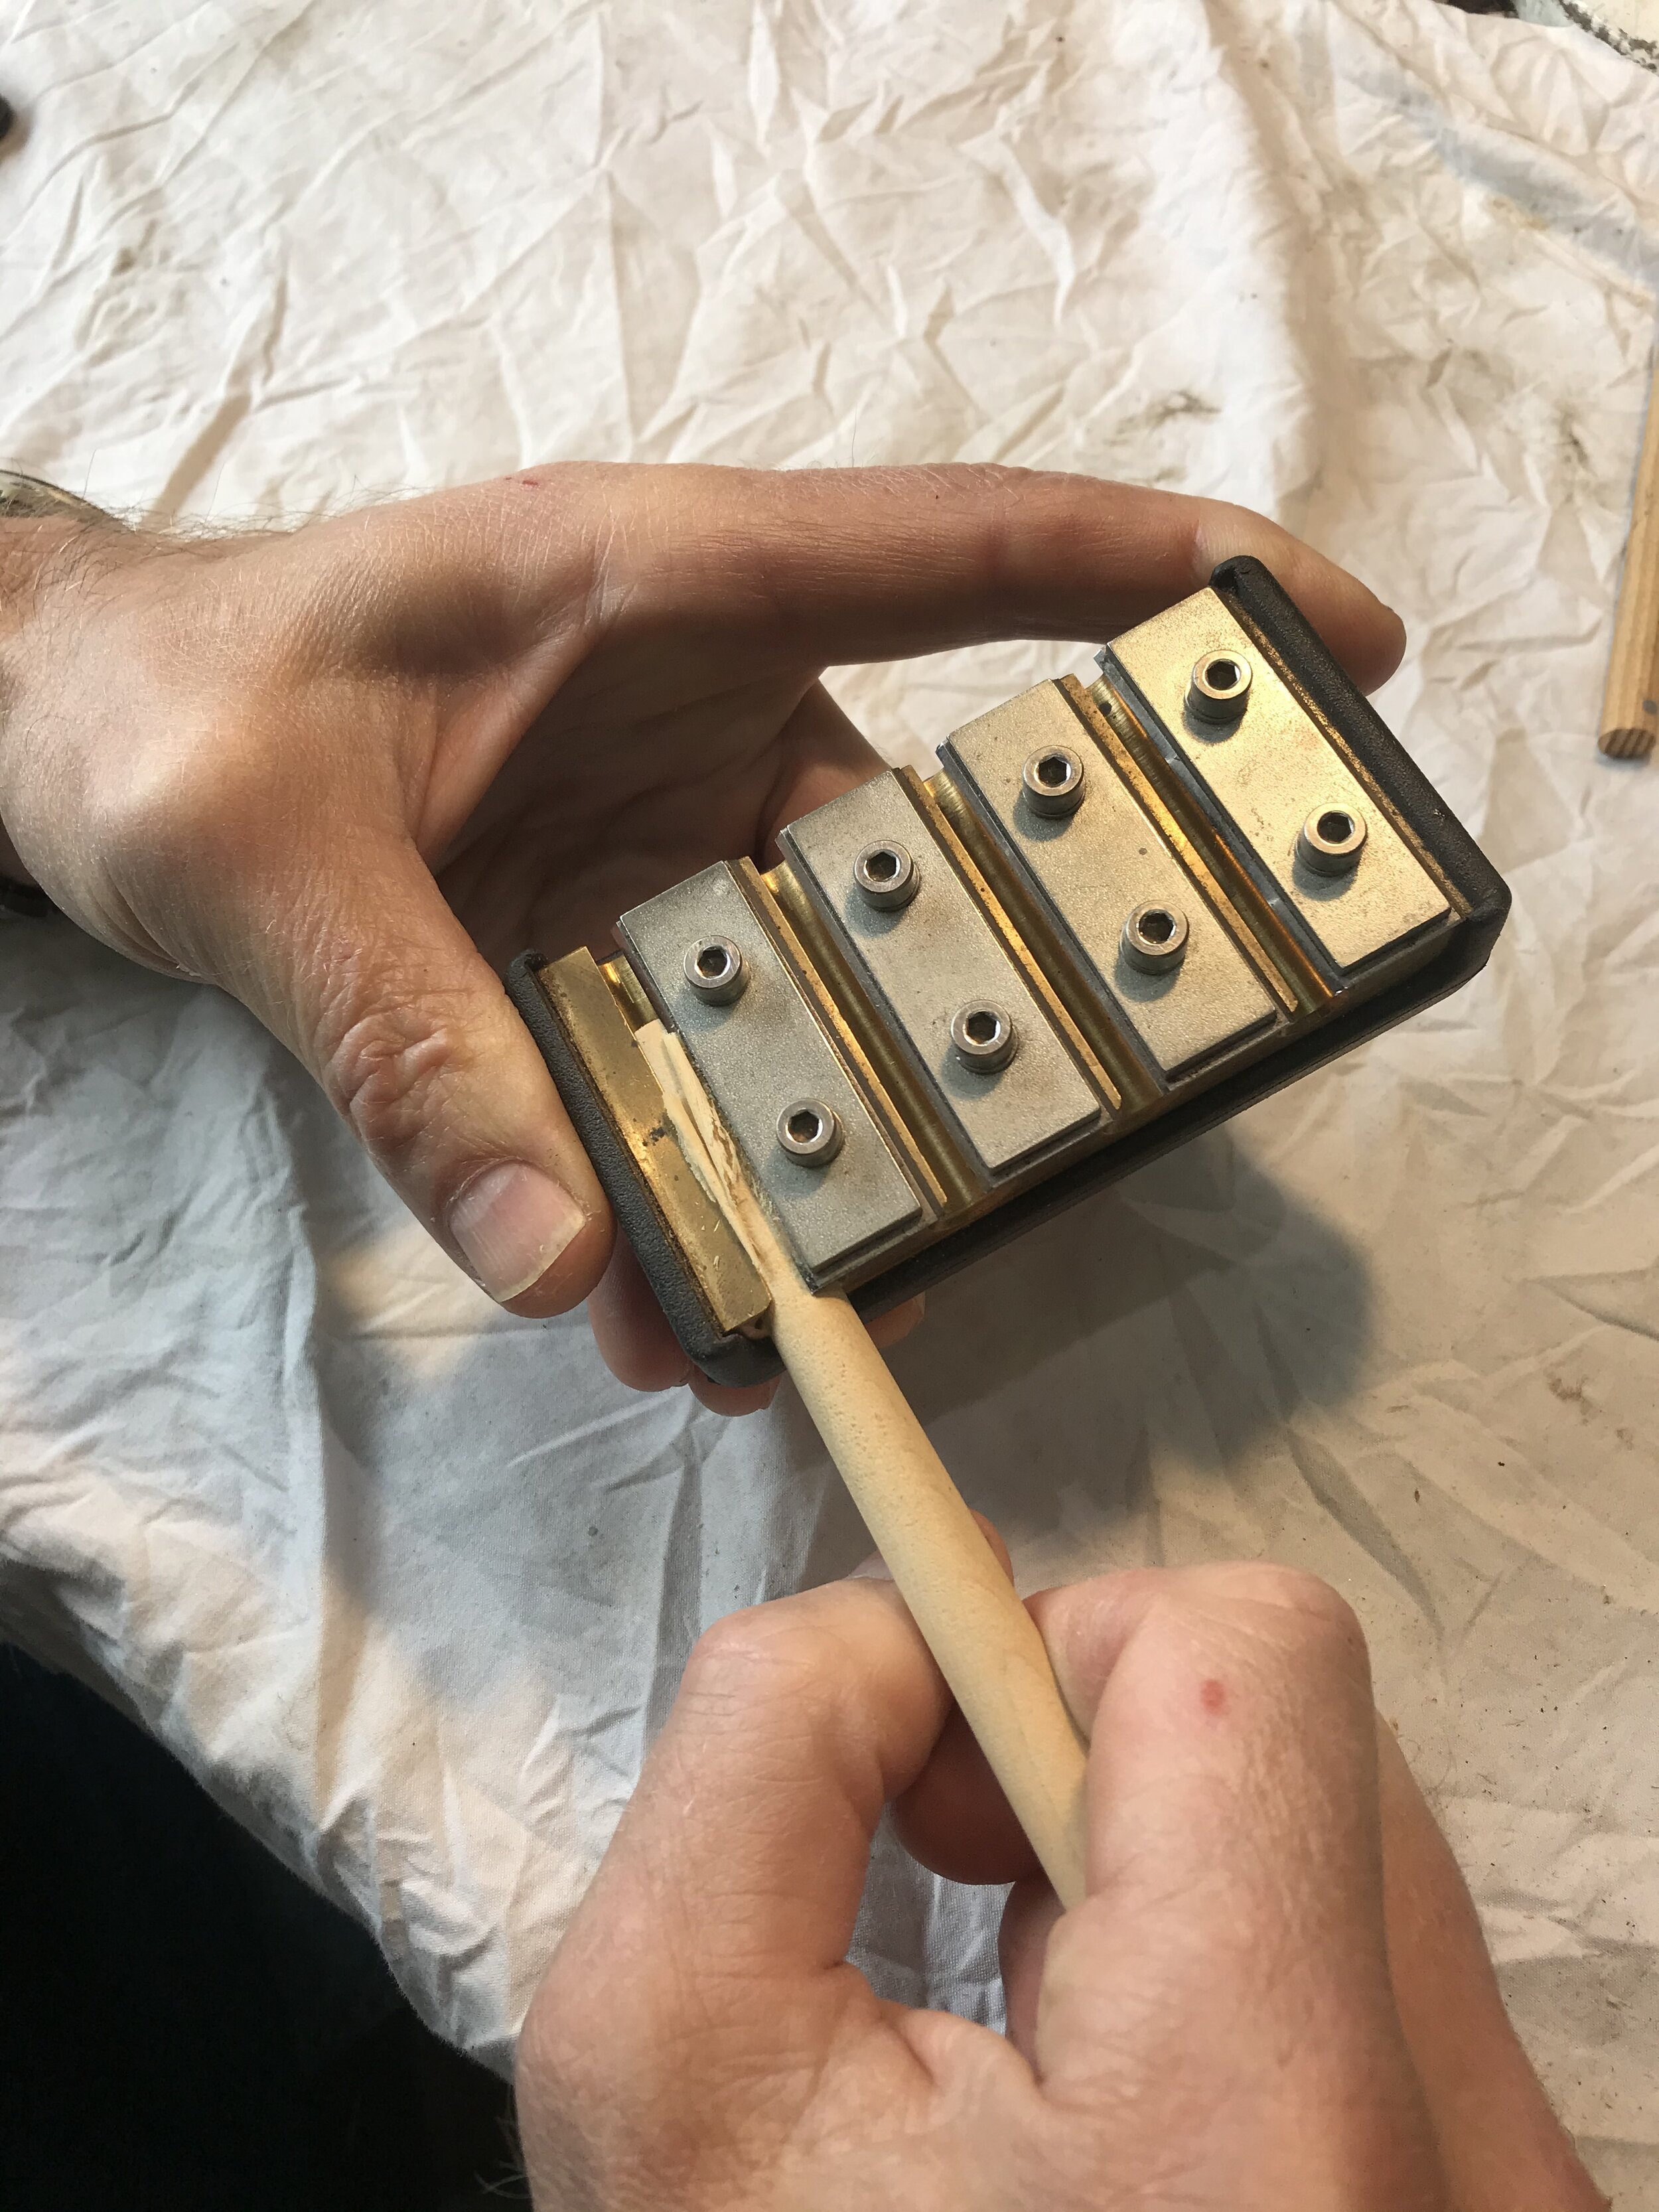
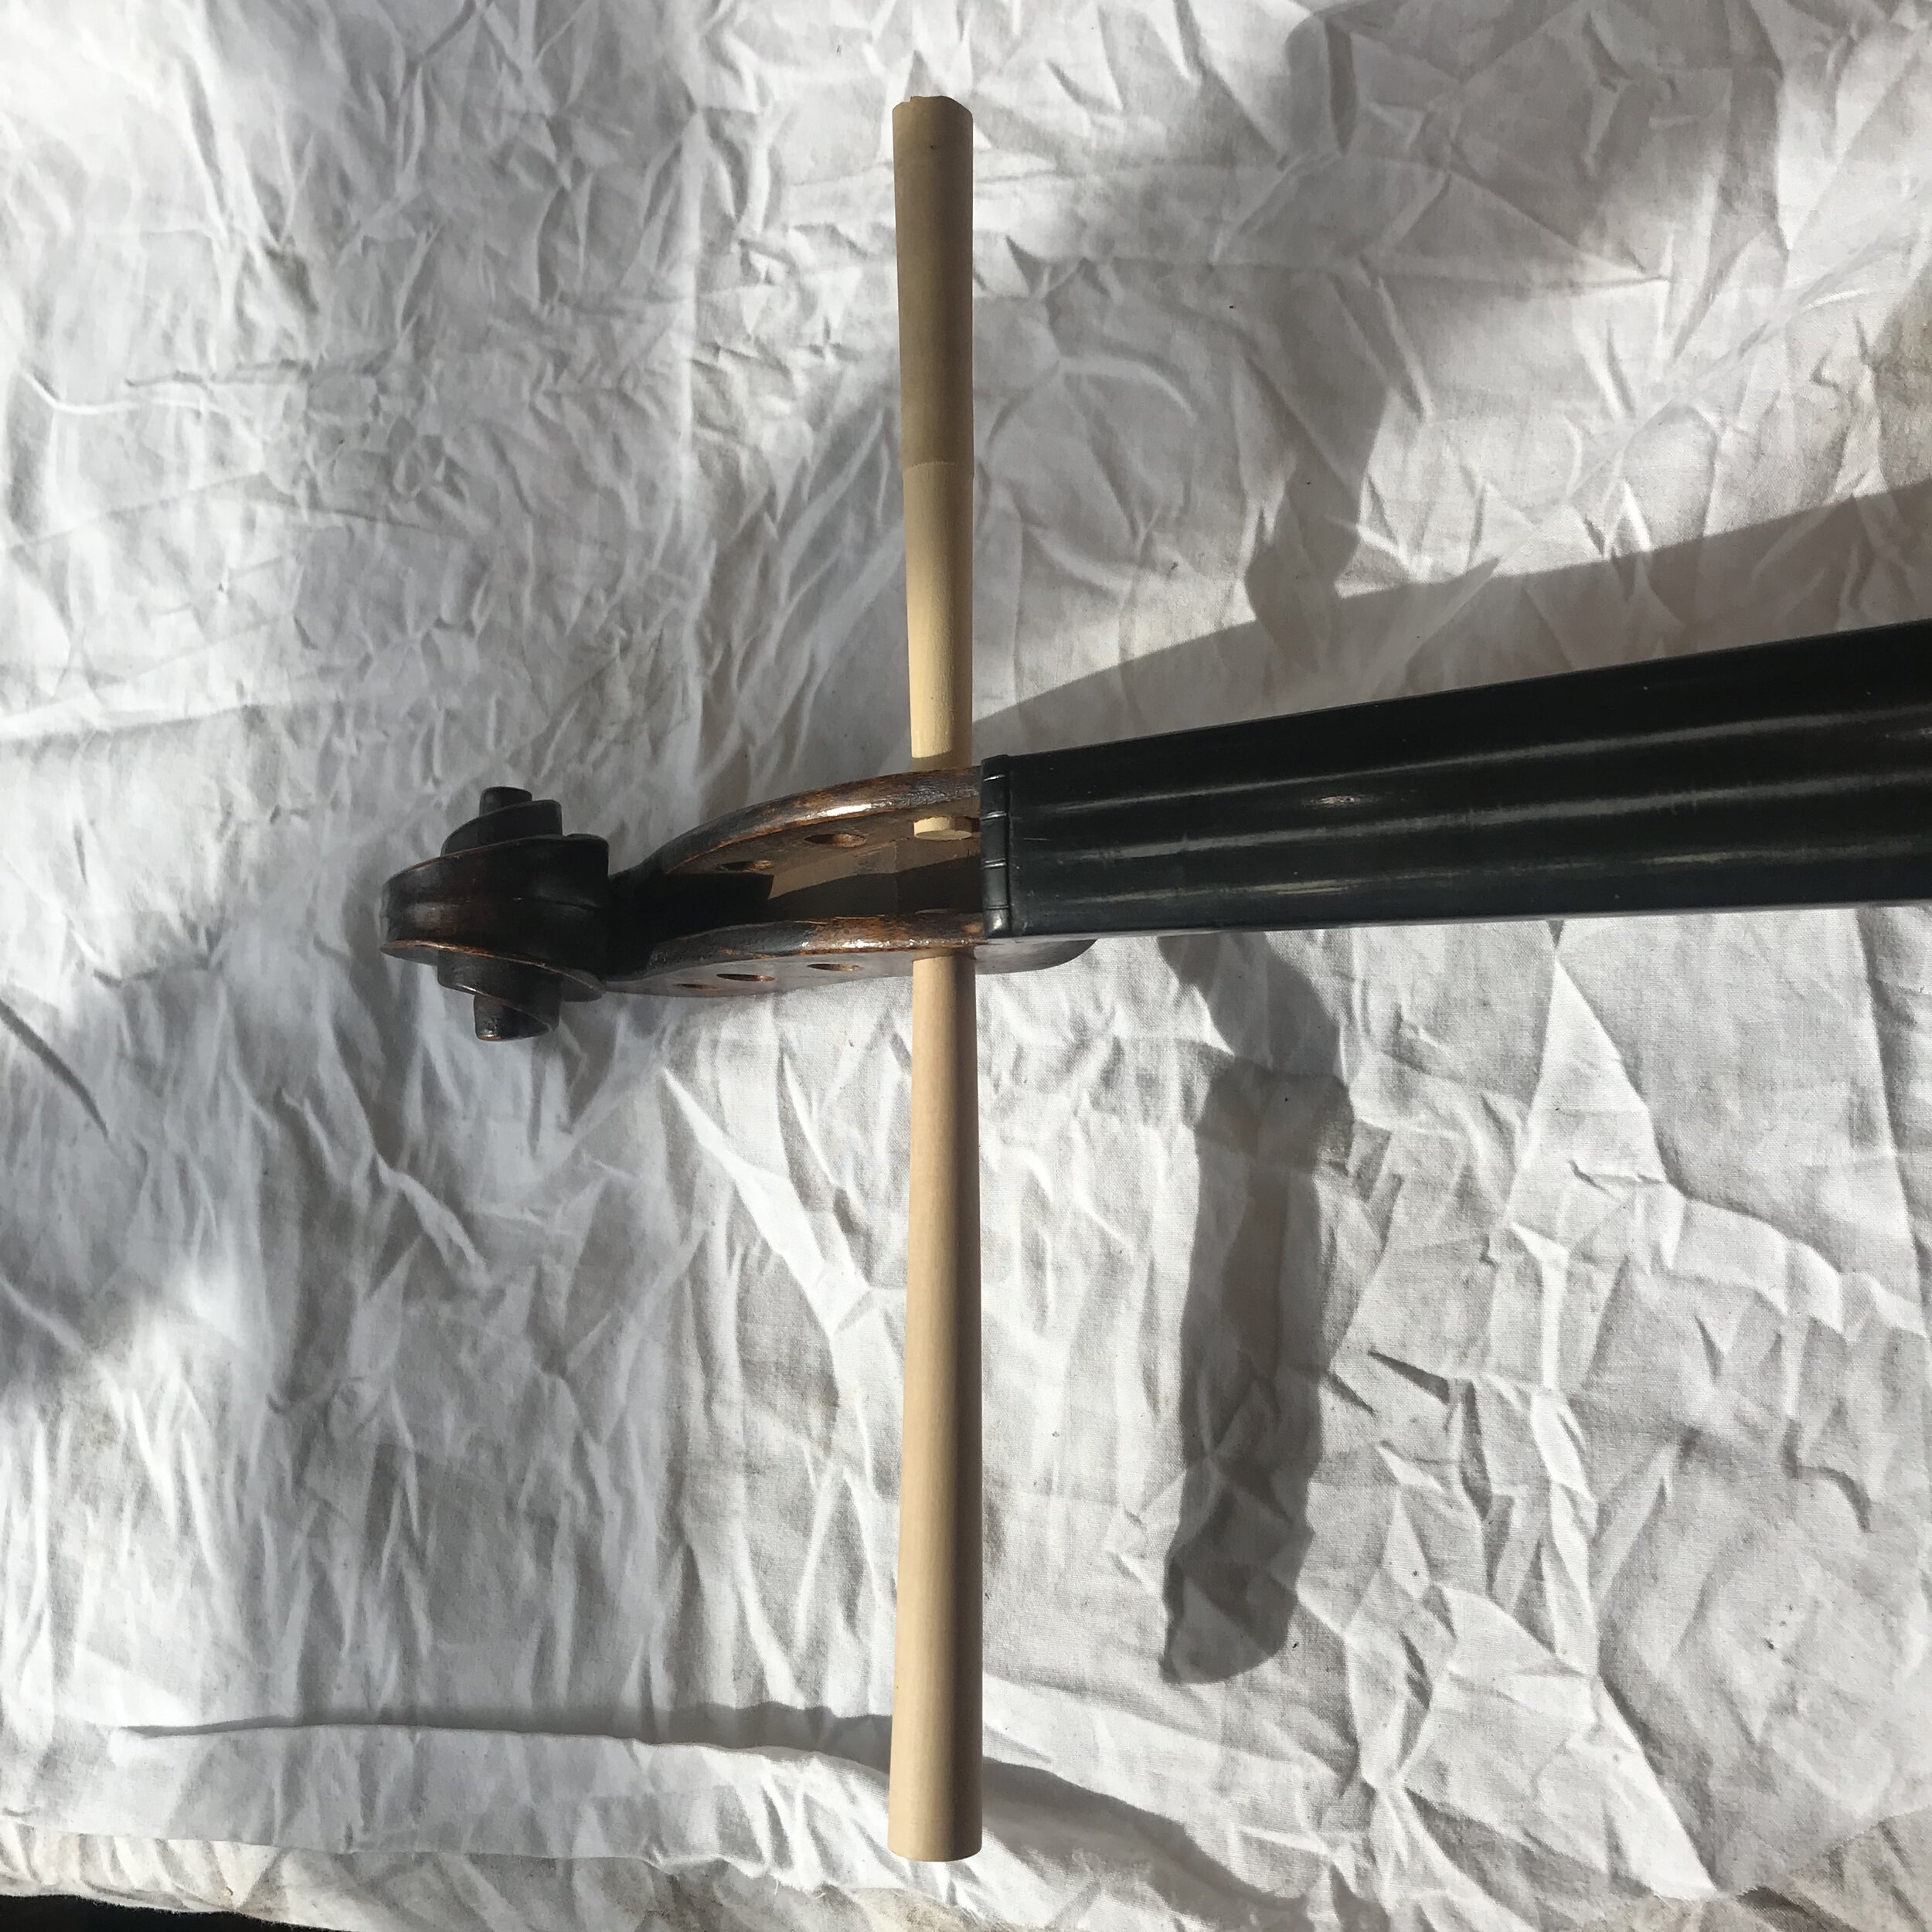
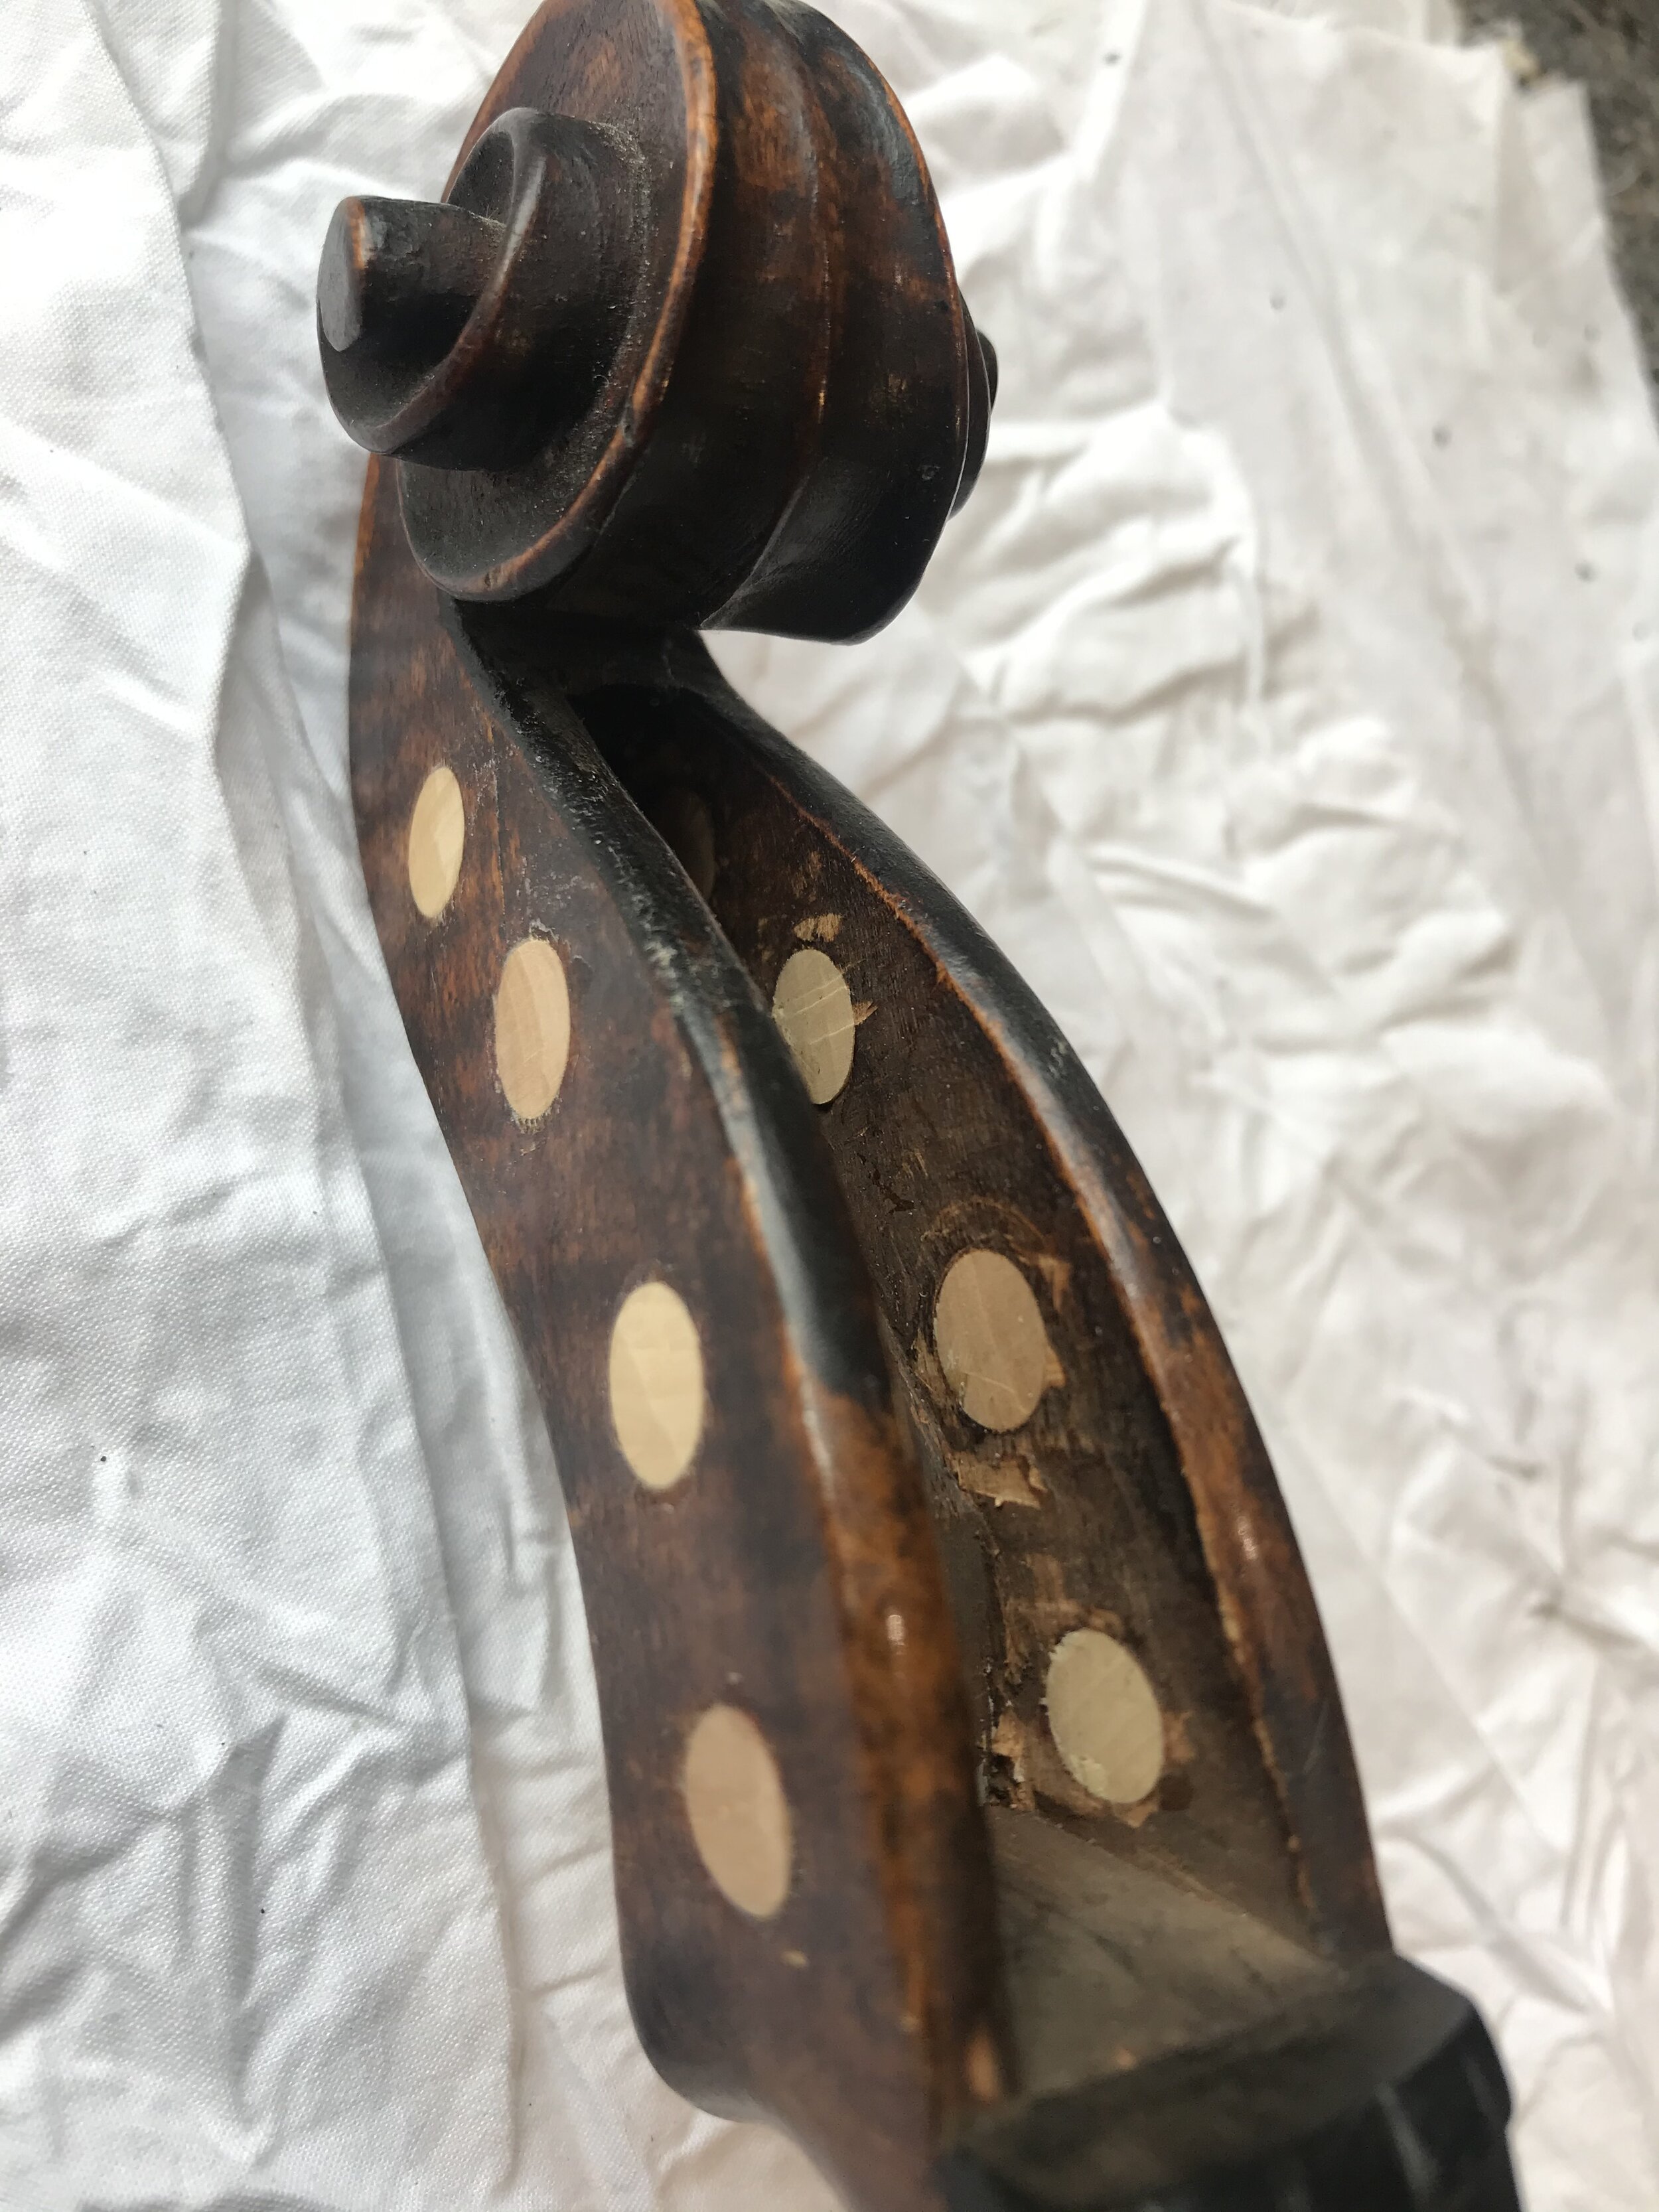
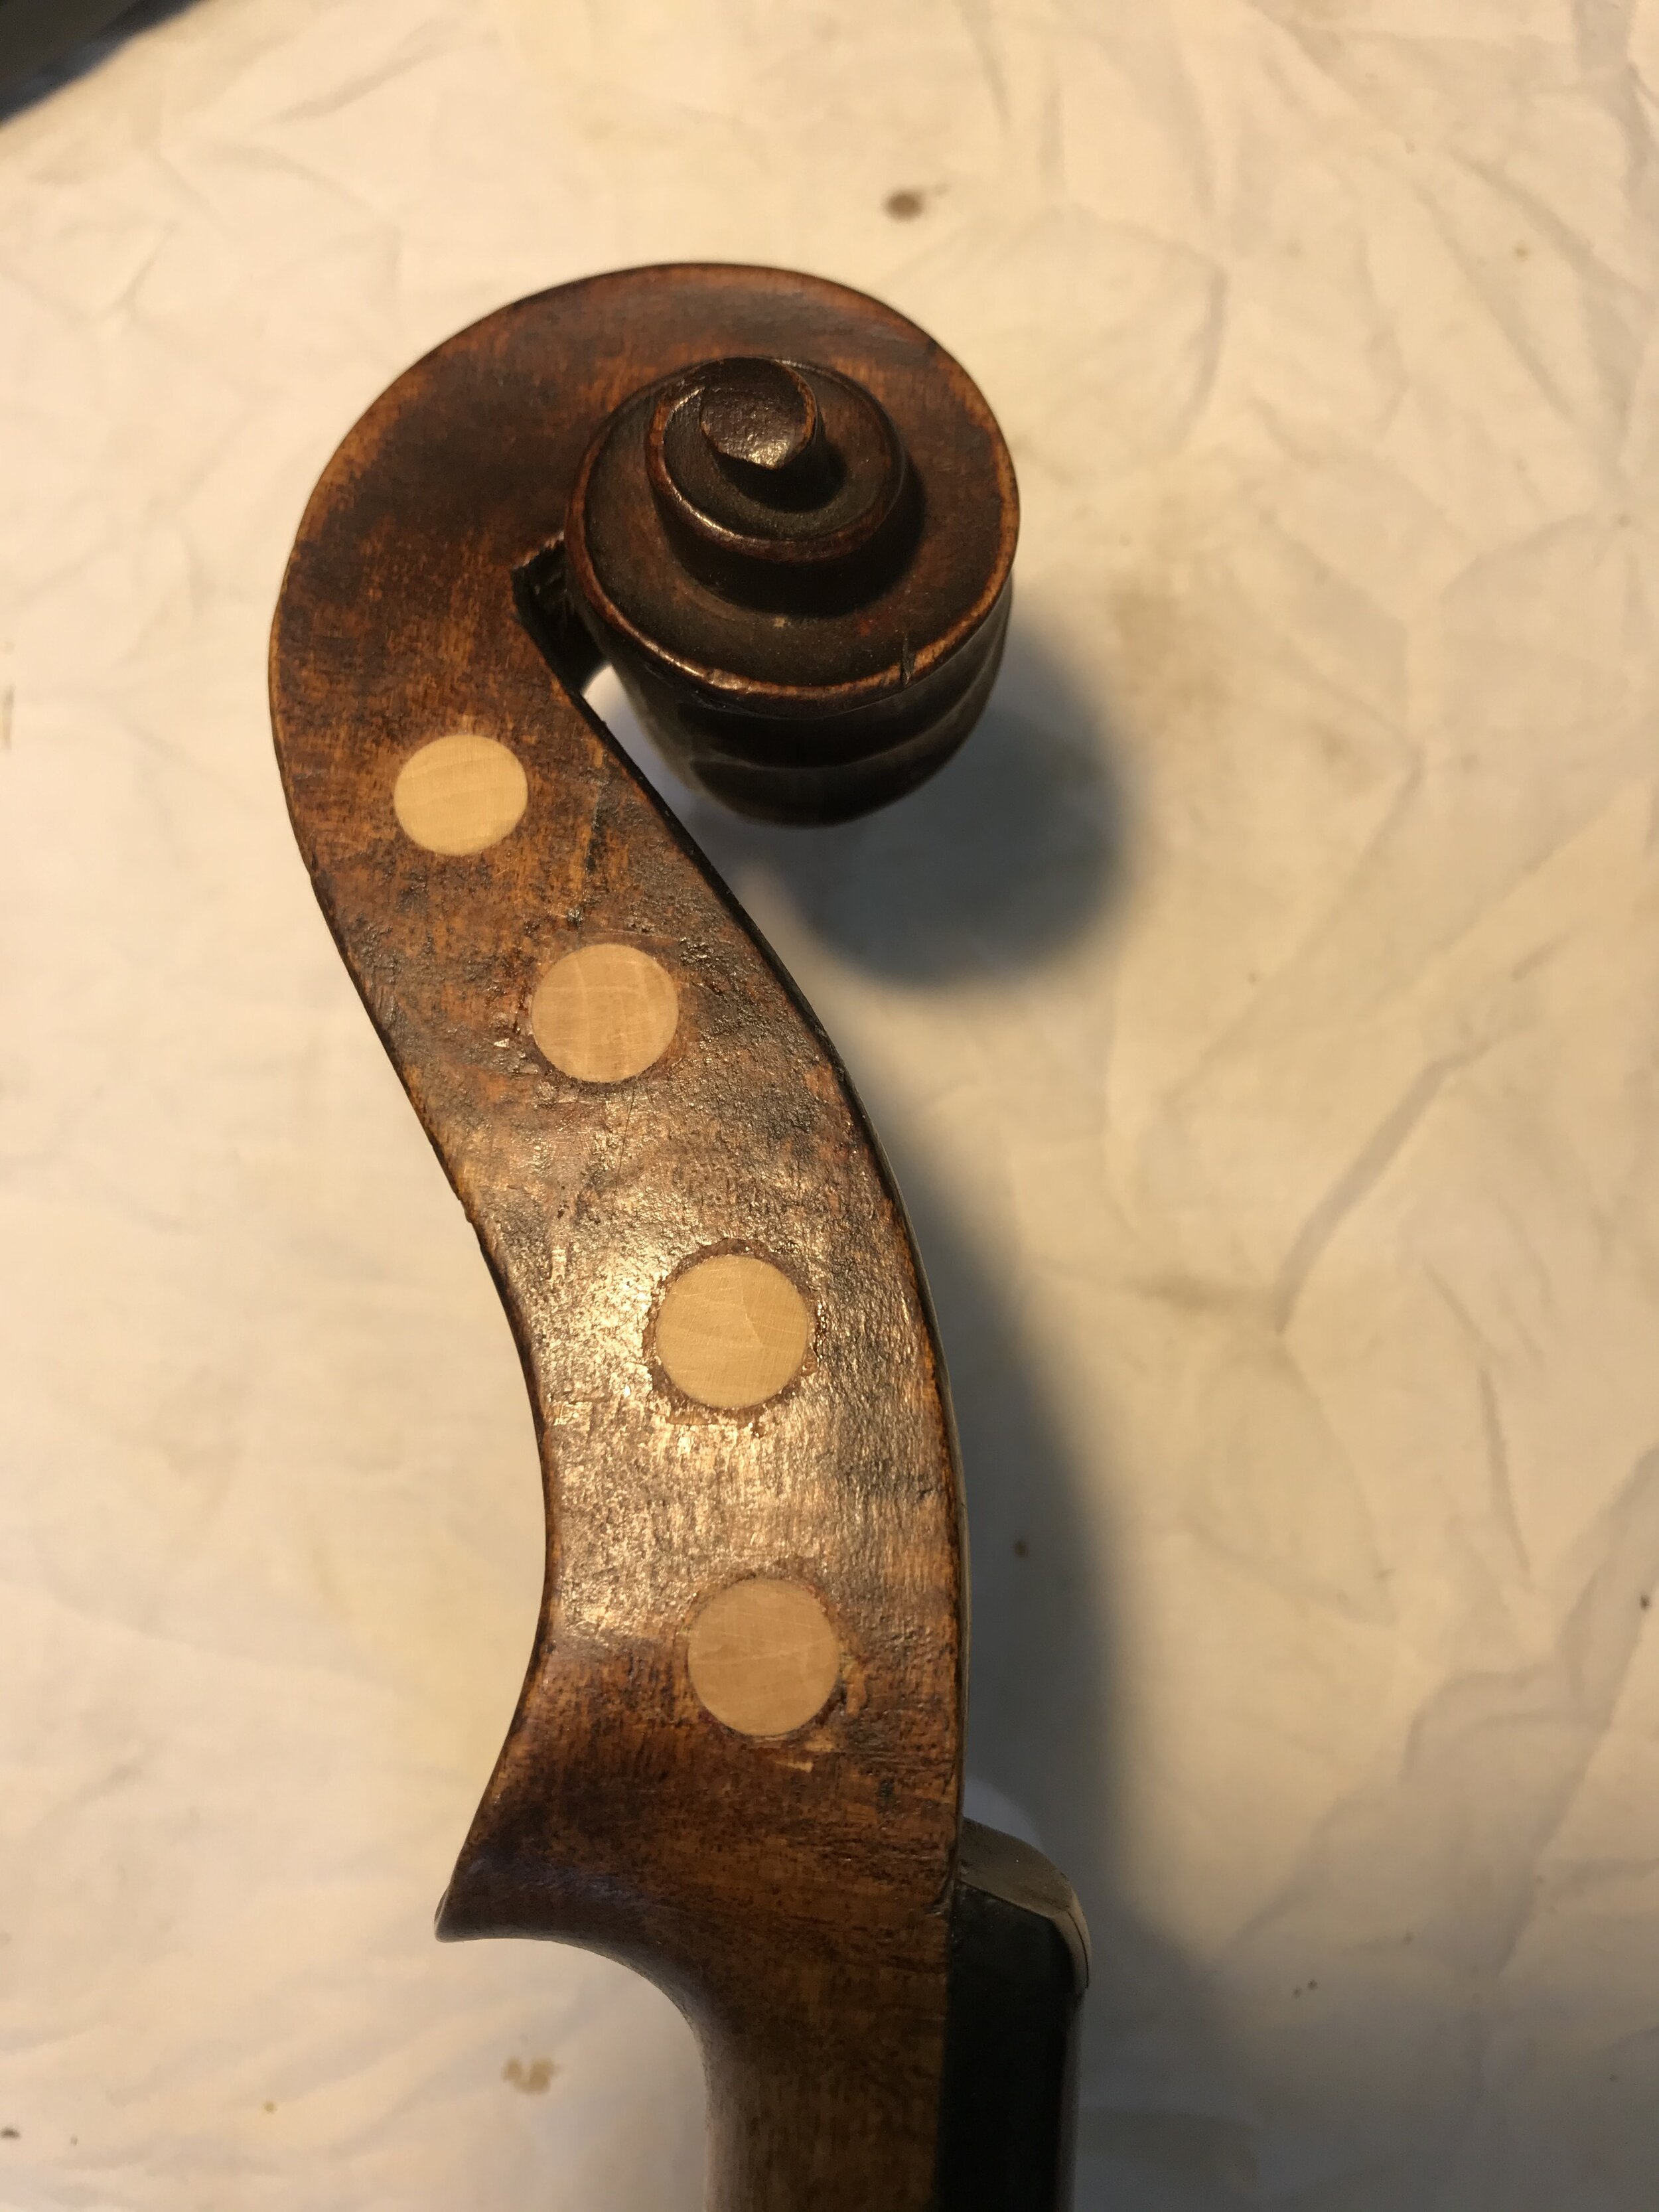
The new wood for bushing is cut down with a peg shaper to fit the hole exactly and then the bushing is glued into place.
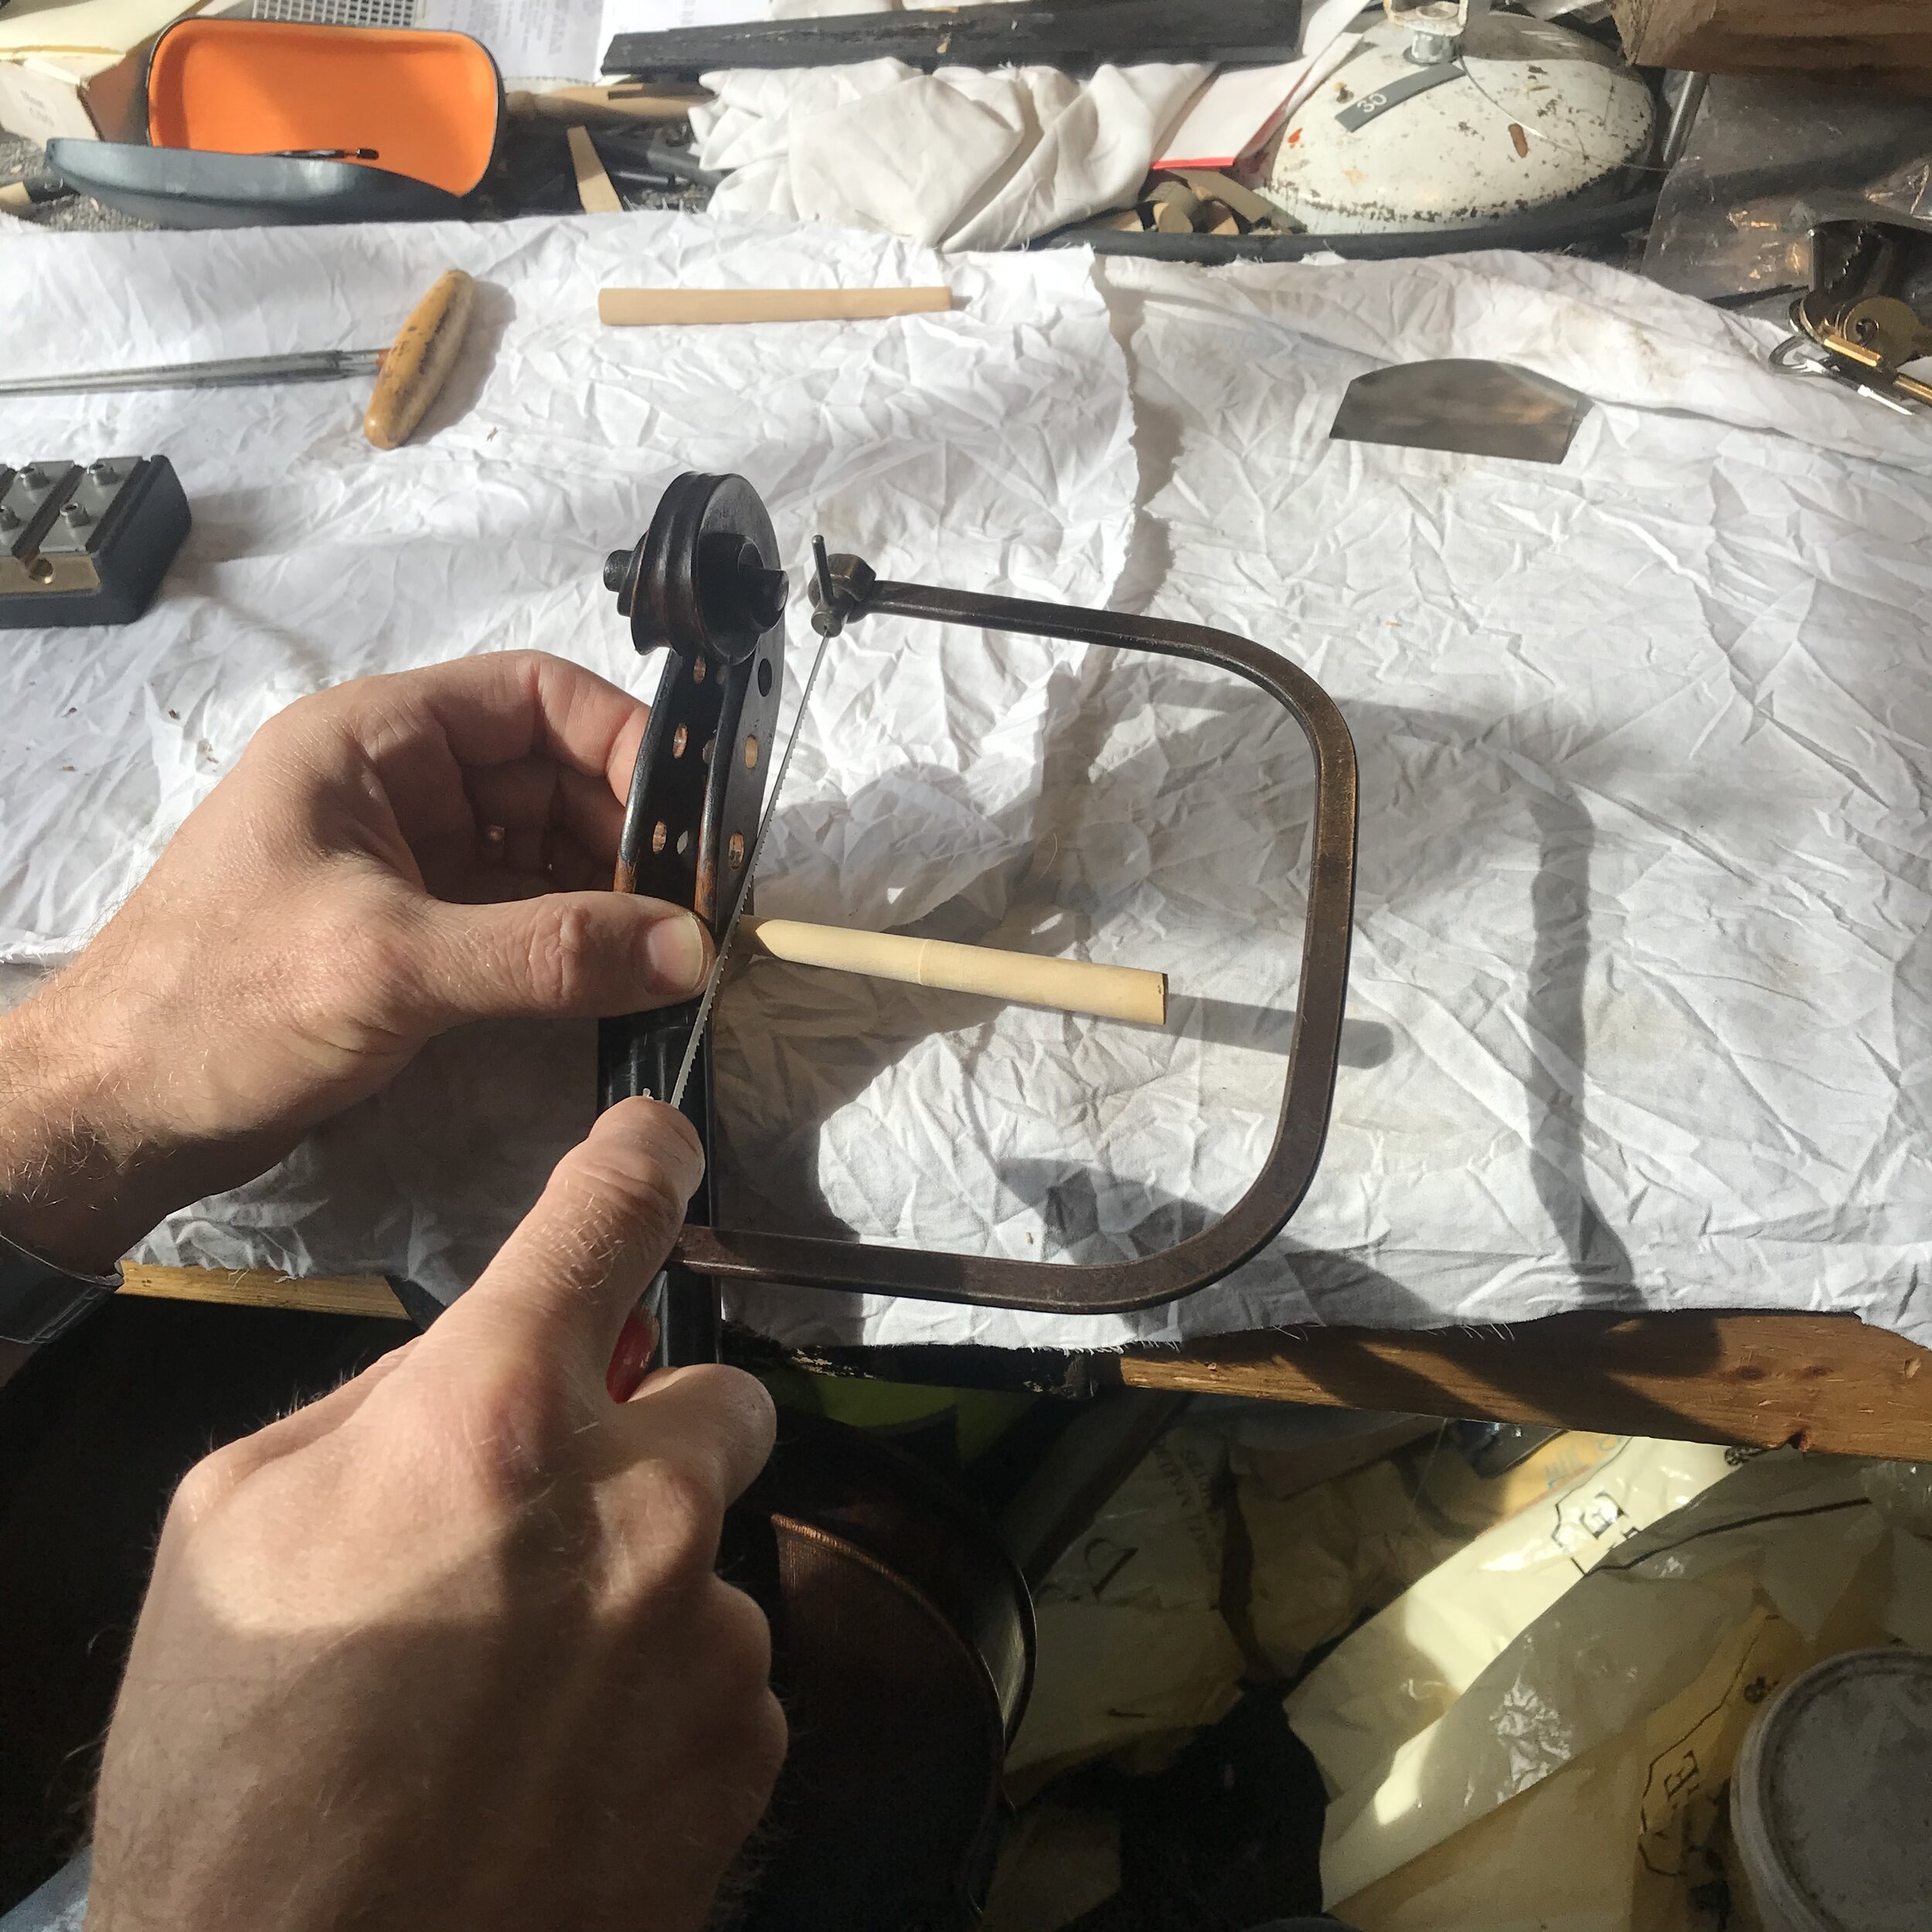
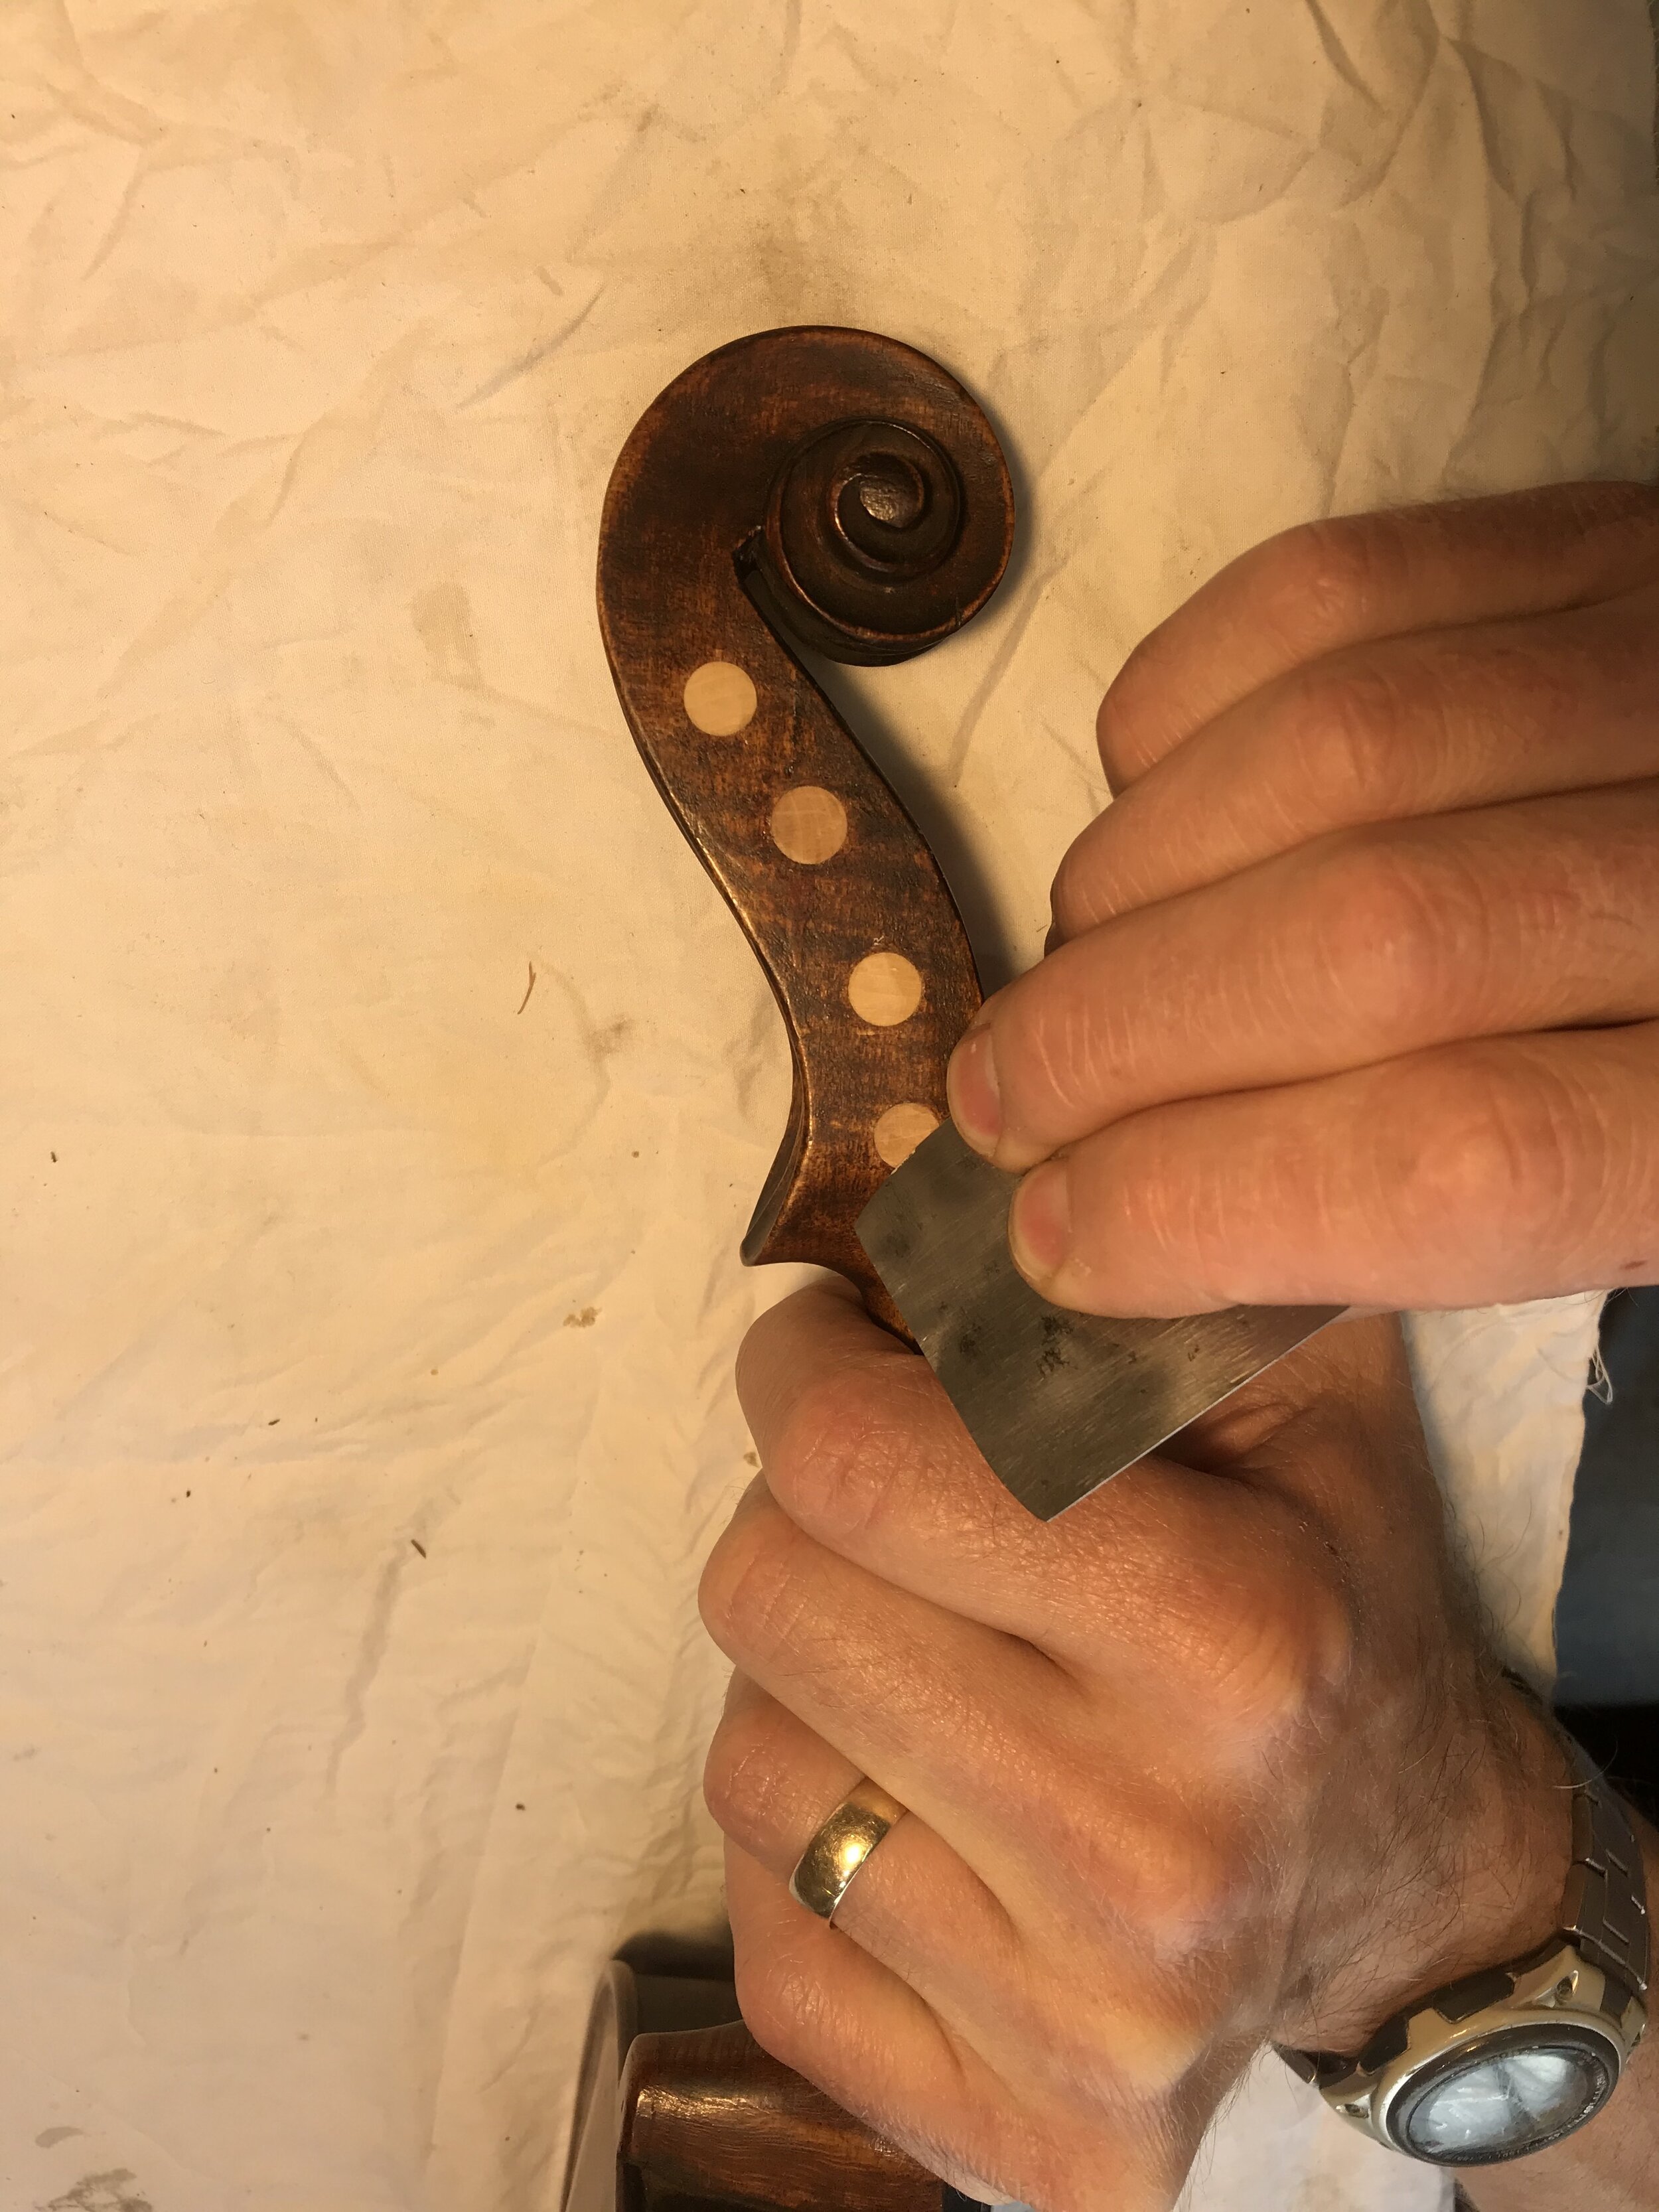
Jonathan uses a coping saw to cut off the end of the bushing wood on the outside. He would ensure that there’s not too much wood to trim on the inside to minimise work on the interior of the peg box.
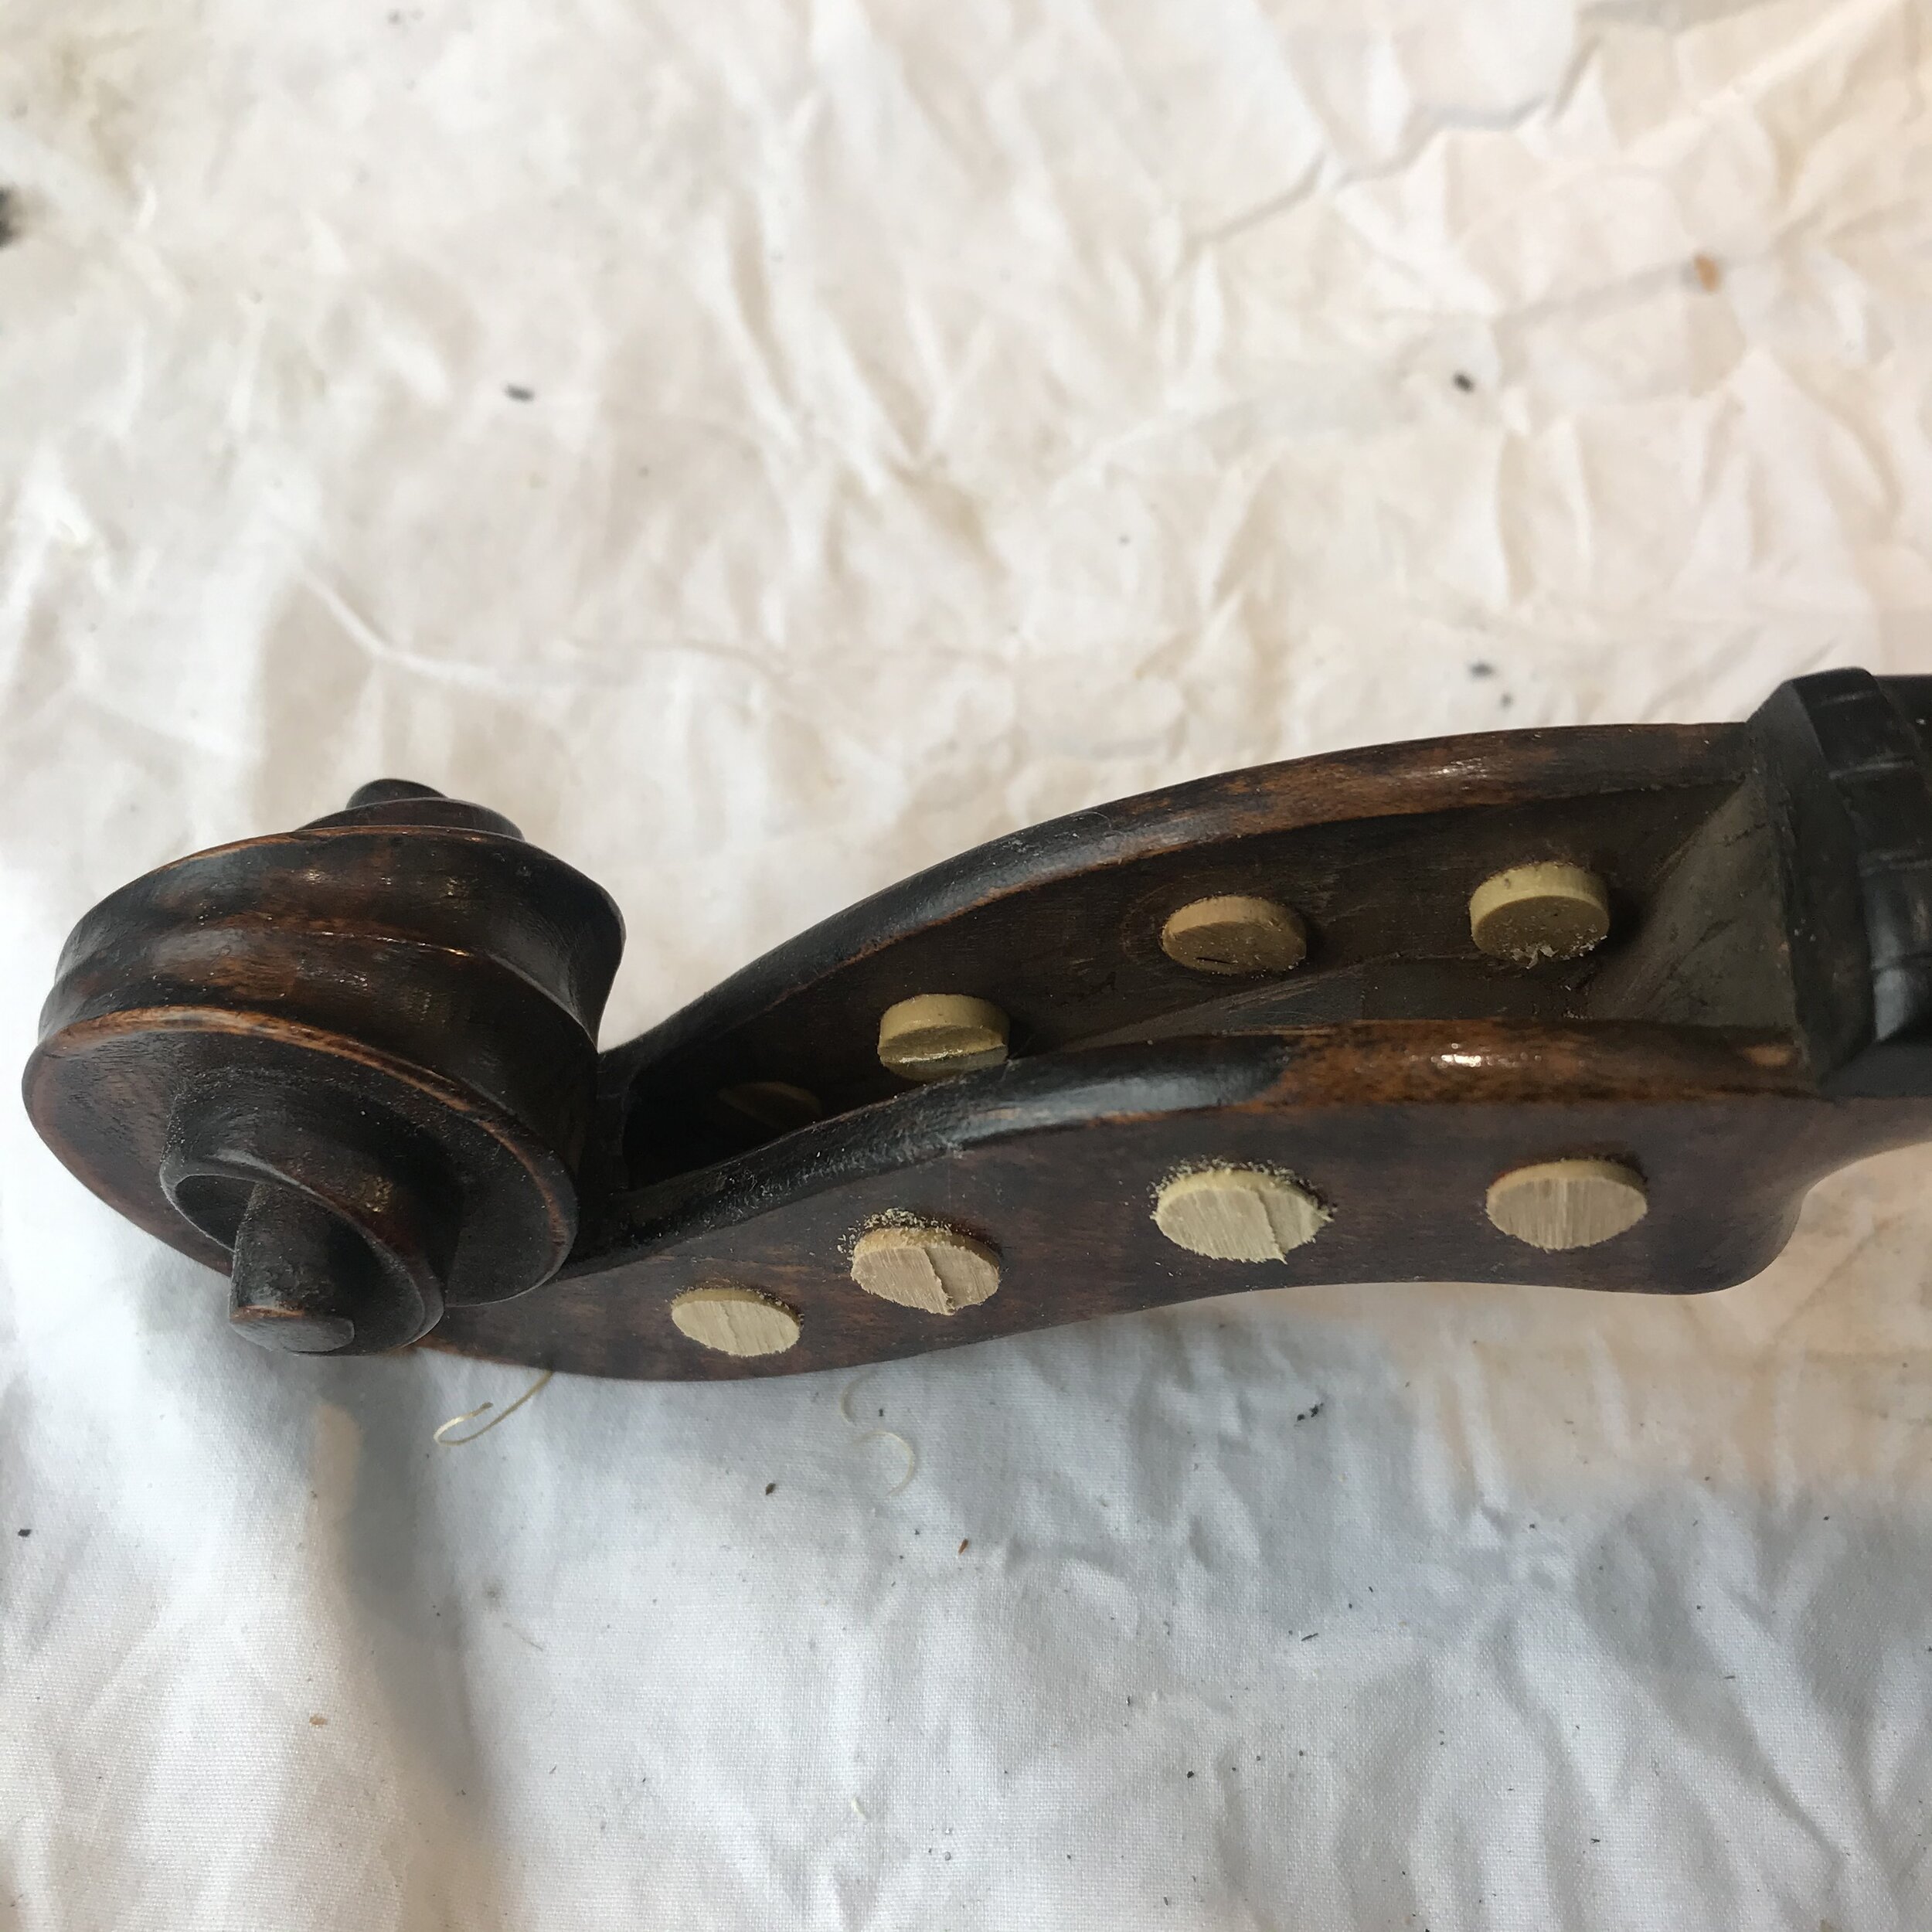

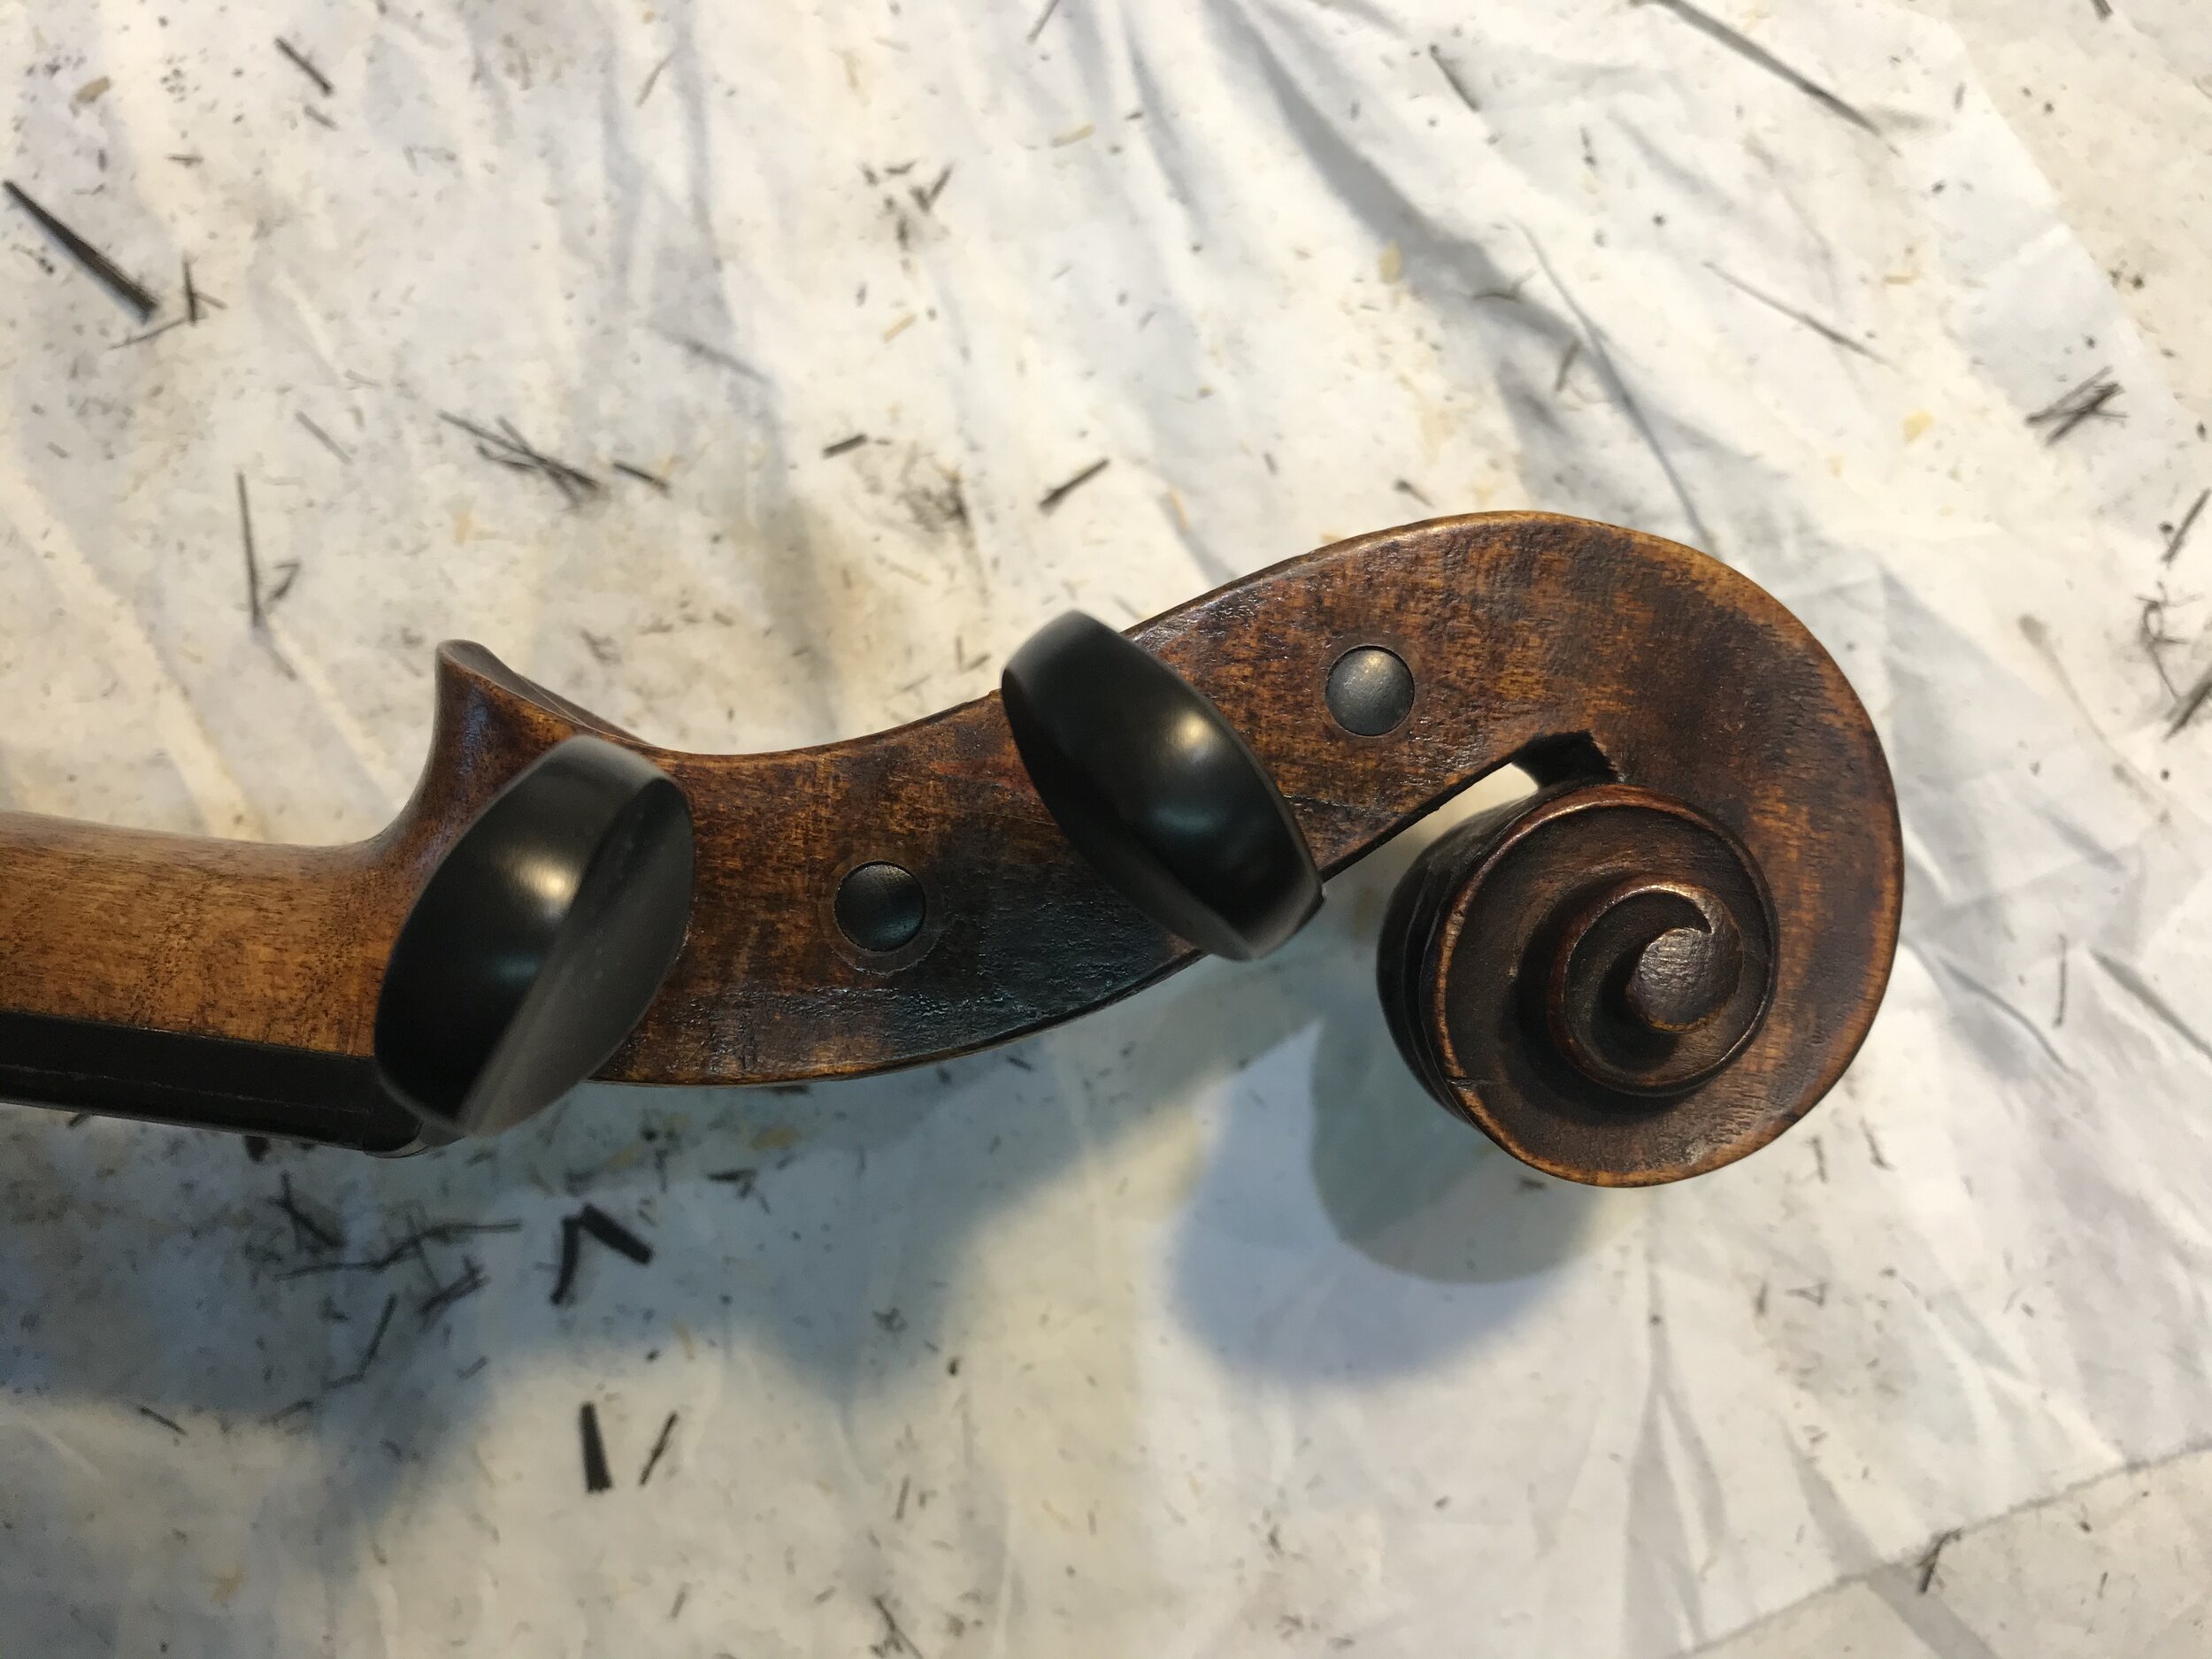
Using a scraper, Jonathan makes the edges of the new wood completely smooth.
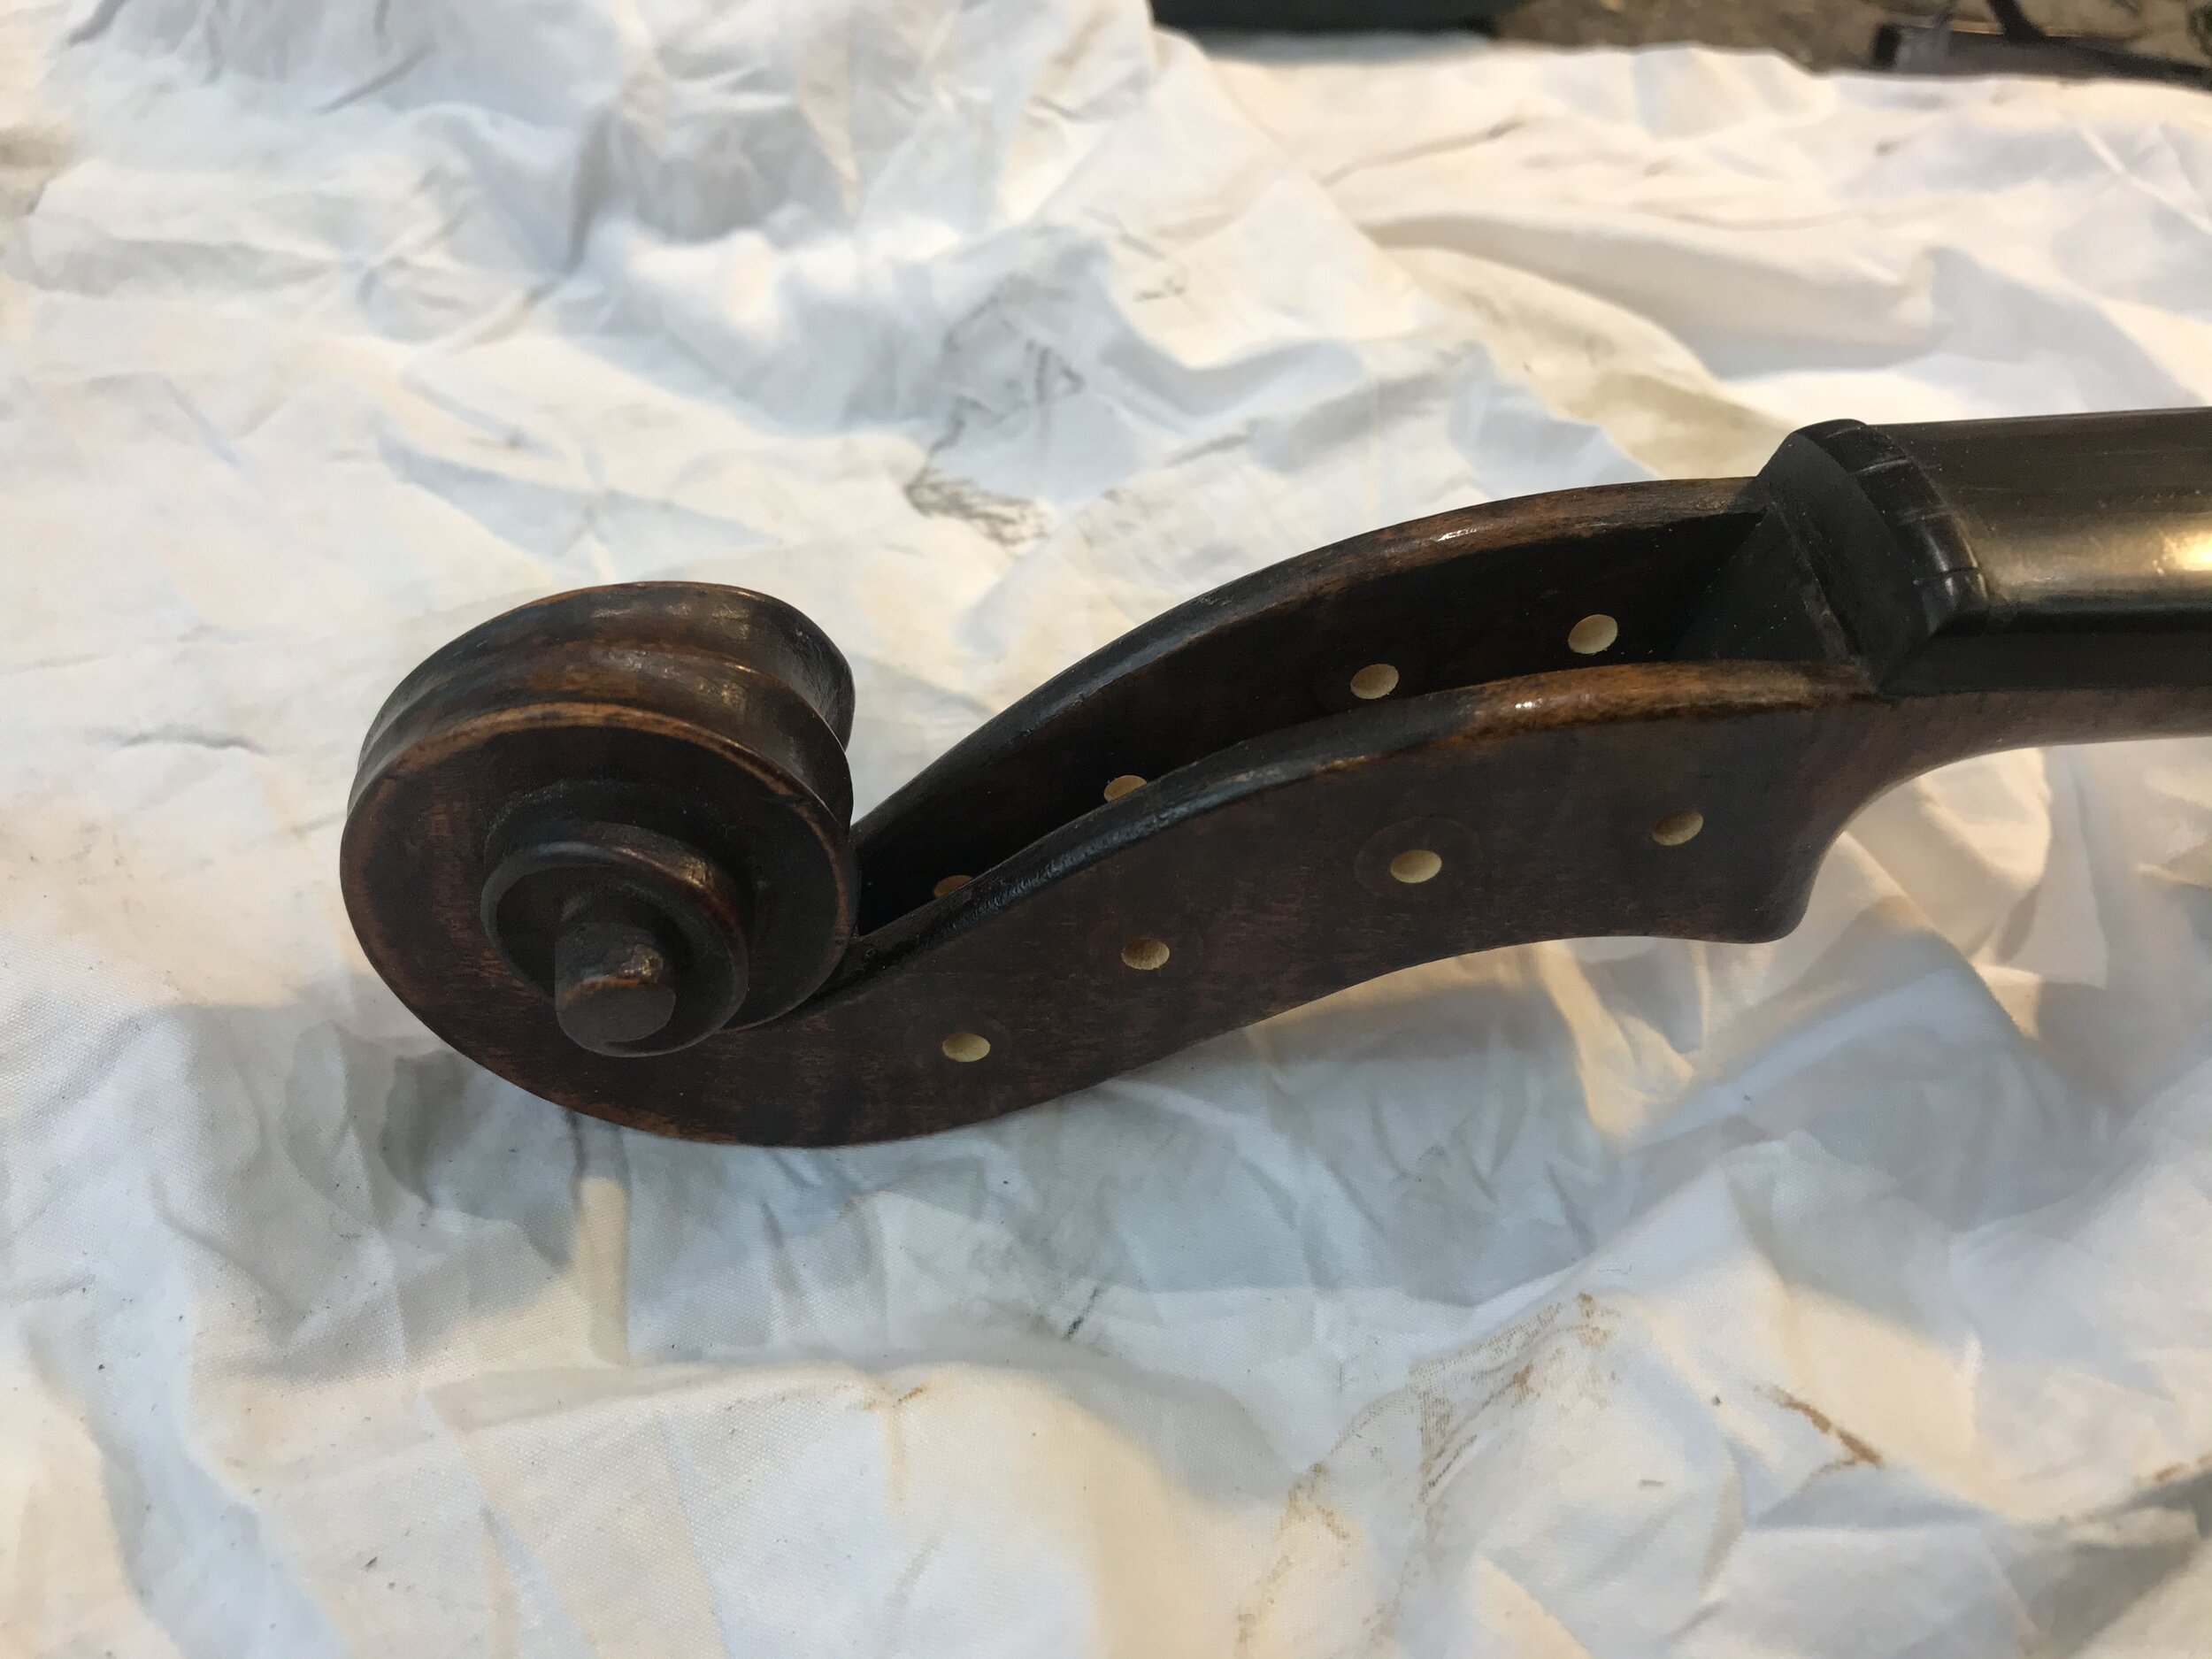
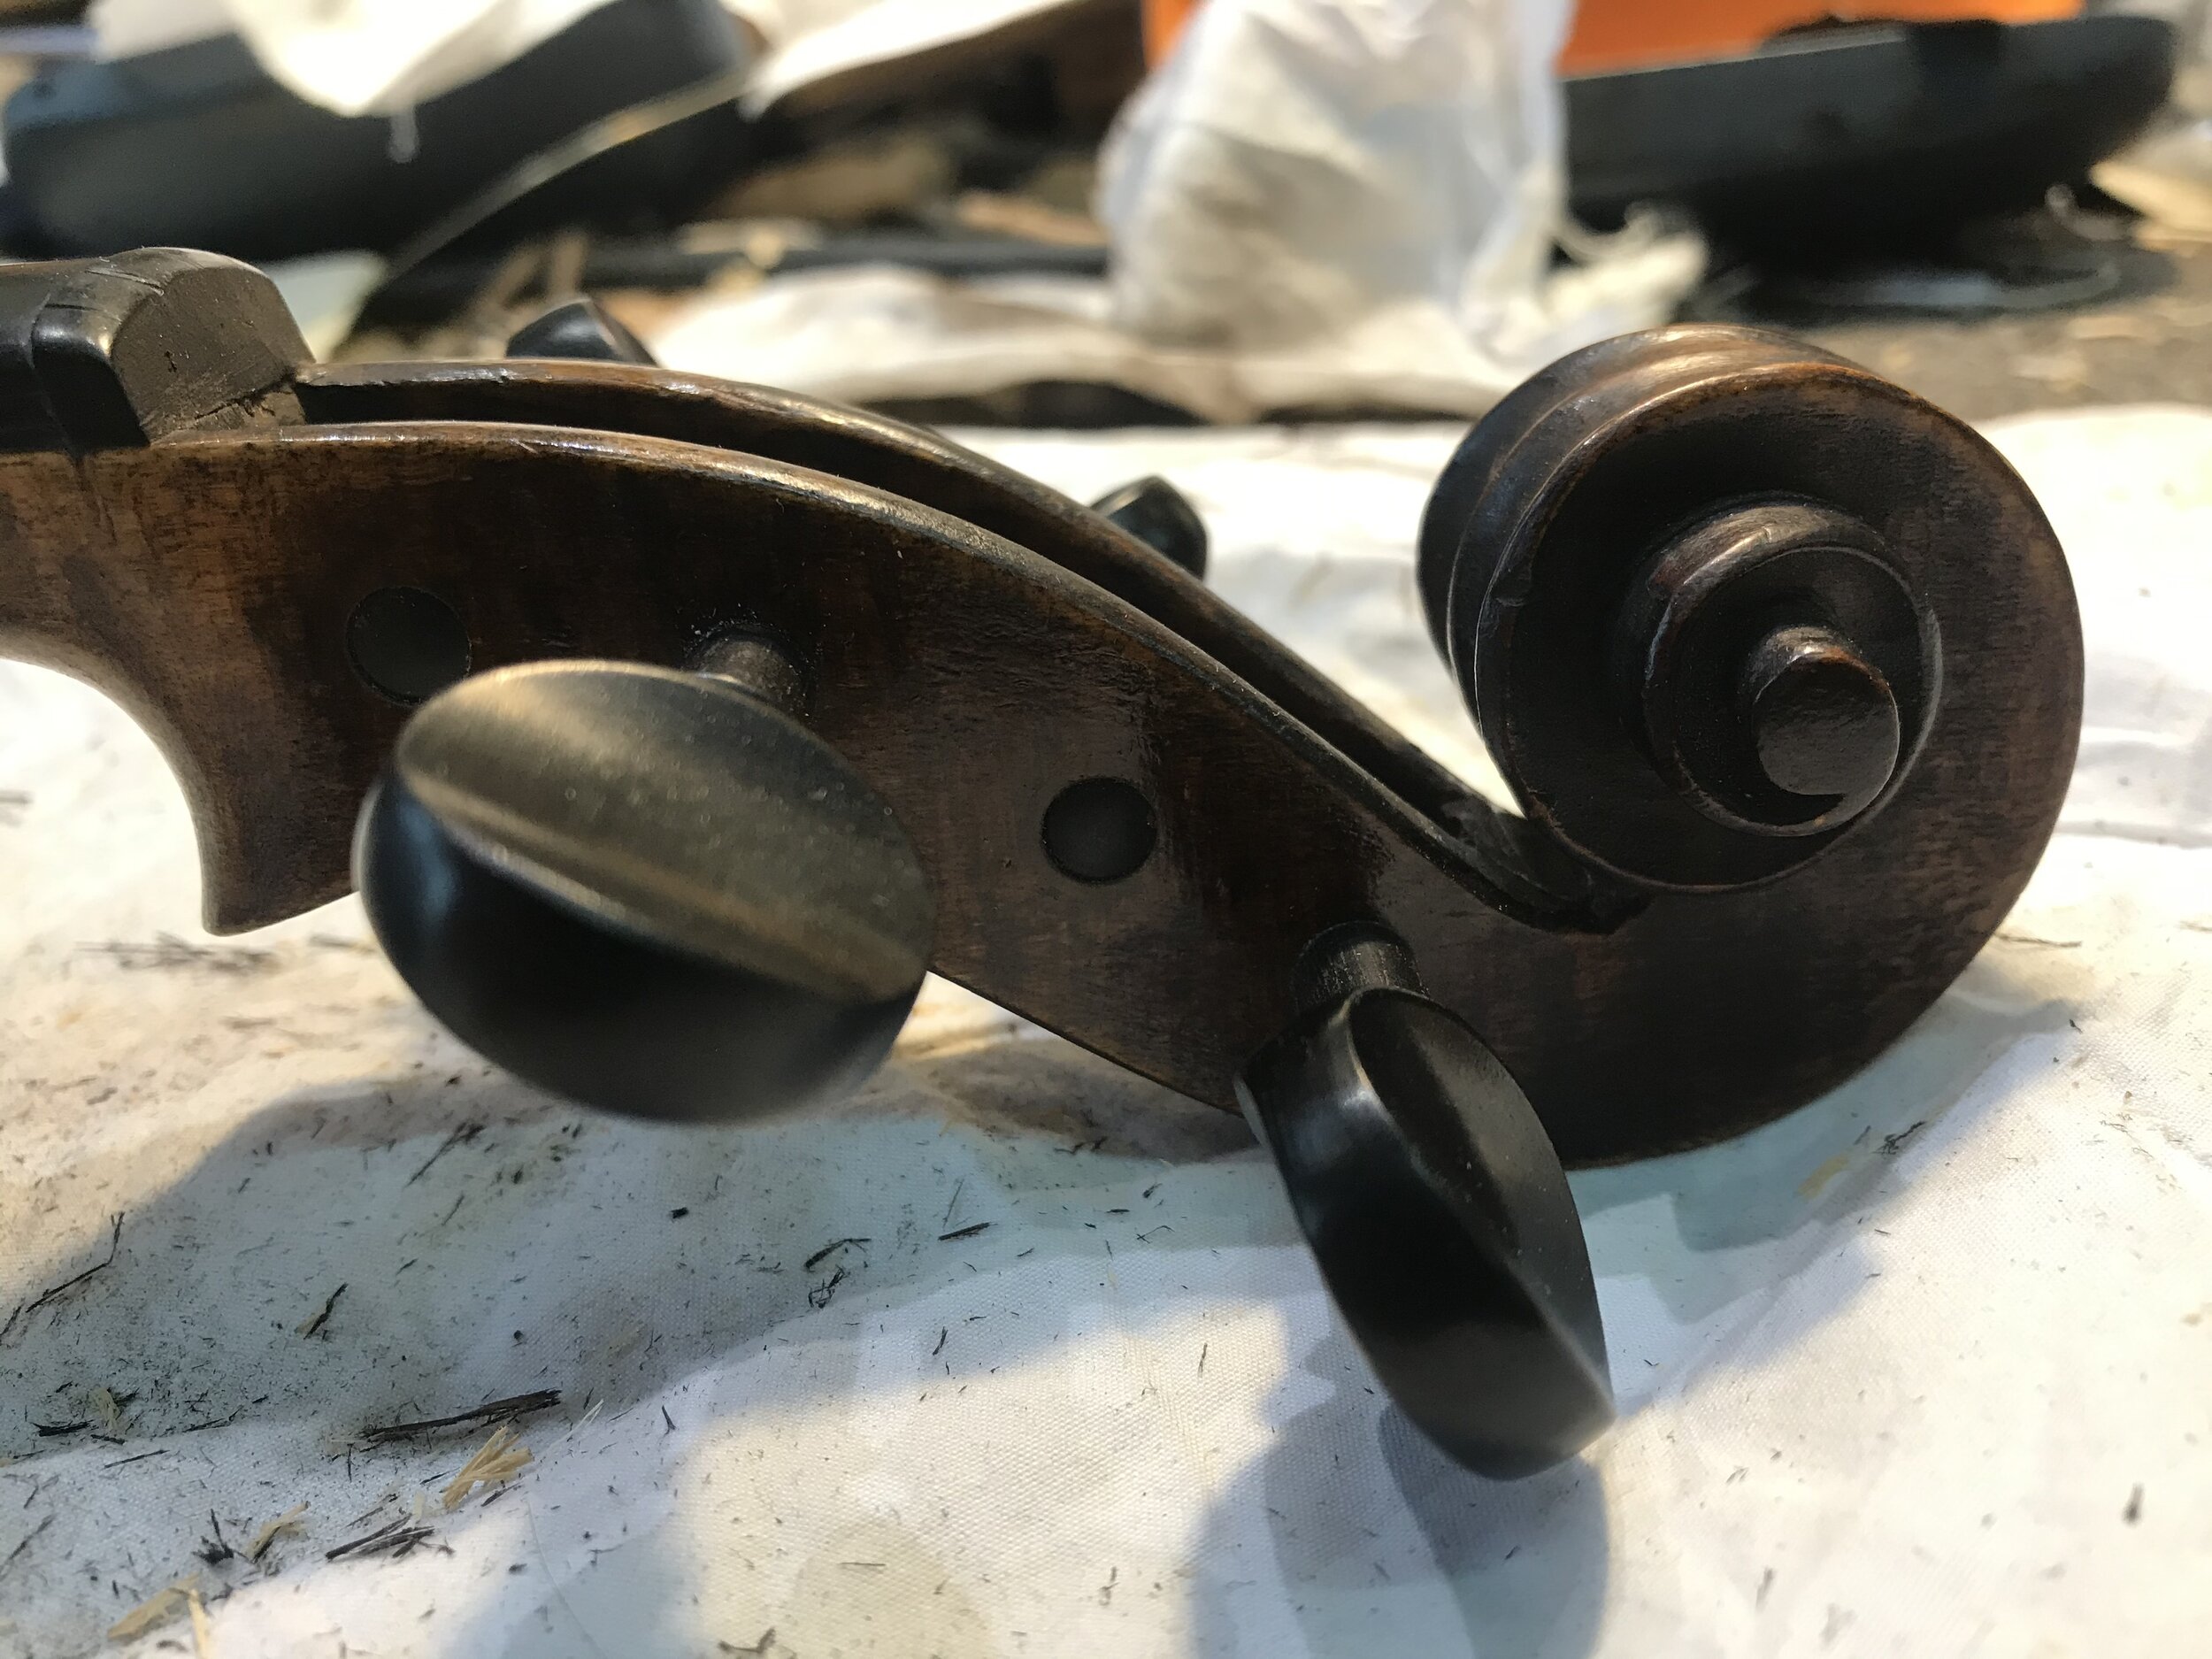
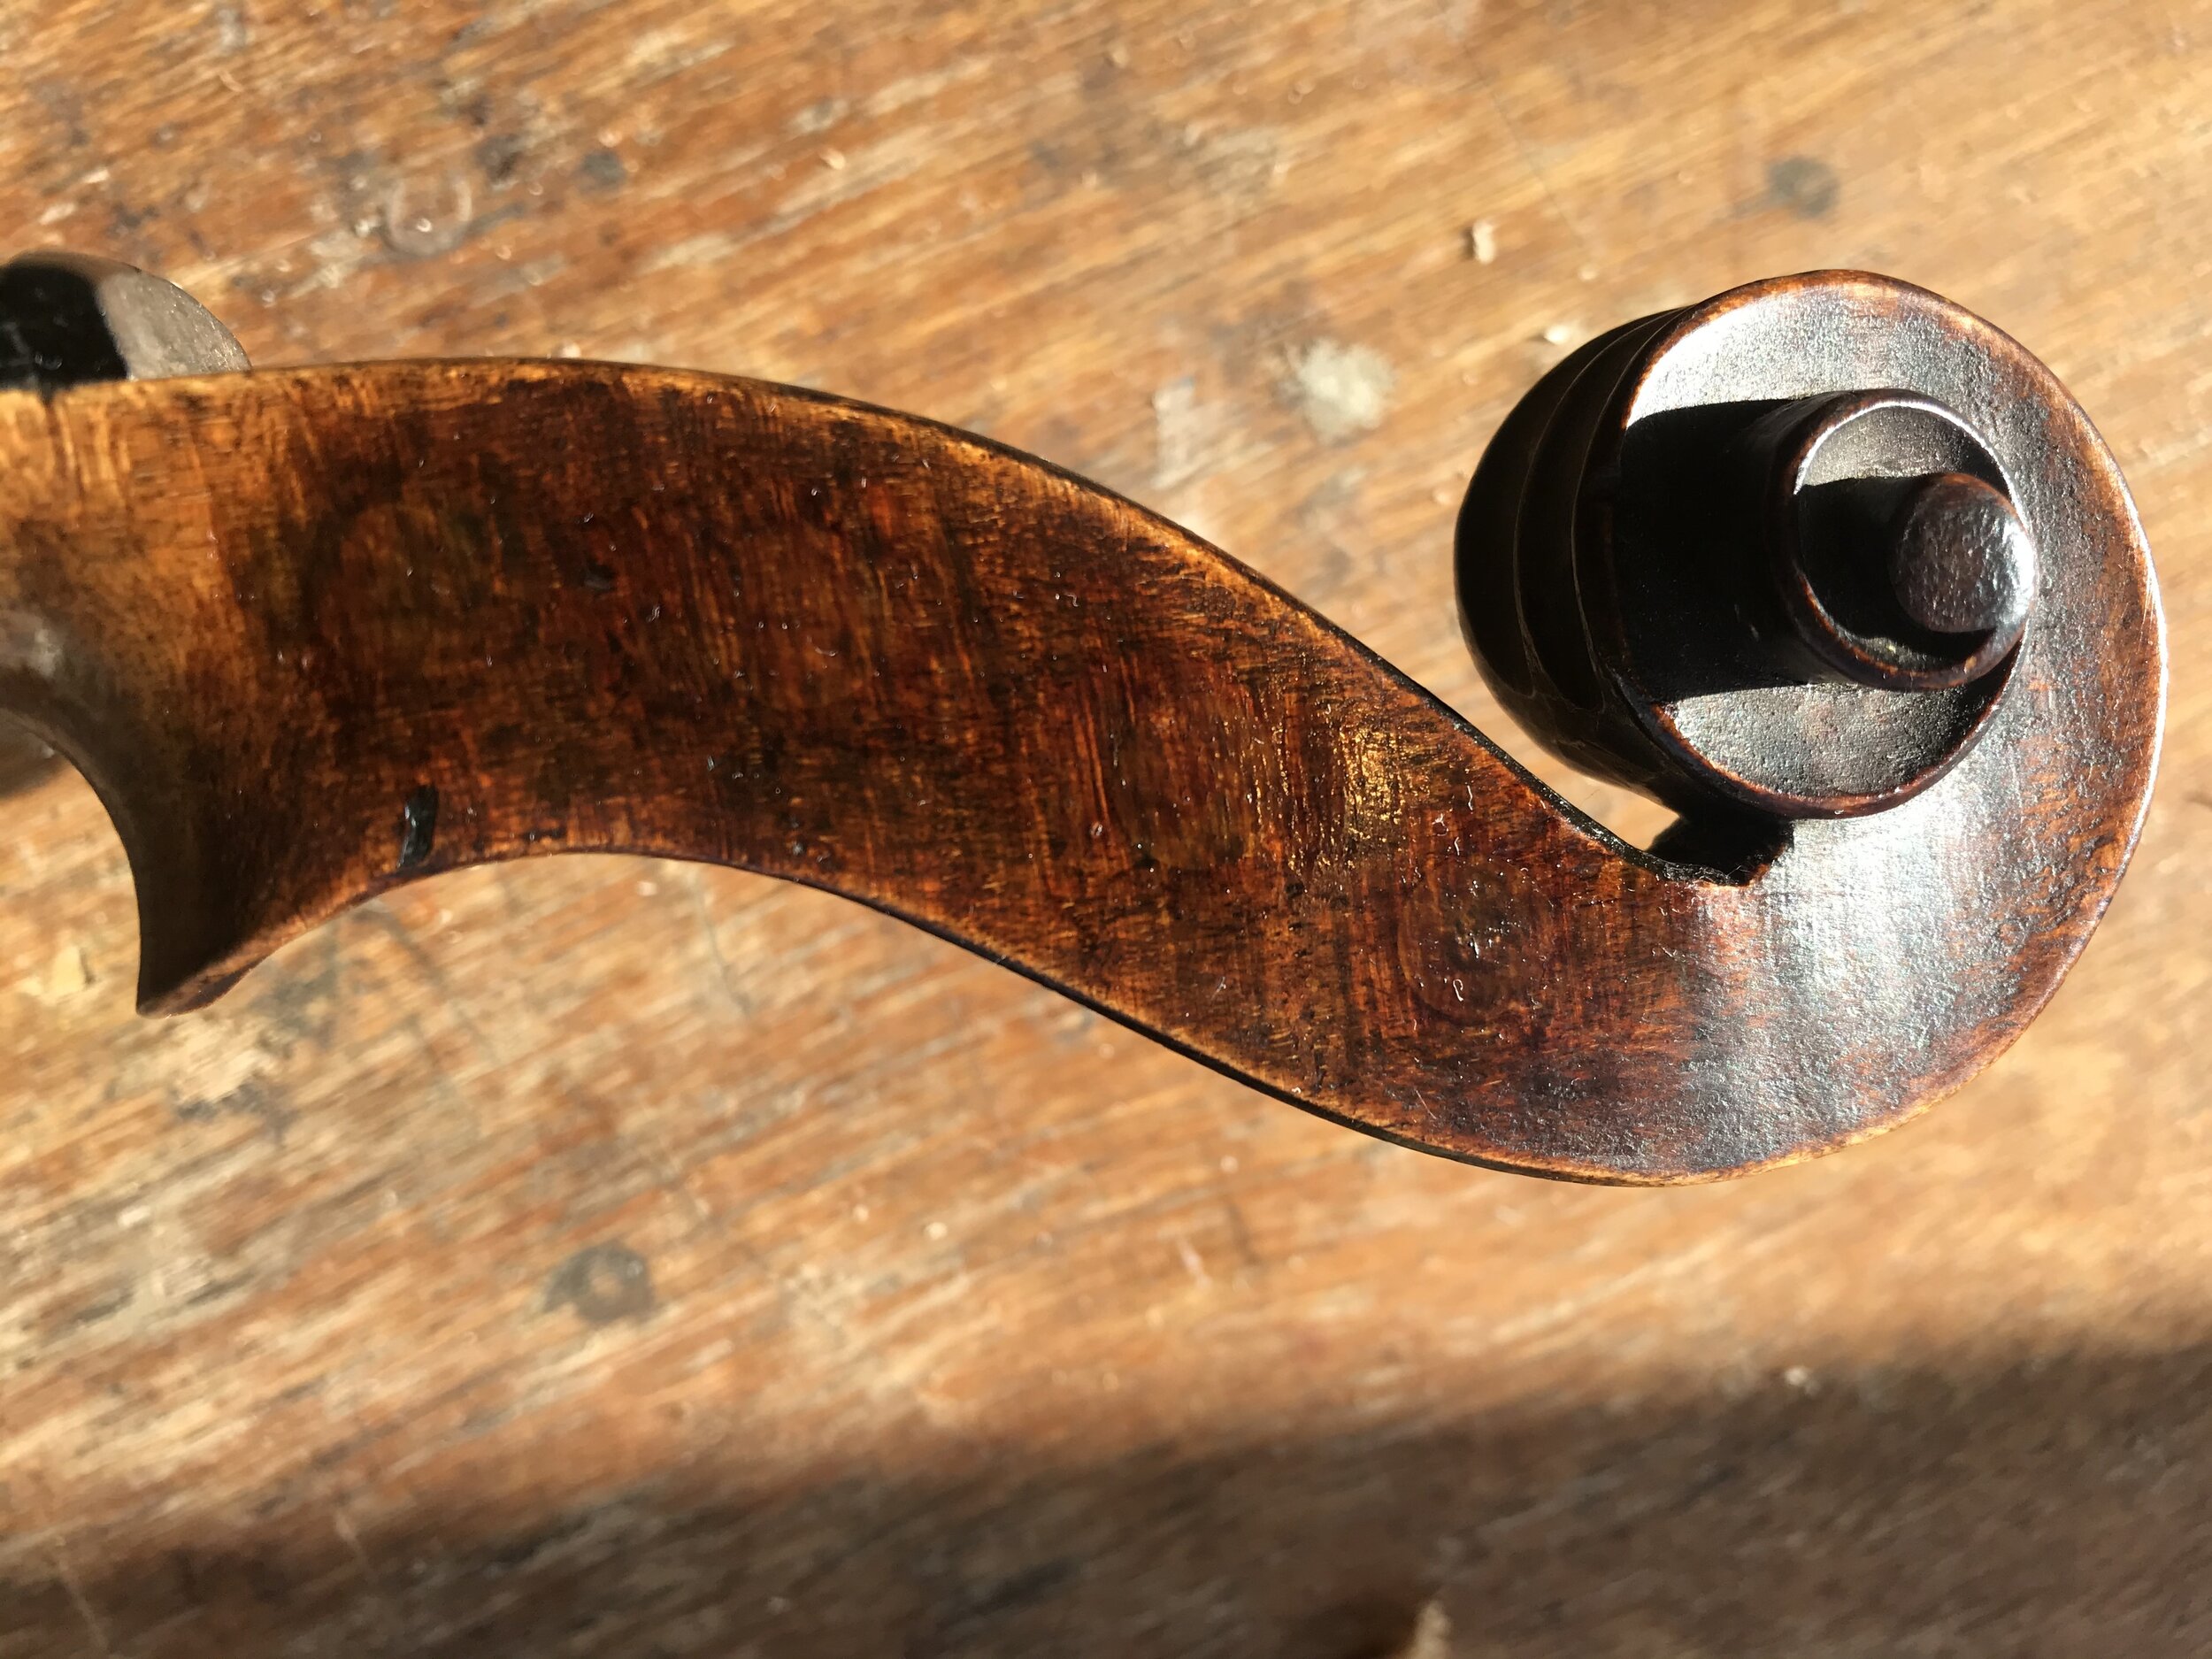
Touch in the varnish to match the original colour and texture.
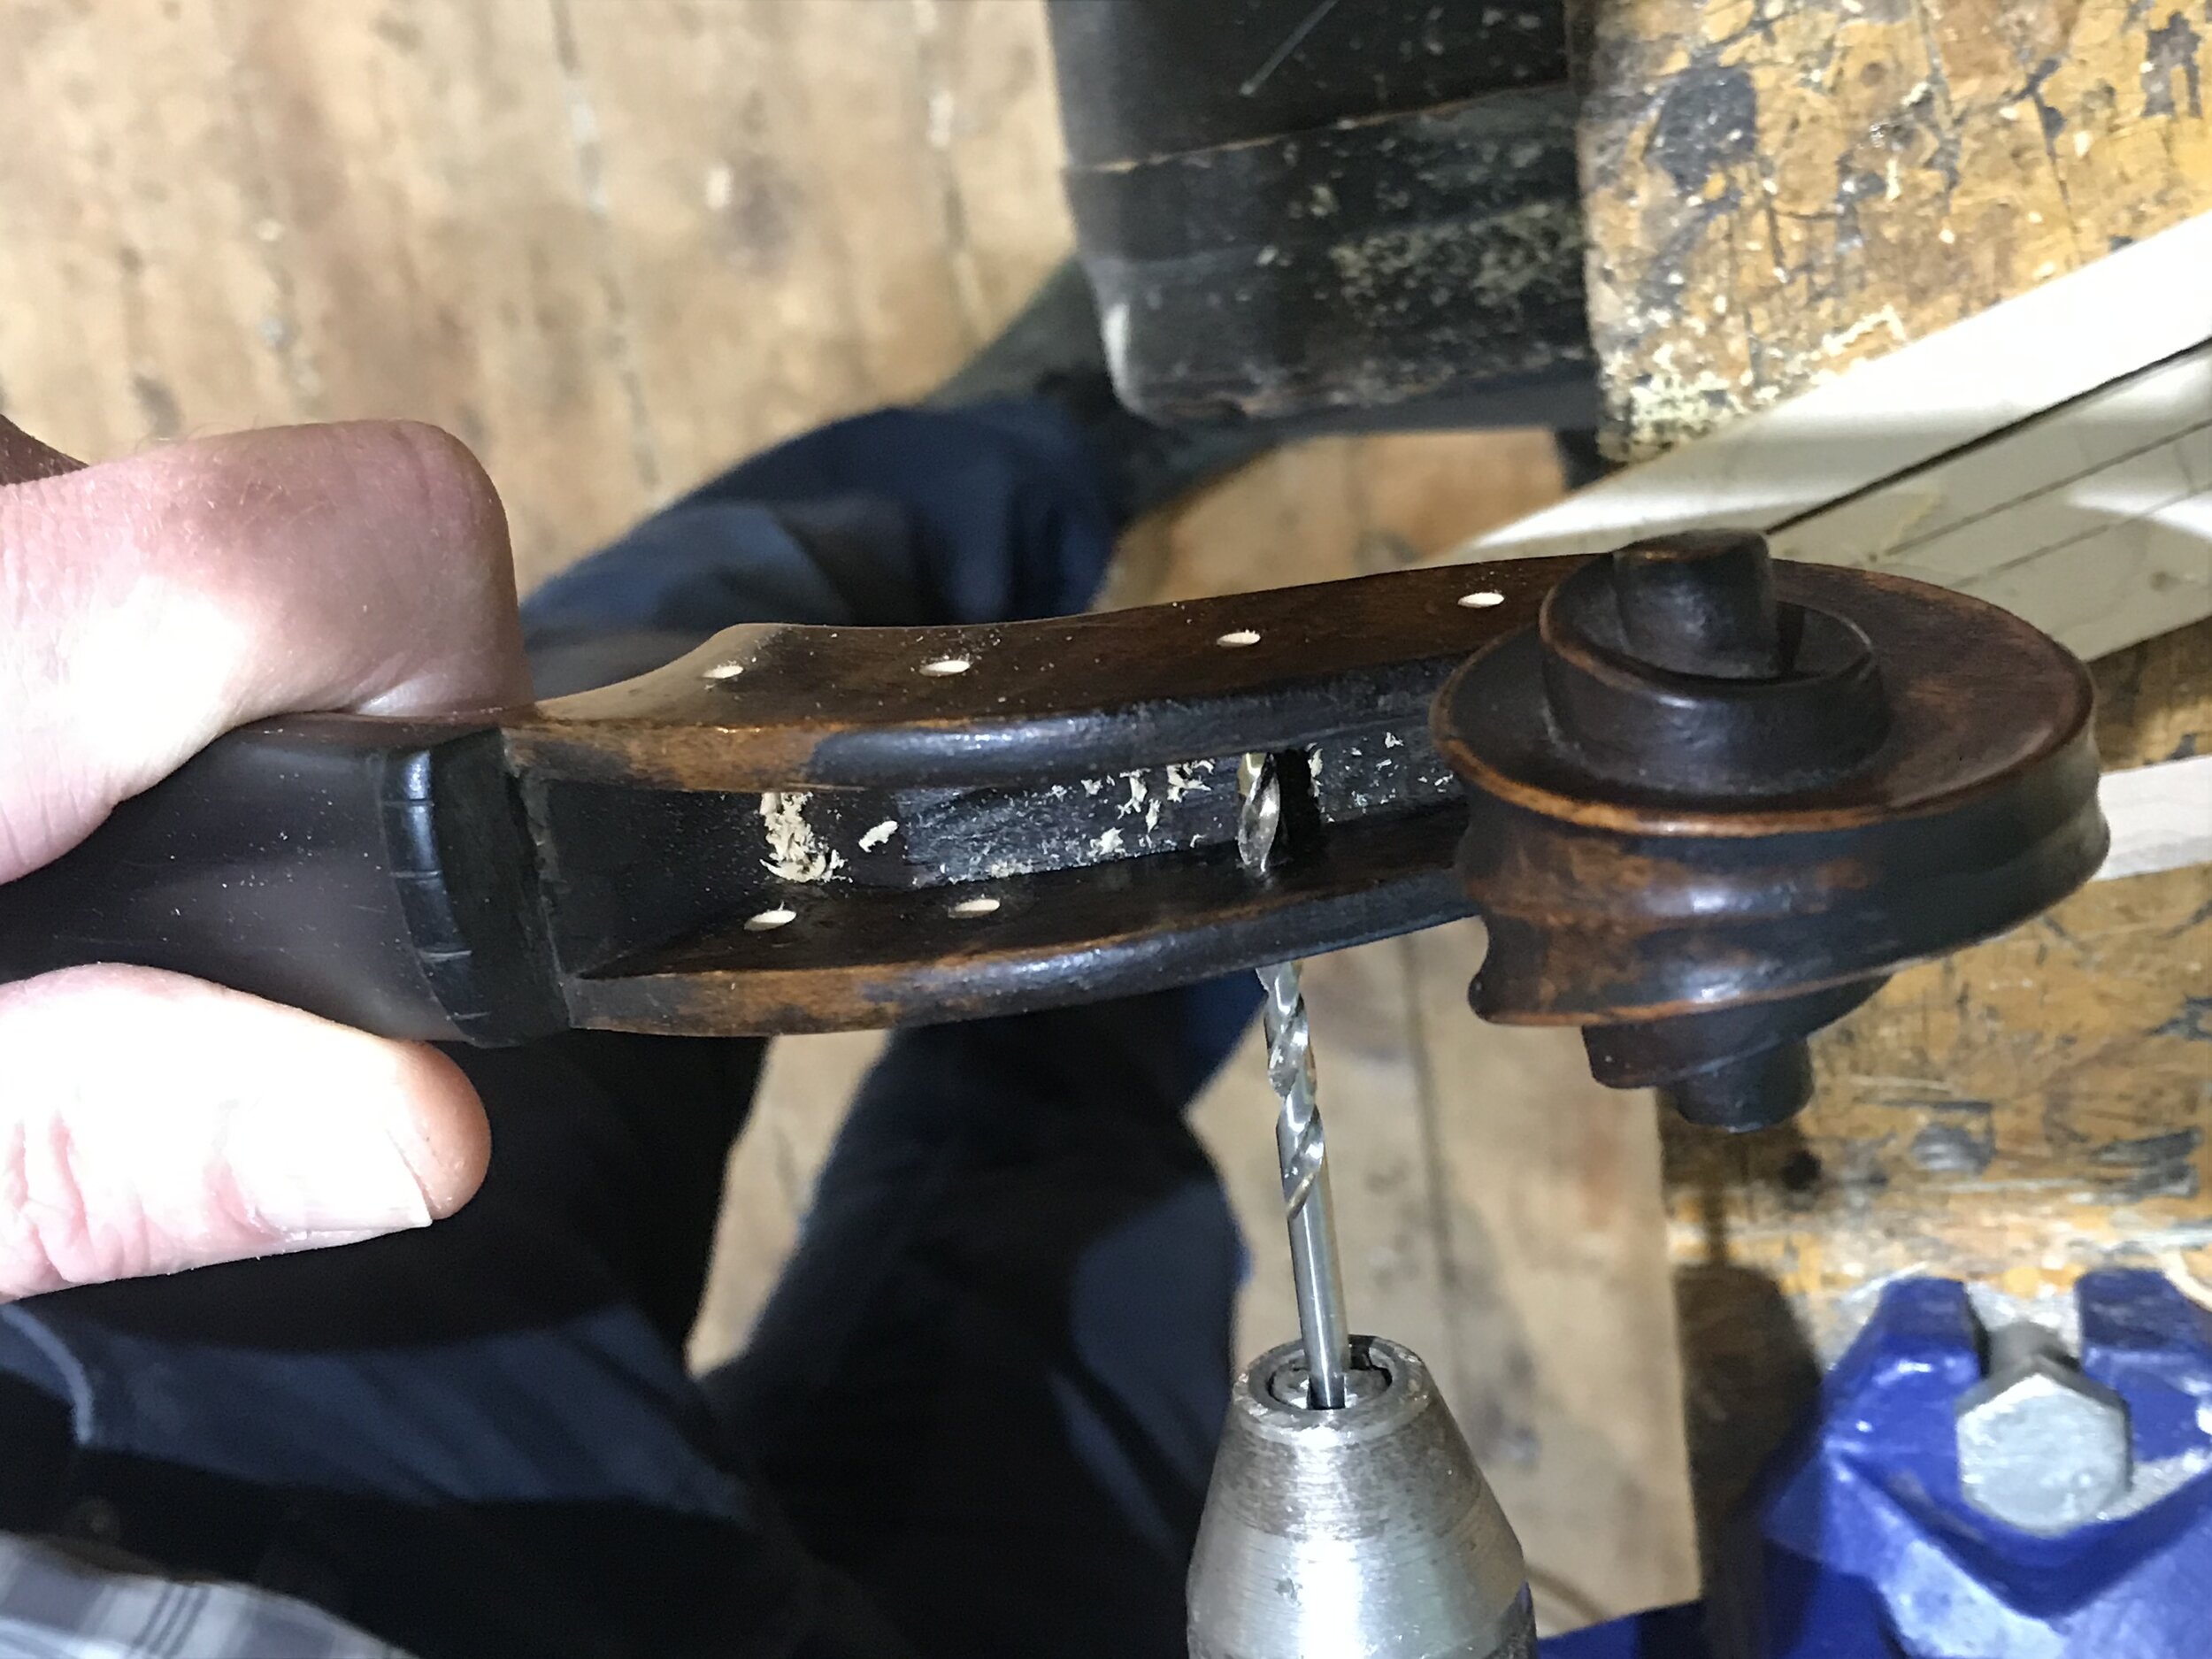
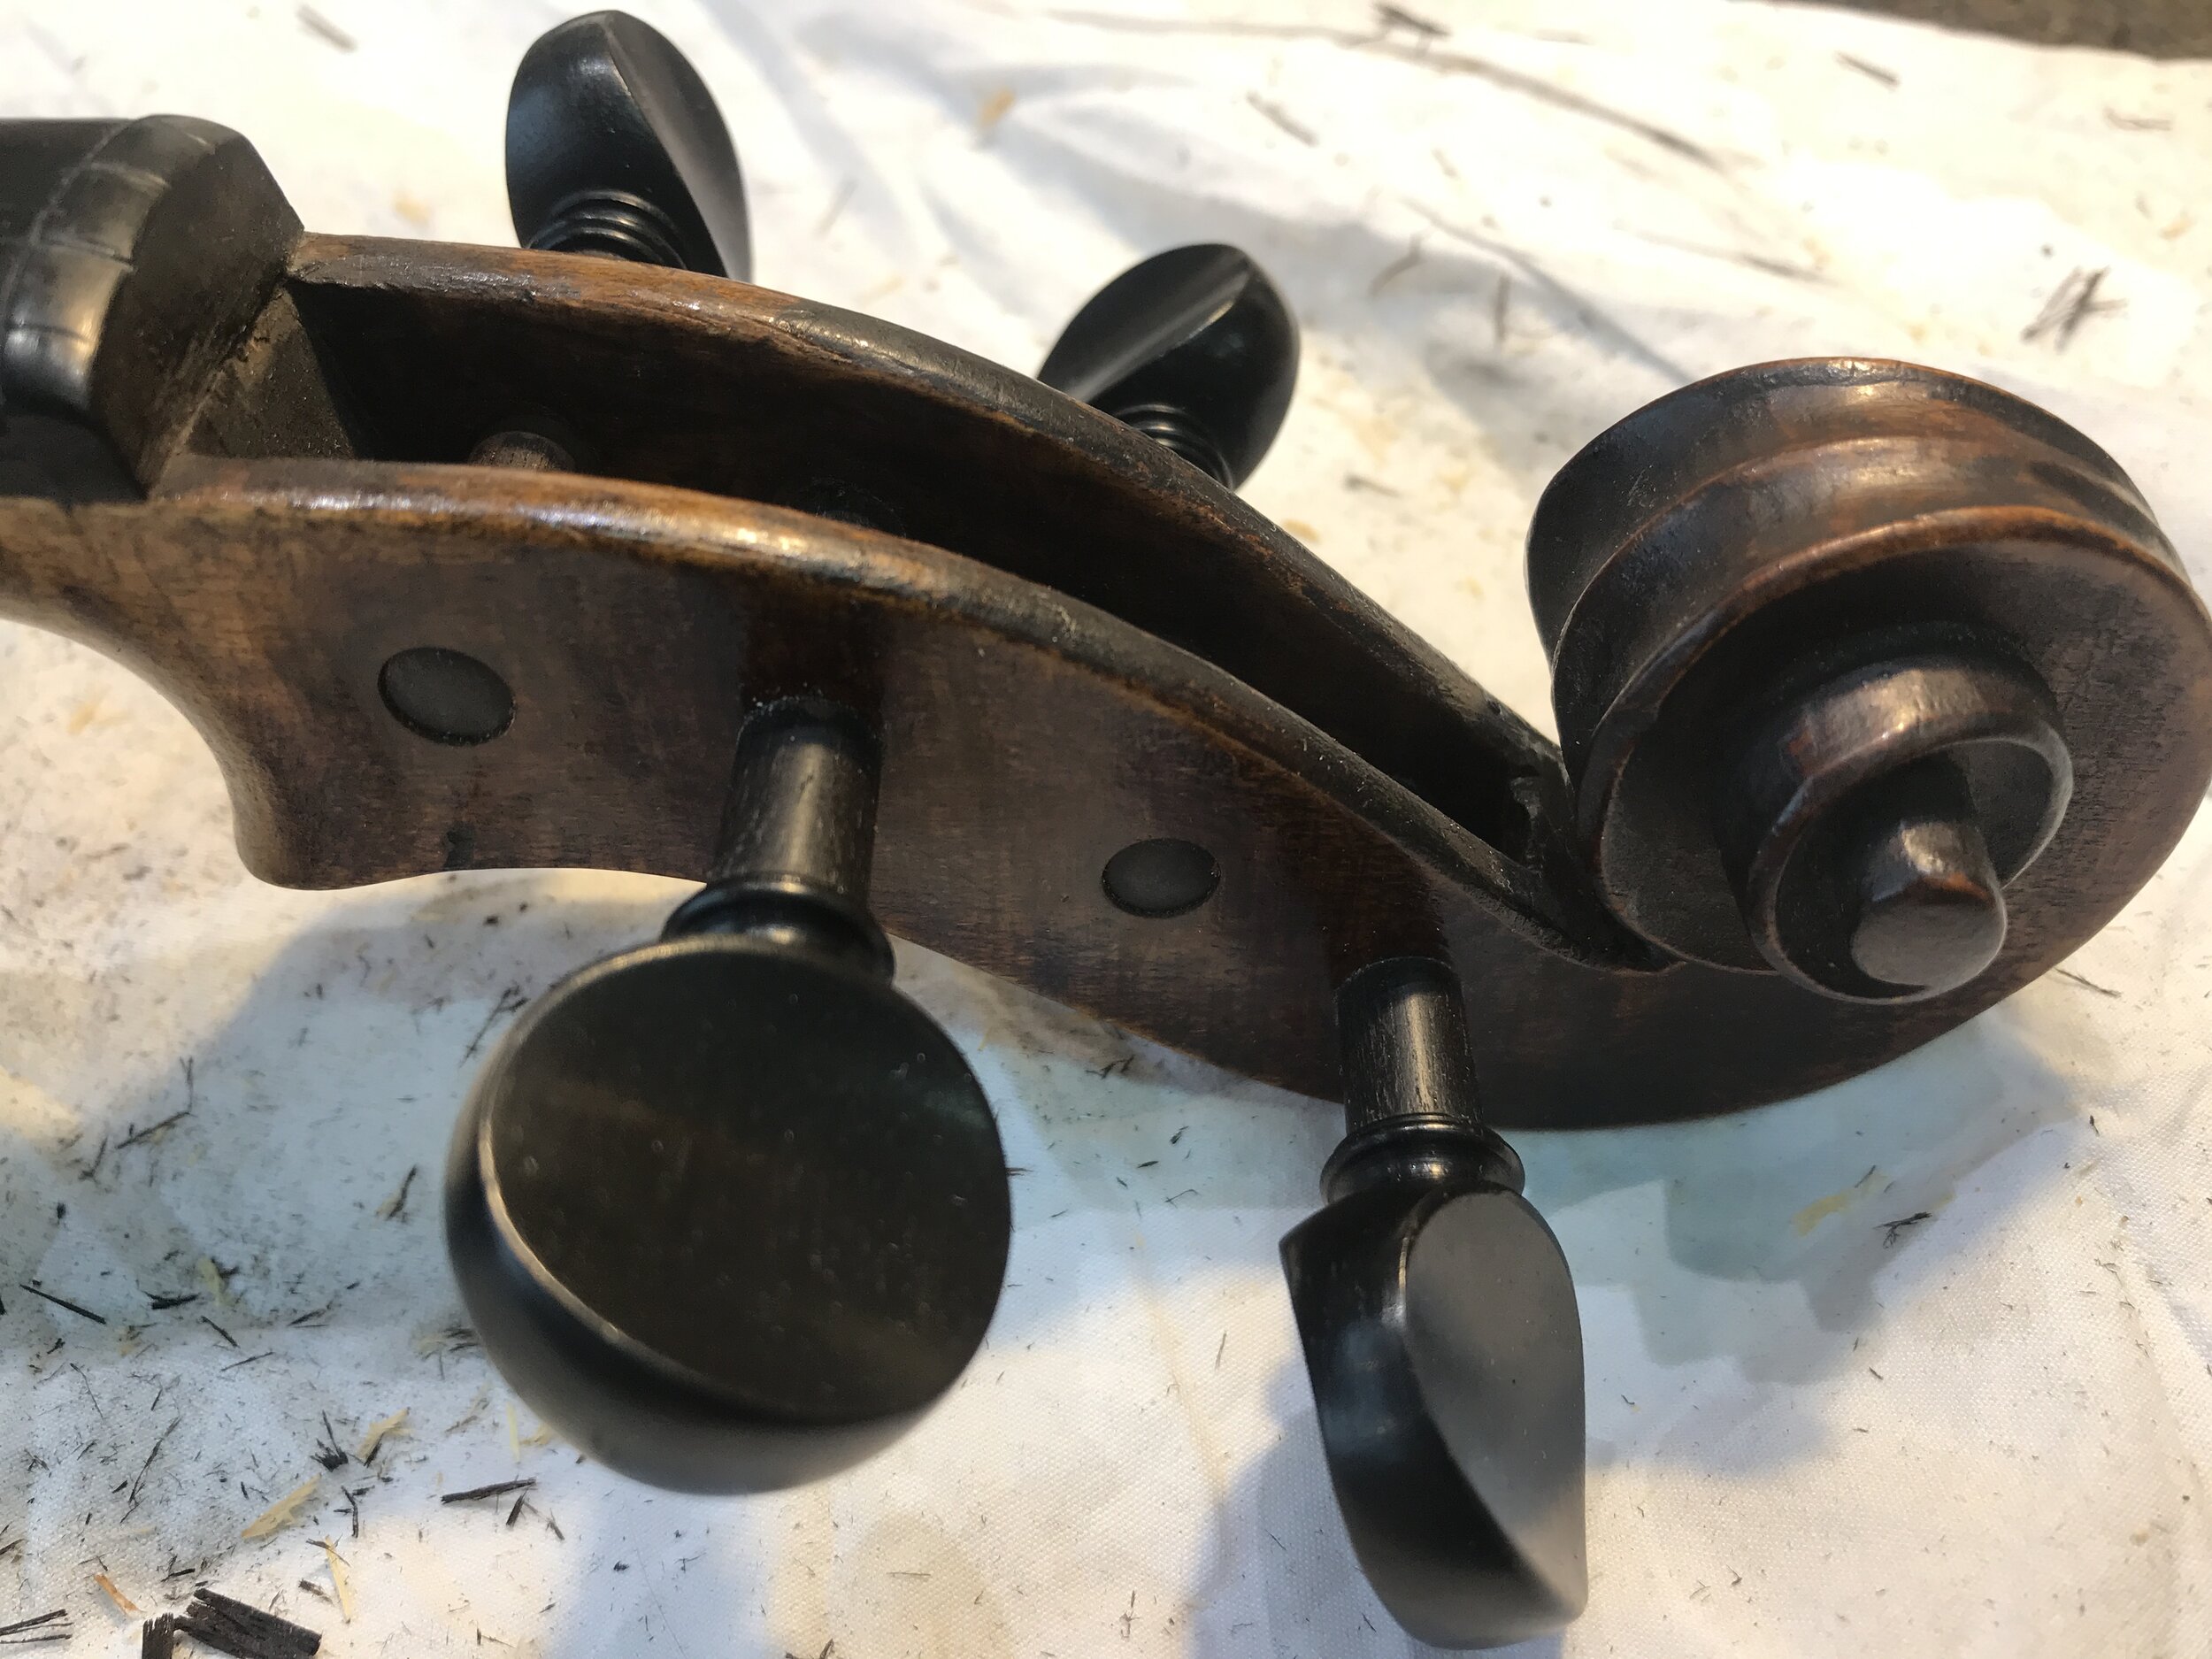
Drill and ream out new peg holes. Pegs are traditionally made from ebony, rosewood or boxwood, in this case Jonathan fits new pegs of ebony to the violin. The whole process takes around three hours of work punctuated by pauses while waiting for the glue and varnish to harden.